Here’s another look behind the scenes at how I design my repeat patterns. Last time, we looked at my Solar System pattern and this time I have two different ways of working.
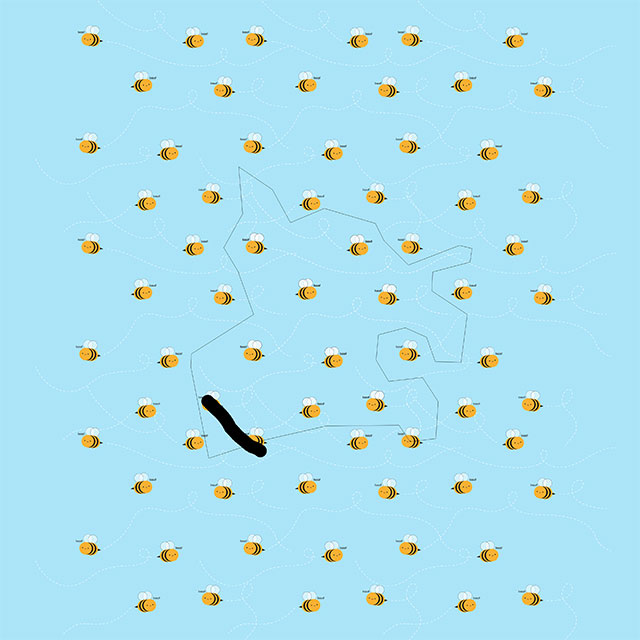
For my Bumblebees, I found the repeat was too difficult to figure out in time for my monthly wallpaper deadline so I just covered the space required. Later on, I came back and tried to figure out a repeating area. I eventually created this overlapping mess of bees that has an area that could be worked into a repeat. I’m so glad I saved this as you can really see my thinking. The shape must have not worked first time so I went back and painted a black line over the bees that need removed.
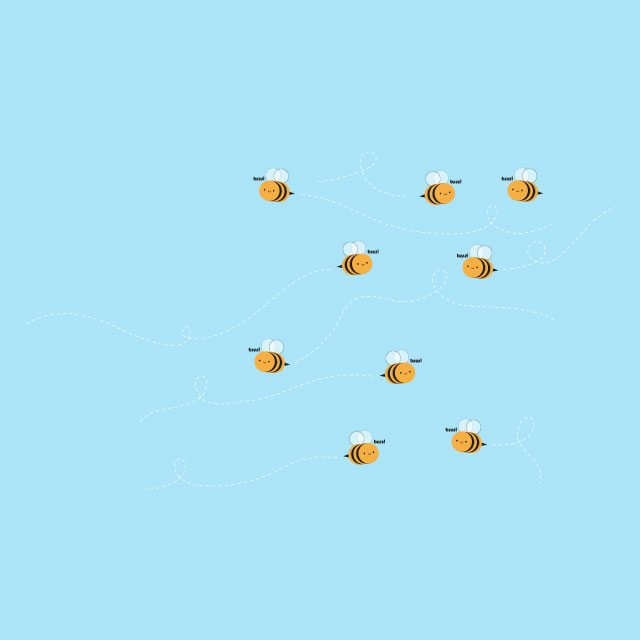
This is all the bees that I had highlighted to be the base of my repeat pattern. You can see the two bees at the top corners that will be a join and where some of the dotted paths could meet.
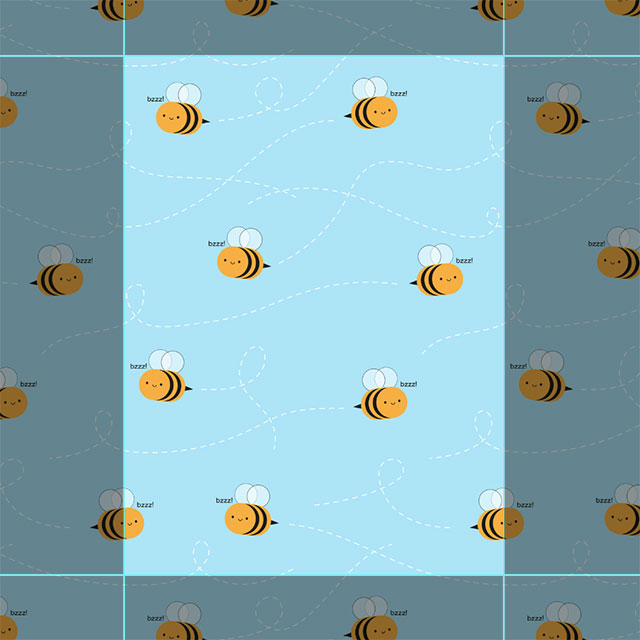
Here’s the finished repeating area with some of the dotted paths changed to fit the space better. This is one of my favourite repeats because it looks so simple but took a lot of work to get right.
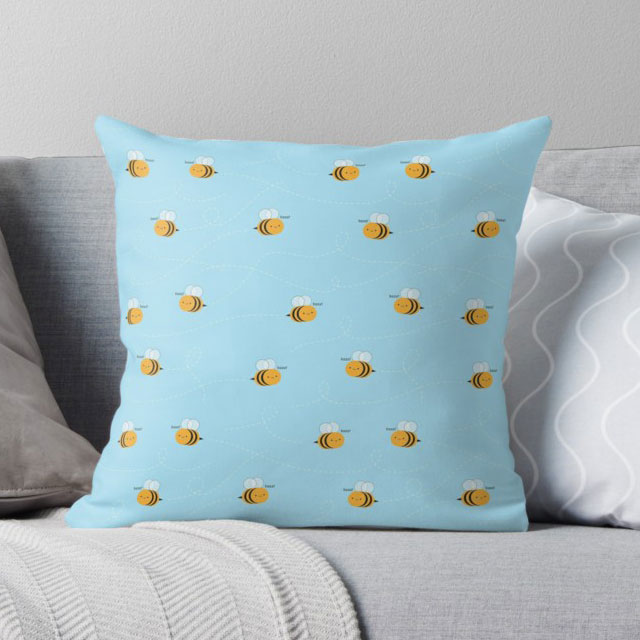
Here’s how the finished pattern looks on a throw pillow at Redbubble.
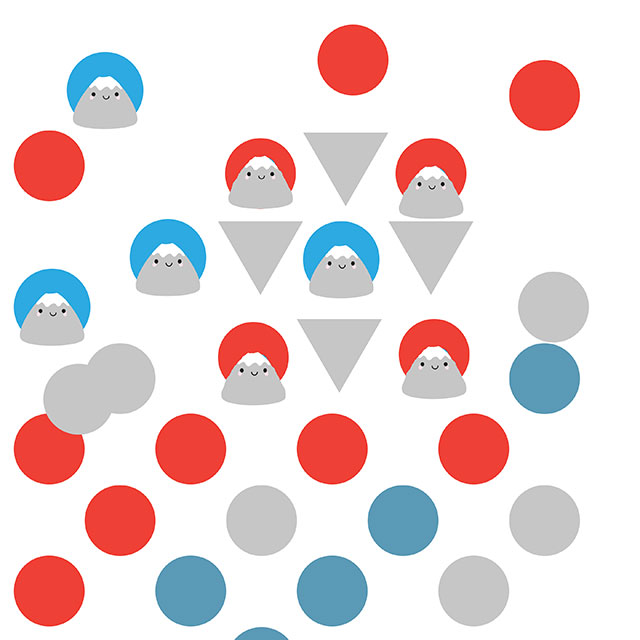
My Mt Fuji Dots pattern happened in a very different way and you can see me figuring it out in this one image. I originally imagined a polka dot with Fujis but couldn’t get it to look right. I tried different colours and arrangements and nothing worked, until I added triangles! The repeat is a mess but I have a clear plan now. Quite often my patterns start with a big pile of elements that I copy and paste and colour in and move around.
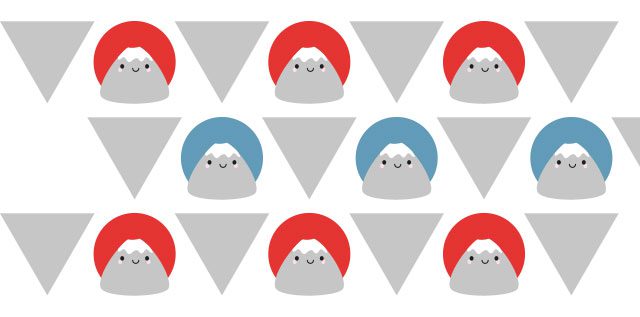
For this one, I went back to Illustrator so I could make sure all the elements were spaced and lined up equally. This is a pretty simple grid pattern with the half step and colour change to keep it interesting. You’d never know that it took so much messing about to get here.
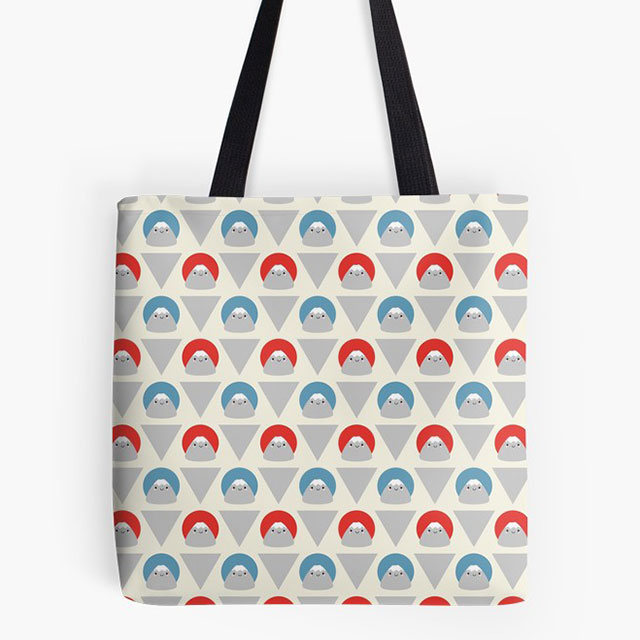
Here’s the final pattern on a tote bag at Redbubble.
I’ve got one more post to share, about scattered patterns.
