A few people asked about how I made my book so here are some details.
UPDATE: I’ve just added a link to my InDesign template at the bottom, which might save you some time.
Choosing a publisher
I did a bit of research last year for another publishing project I would still like to do sometime and decided I preferred Lulu. I can’t even remember exactly why now but the marketplace is promoted more on Lulu and the community forums are pretty good. I tested the system by putting a couple of my PDF zines up for sale – I haven’t sold any yet but the process was fine. I hear good things about Blurb too though.

Once that was decided, I did some experimentation with the Project Options to decide on a size etc. I really wanted to do a square book and in colour, and the rest is really decided by how many pages you have. So I got all the dimensions and got ready to make my book!
Content

I already had a lot of content written, from my zines and blogging, and I bashed out a rough draft of my recent trip over Christmas. I cannot deny I started it on Christmas Day while watching TV! I also did some illustrations in Illustrator and made lots of photo pages in Photoshop from my favourite photos. Unlike my zines, I’ve kept the photos and text separate – it just looks much nicer and I can group sets of photos together. This was pretty time-consuming – I really made the most of my time off getting this all done!
Layout

After that, I set my file up in Adobe InDesign and started laying out the pages. You don’t have to use InDesign – Lulu also provides templates you can use in Word – but I needed full control of the layout and I’m also pretty experienced with InDesign. If you’ve never used InDesign, it’s a professional publishing program – probably all your favourite mainstream magazines are laid out in InDesign. It basically makes everything so much easier – you can set up styles for your text and headings, run long text pieces through multiple layouts and make sure all your bits and pieces are lined up exactly. The image above shows two different types of pages – click for a bigger view and you’ll see the bleed, trim and column guides I set up.
So, I pulled in all my text, images and illustrations and laid them all out end to end. I wasn’t worried about page order yet, just seeing how many pages it took. Once I knew that, it was a question of fiddling with margins and font sizes to decide what would work out cheapest but still readable. The Lulu forums were a lot of help with this.
Editing
Once I had got things down to their smallest size, I was still using way too many pages so now came the editing – cutting out and rewriting stuff to make it read and fit better. After the first big edit, I moved everything into the right page order and kept doing the calculations to find a happy medium between cost and all the content I wanted to include. The winning number turned out to be 67. As a zinemaker, this seems like madness, but it was actually cheaper to have 1 blank page at the end, rather than fill it.
Problems
My biggest issue by far was figuring out the bleeds. Please ignore this paragraph if you have no interest in print layout! Bleeds are where you extend your content (usually images) outwith the page border so that when your page is trimmed, your images cover the entire page with no white borders. Trim sizes are never exact so it’s tricky at the best of times. I was completely baffled by what was happening with my bleeds until I finally figured it out from many many forum posts. Lulu does not use bleeds as one might expect, instead it resizes your file so that the bleed edge is on the trim line. That does mean your important content will never be trimmed, but does mean you can get white borders as there isn’t actually a bleed. Annoying, but what can you do? Other than pay to get things printed professionally, of course! Apart from that, I had no big problems.
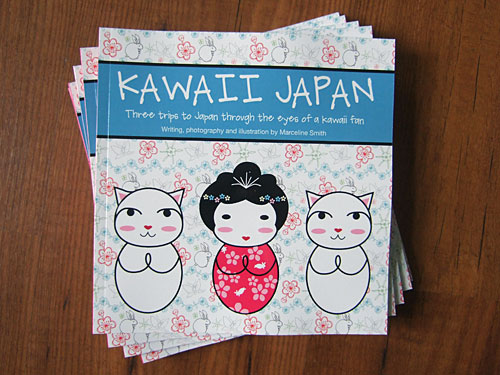
The Cover

I had kind of forgotten about the cover until it asked me and had no real ideas about it. My main aim was to make it obvious at first sight that this was NOT a book about traditional Japan. I didn’t want someone to buy it and be enraged at my frivolous tales of shopping in Kiddyland and photos of cute bunnies! And also, of course, to set my book apart from the traditional Japan books already for sale on Lulu. So the cover design ended up being a bit of a collage of Japanese-inspired illustrations. Lulu provide templates for covers so it was really easy – they even tell you where to leave a space for the barcode. My only disappointment was that I didn’t get to write anything on the spine, I guess because my book is quite thin.
Uploading and Ordering

Once I had all my files together, I uploaded them using Lulu’s rather clunky book maker. The cover builder (above) is really really terrible. Even after all my efforts and deletions, my test copy still somehow has my name typed on top (it’s in white so you can’t see it, thankfully). After that, you can save it as a private project and order a test copy for yourself! I signed up for Lulu’s mailing list so I was able to time my order during a 20% discount offer – that helped with knowing my book might print terribly first time. Lulu partner with various printers around the world so postage was very reasonable and it only took a week between ordering and it arriving at my door. And, despite what their website says, the cheap shipping is just with good old Royal Mail so no courier troubles for me.
The Actual Book
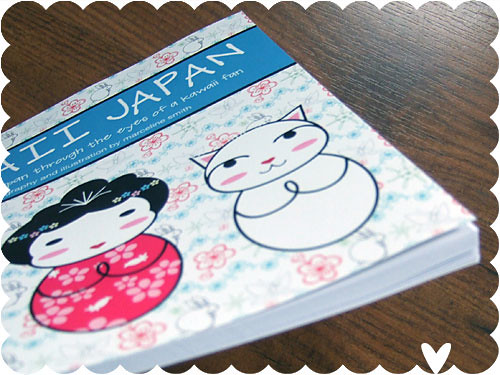
You are constantly reminded by Lulu and forum users that it’s all a bit trial and error until you see the actual book, so not to expect everything to work first time. As it turned out, mine was almost perfect! Because of the white cover title thing, I would have to revise it anyway, and my rush to use the 20% discount meant there was still a bit of text tweaking to be done. Seeing the actual book also made me see I could move the page numbers much nearer the edges, which looked 100x better. The other issue was that I do have a white border on the bottom of my pages. Unfortunately there is nothing I can do about that, since it’s caused by the trim – my second copy has virtually no white border and the next batch have the white border at the top. As a bit of a perfectionist it’s hard but I’m just going to have to Let It Go, Jack.
Revisions
One other thing to note: the title you choose when you begin your project at Lulu is set in stone and becomes the public title of the book! You do get a chance to change it before publishing but it certainly wasn’t obvious or pointed out to me. Luckily, you can change it by creating a revised version, so I was able to do that before making it public. Because my book was still private, I didn’t have to order another copy but I did anyway as I ended up making a lot of little changes. As mentioned, that came out pretty much perfectly so I was all set to make thing public!
Publishing
While I was waiting for the revised copy to arrive, I took the time to write up my book description and autho bio, create a preview section for people to view online and decide on my commission for copies sold through Lulu, as a printed book or downloadable PDF. Lulu does take a big cut for copies it sells, so I’ll only get a few pounds from each sale, but it will add up in the end. And they do have to do all the work!
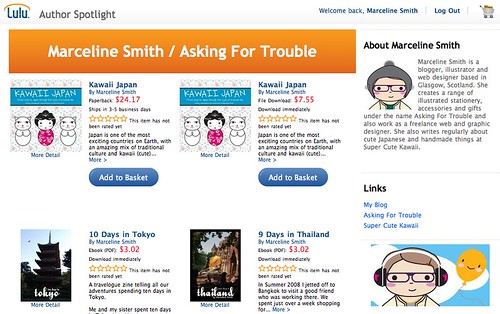
Once the book arrived, I was able to press go and make it publicly available on the site. Once you do this, you get the opportunity to set up an Author Spotlight page (above), which is well worth doing as not only will it collect all your publications in one place, but you can add a picture of yourself and links to your websites. It’s not very customisable but it does the job. It takes a few hours for everything to show up on the site and then you sit back and wait for orders. You can also pay to have your book listed on other sites (like Amazon and Barnes & Noble) but these seem to be mostly US-based just now so I’m going to hold off on that for a while.
Conclusions
I’ll definitely be using Lulu again in future as it worked out fine for my needs, and the books turned out great. I only wish the process was a little less clunky and the help section was easier to browse. Also, it really lacks a real community space. Things like the themed groups are basically dead and there’s nothing like wishlists or listmaking tools to highlight books you want or like.
Anyway, I hope that was slightly helpful. A lot of it is very specific to how I work (a total control freak!) so it may not be of much use if you don’t have InDesign, but I hope it spares someone a little bit of the hassles I went through. If you’re making a much simpler book and don’t care about bleeds and things then it would be much easier. Let me know if you have any questions!
And of course, you can buy the book or PDF either from Lulu or from my own shop. Thanks everyone who has done so far – it’s so exciting to imagine my book on your bookshelves!
My InDesign Template
For anyone else struggling with Lulu layouts, I’ve uploaded a blank version of my InDesign template for a Small Square (7.5″) book. Click here to download it – includes INDD file for CS5, IDML file for earlier versions and some notes on the formatting.