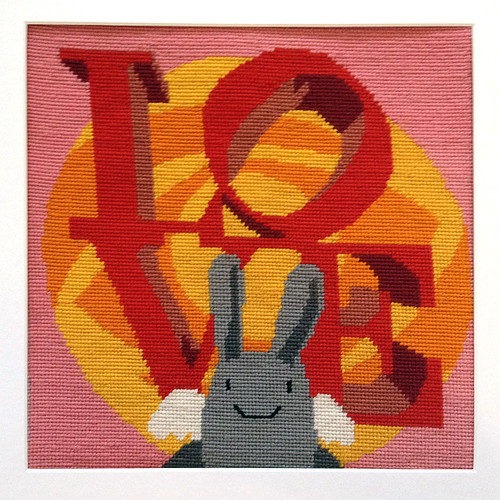
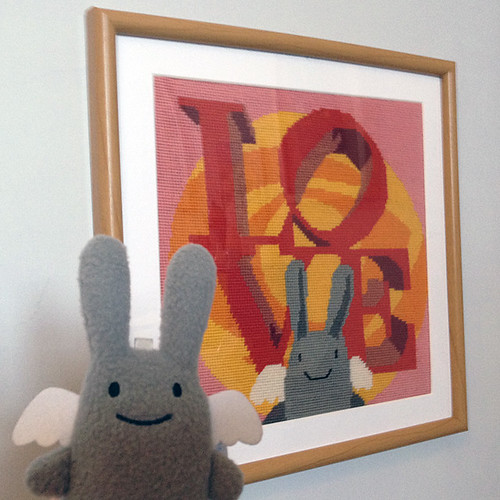
Yay, so I finished my Angel Bunny tapestry. It was actually done really quickly – just under four weeks! – but I’ve been waiting on getting it framed before I blogged. Also, for a special guest of honour to arrive for the unveiling.
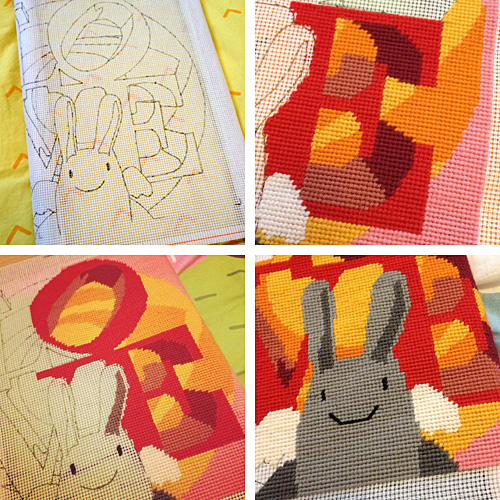
It was so much more fun to stitch than my kit – lots of straight lines, curves and big flat areas. If I can be slightly big-headed, I’d say this would be a great introduction to tapestry. The only tricky bits are Angel Bunny’s wings and his face. I would have liked the smile to be less symmetrical but it’s pretty hard when you’re stitching on a grid. I did embroider the smile on top of the actual tapestry though, which helped a lot.
I purposely stitched it at 10″ as I assumed 12″ frames would be common what with this ludicrous fad for framing vinyl records even when you don’t own a record player. Turns out they are super expensive (see, ludicrous!) so I turned to my trusted framing source Picture Lizard who, despite the stupid name, make custom frames and mats for crazy cheap. It all looks great I think.
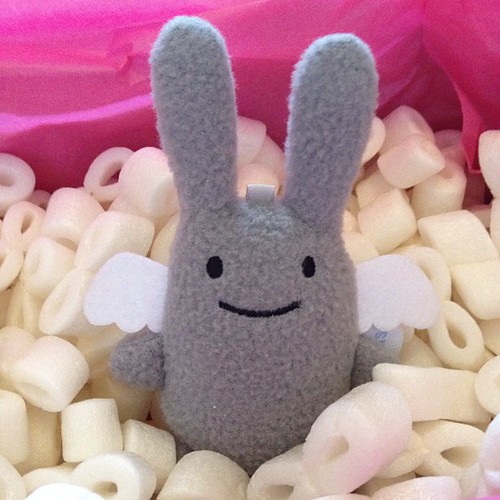
And then look who turned up to see it!
The awesome Jessica of Tamtokki (who stocks my wrapping paper) is also an Angel Bunny fan and arranged for Angel Bunny’s twin brother to come over! He brought me some super cute gifts too – the old Angel Bunny never bought me cookies! He looks pretty impressed with my work.
If you’d like to stitch up your own Angel Bunny tapestry, I can send you the pattern. It’s done as a chart so you just count the stitches and follow along. As you can see above, I actually traced it on to the canvas from line art which I found easier but stitch charts seem to be the standard. Basic tips are included plus wool colours, though obviously you can use what you like. I almost did the pink as blue, which I still think would look cool.
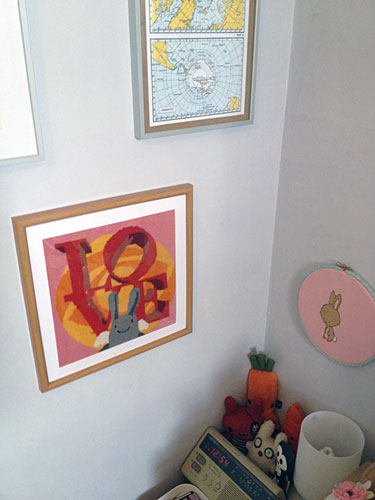
And here it is on my wall in bunny corner, next to the cross stitch Claire made for me.
