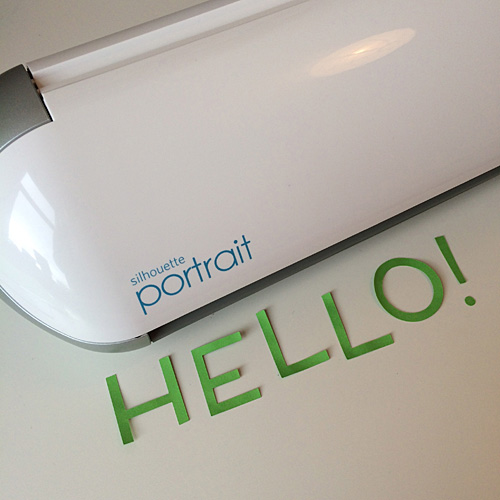
Say hello to my paper cutting machine! I got it months ago, but it’s been a bit of a learning curve so I’m still a bit away from saleable products. I shared a couple of things on Instagram and thought I should blog about it too. If you don’t know how a paper cutting machine works – watch my little video! (warning: it has sound)
Basically it’s like a printer, except it has a little knife and can cut out any shape you send it. The one I bought is a Silhouette Portrait. I had some end of tax year money left after my laser printer turned out to be cheaper than I expected. I had been looking at the cheap brands for something fun to try out but it turns out that almost all die cutting machines and paper cutters don’t let you use your own designs, instead selling you cartridges or downloads with their own designs. The designs are actually pretty cool, with everything from fancy text to foldable gift boxes, but the whole point was to cut out my own characters.
That basically left me with the Silhouette brand, and the Portrait was the most affordable one for me. Even then, it comes with its own basic design software that is only really good for text and simple shapes, and doesn’t import your standard vector files like .ai and .eps. Luckily, some awesome people on the internet have figured out some workarounds so I was able to use my own designs. It also came with a gift card for downloads so I will probably try out some of their files too.
The other downside of the Portrait is the size of paper it takes, which is A4. You can buy a bigger machine, but I couldn’t really justify the cost. A4 should be fine for now. It’s also really noisy! You can hear it in the video, and if you’re old enough to remember dial-up modems and dot matrix printers you know exactly how noisy. If you were running it for hours a day, you might go a bit mad.
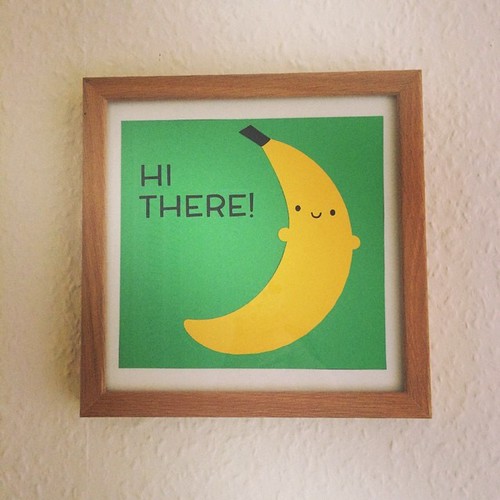
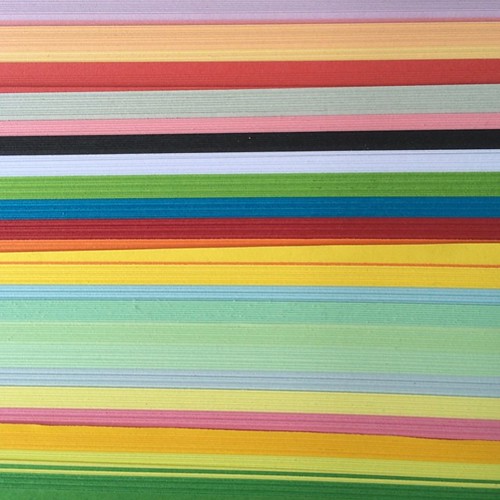
Anyway, I’ve been playing with it on and off and here’s one of my prototype products, which now hangs right by my front door for maximum welcoming! It’s actually really fun figuring out the best way to layer the colours – eg. the black letters are cut out of the green, rather than cut from black and placed on top, which would be very fiddly. I really like how the finished pieces look and sometime soon I will be offering both finished pieces and custom orders, which you can add your own text to! My first task though, is to buy some brown card, which was pretty much the only colour missing from my gigantic multi-colour card purchase.
If you’re thinking of buying a paper cutting machine or die cutter, all I can say is do your research thoroughly and know what you want to do with it. Mine is fine for card and paper and vinyl and other thin materials, but it can’t do felt (booo!) or fabric. If you don’t need to cut your own designs, or are mostly using text and simple shapes, you’ll have many more options and brands open to you.
Watch this space for further developments, and feel free to ask any questions in the comments.
