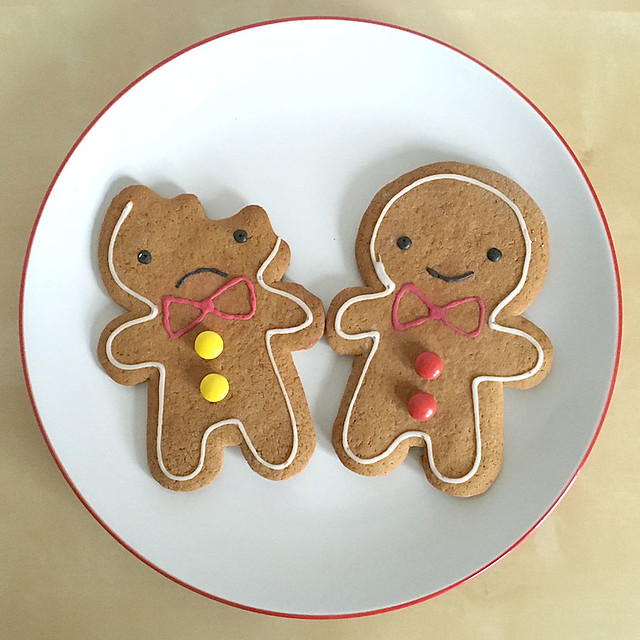
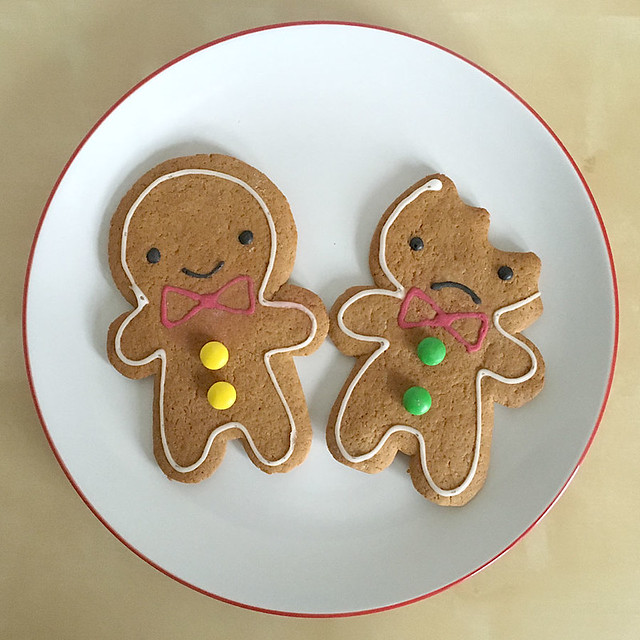
I was discussing cookie cutters with someone on Etsy and realised I needed to give this a go, so here is how to make my Cookie Cute characters out of actual gingerbread! Warning: this is a terrible guide. Also I kept forgetting to take photos because the icing was so stressful.
1. Buy readymade gingerbread dough (I got mine in Sainsburys), red and black food colouring, icing sugar and plain M&Ms. Sure you could make your own dough, but let’s not go crazy here.
2. Eat all the M&Ms that aren’t red, green or yellow
3. Measure an M&M with a ruler. Realise this project is already ridiculous.

4. Resize gingerbread men in Illustrator to be the right scale to have M&M sized buttons. Change to black and white and print onto card.
5. Remove dough from fridge to warm up, preheat oven and cut out card templates.
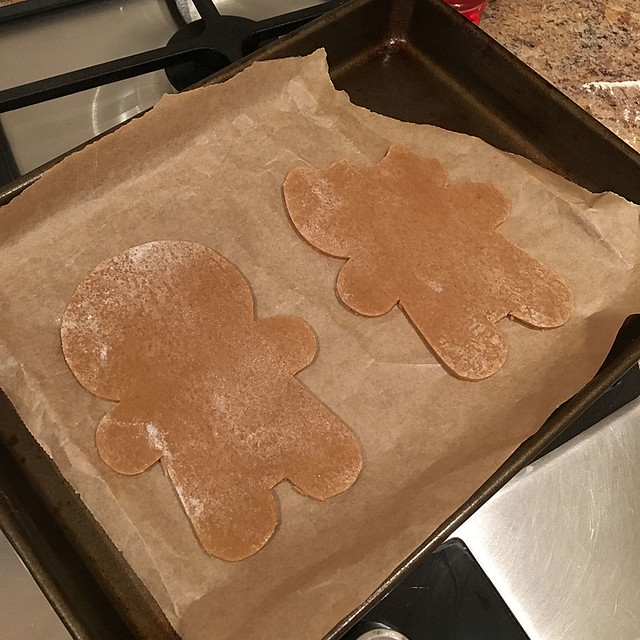
6. Cut dough in half and roll out with rolling pin until just big enough to fit both templates.
7. Cut round templates with a sharp knife and place cookies on a baking sheet lined with greaseproof paper. They will spread a little bit so don’t put them too close together.
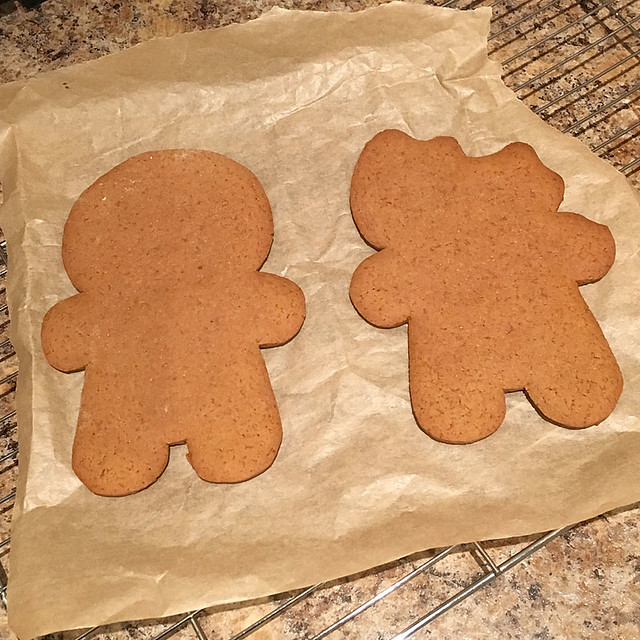
8. Bake “until ready” (helpful. I took mine out after about 11 minutes)
9. Pick up the whole sheet of greaseproof paper and lay on a cooling rack.
10. Repeat steps 6-9 with the other half of the dough
11. Use any remaining dough to make some smaller cookies to practice icing.
12. Leave cookies to cool completely. If they’re cold enough, the paper should peel off easily without damaging the cookies. Eat some of the practice cookies, to check they’re not terrible.
13. Mix the icing sugar and a little water to make some plain white icing. Try drizzling with a spoon on to a test cookie to get the right thickness. It should flow in an unbroken line, but not spread too much. This needs way less water than you might think.
14. Lacking an icing bag, decide to use a freezer bag. Discover once full of icing that it doesn’t actually have any corners to cut off so just poke a hole in the side. Professional!
15. Take a deep breath and ice an outline about 5mm inside the edge of the cookies. You just have to kind of go with this and hope for the best.
16. Mix up leftover icing with so much more red colouring than you ever imagined needing and attempt to ice bowties, except all that colouring watered down the icing and you just get pools of still quite pink icing. Manage to wipe it all off with a damp kitchen towel
17. Use dabs of the icing to attach two M&M buttons to each cookie instead (make sure the m is on the bottom!).
18. Mix up black icing and instead use a toothpick to create the eyes and mouths. All those years of reading Bakerella’s blog finally saves the day. The icing needs to be a bit thicker and then just try and load up your toothpick and drag the icing into the correct shape.
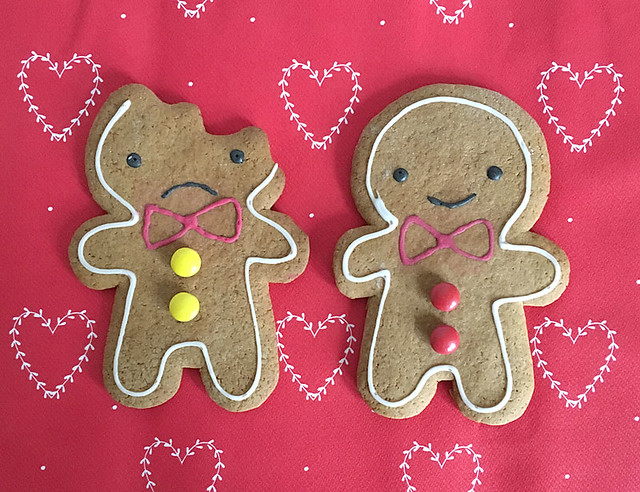
19. Feel bad about the sad cookies. They look so depressed by my decorating skills.
20. Mix up more red icing and use a toothpick to make the bowties. I found it’s best to make a pool in the middle of the bowtie, draw one side and then turn the cookie around to do the other side for reasonable symmetry.
21. Feel quite pleased that they look like my cookies. Post photo on Instagram.
22. Leave cookies to cool and then put in a tub until you can find some daylight to take photos.
23. After taking photos, wonder what to do with these cookies. I’m hoping I can attach some string and hang them on my stall this weekend because I don’t really want to eat them.
THE END.
If anyone actually wants to try this, let me know and I’ll post up the templates. You could also use my ornament postcard or free garland, though you’ll need to find smaller buttons. I’m sure you can’t do any worse than me.
