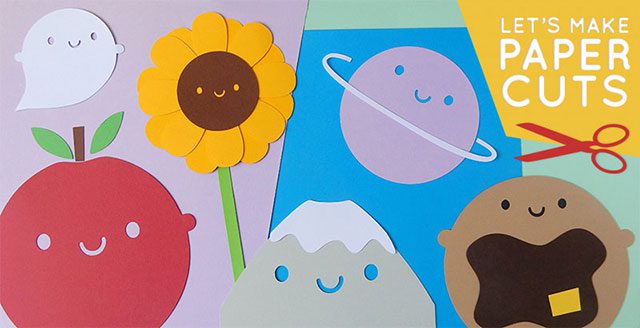
Welcome to the first of my paper cut tutorials! I’m planning to post one every month this year so you can make cards and decorations featuring my cute characters. Want to make sure you don’t miss one? Join my mailing list!
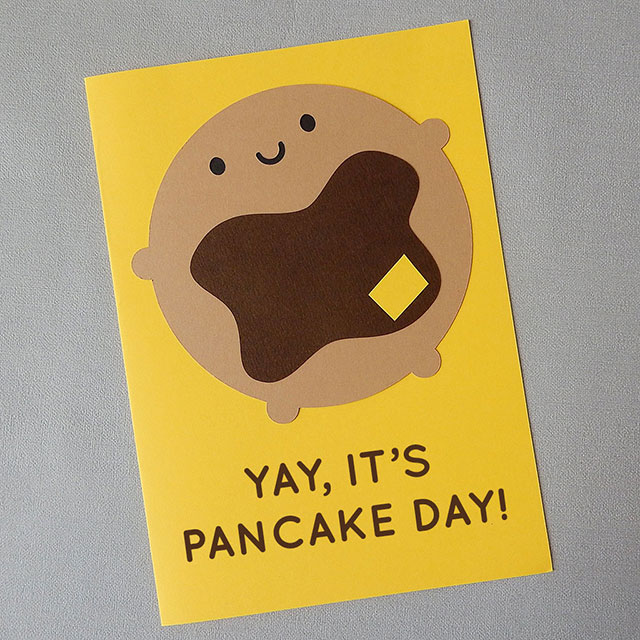
Kicking things off is my Pancake who would be great for some Pancake Day decorations on the 28th or to make a special Valentine’s Day or birthday card for a sweet someone.
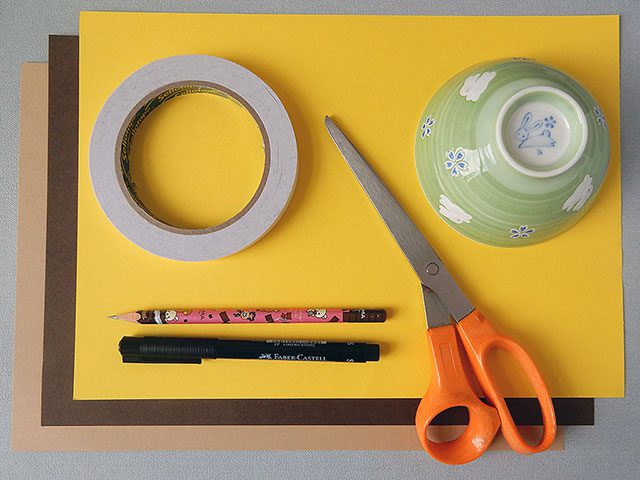
What you’ll need:
- Thin card in two shades of brown and a bright yellow
- Pencil and eraser
- Black marker pen
- Scissors or sharp craft knife and cutting mat
- Double-sided tape or glue dots or glue stick
- A pair of compasses or something round to draw around*
- My Draw Kawaii Faces free printable (optional)
* For an A5 card, a small bowl or large mug is ideal or try a biscuit tin lid or saucer.
Instructions:
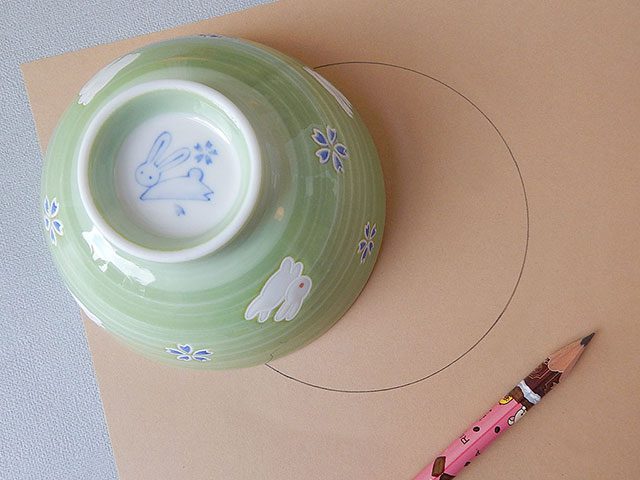
On the lighter brown card, draw around your circular object with a pencil or use your compasses to draw a circle around 12cm in diameter.
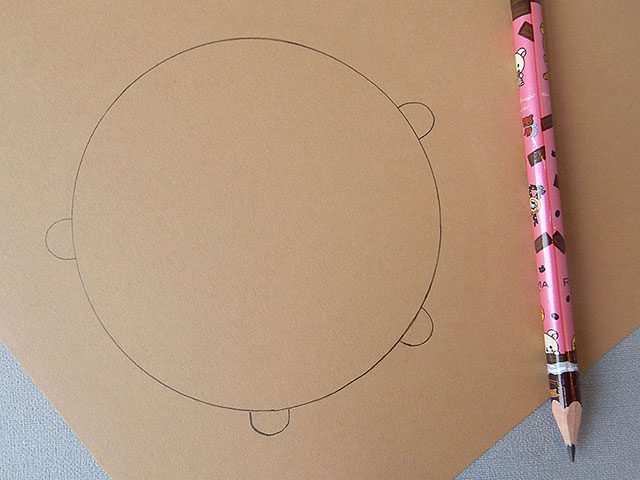
If you want my trademark tiny hands and feet, draw small half circles at four points around the circle. You can use the compasses or a small object to make the circles or just freehand it. Cut out the shape with your scissors or craft knife and then either erase the lines or just flip it over.
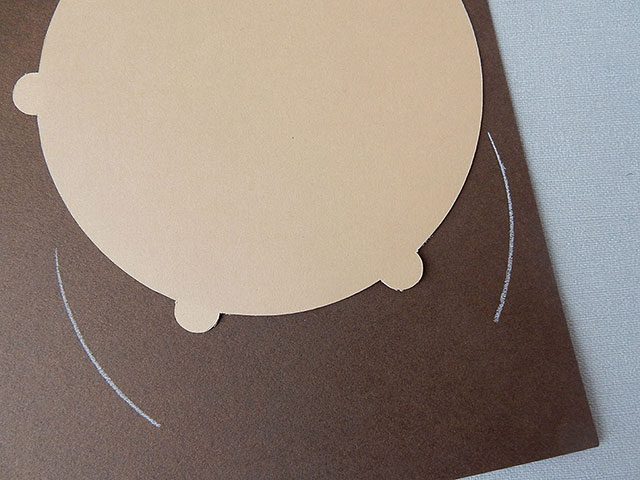
Place the pancake shape on to the darker brown card and mark the sides as a guide for the syrup. I’ve used a white pencil to make it clear for the photos but a normal pencil is fine.

Draw an irregular lake that fits easily inside the guidelines. You could draw a heart shape instead or any other shape you like. Cut your syrup shape out.
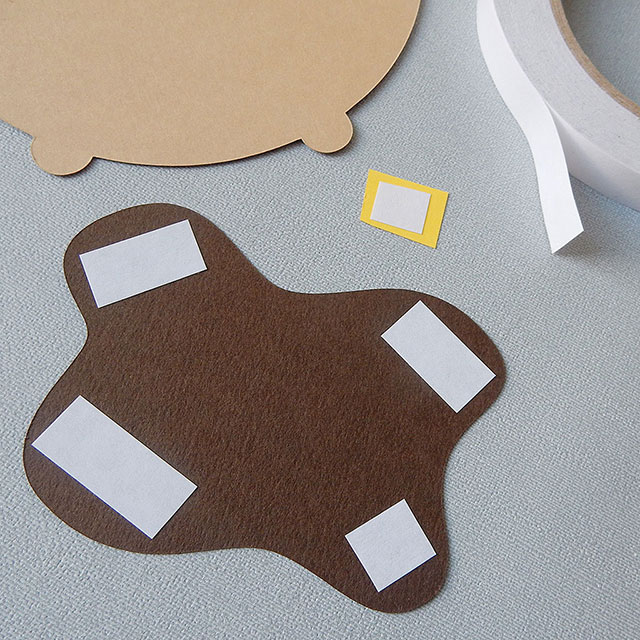
Cut a small wonky rectangle of butter from the yellow card (or again, make it a different shape!), then apply double-sided tape or glue to the back of both pieces.
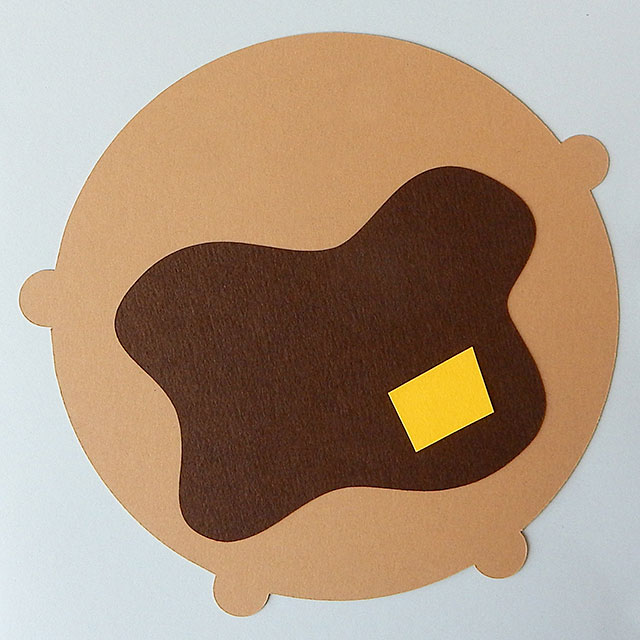
Stick them on to your pancake shape and we’re almost there! If you used glue, make sure to leave it to dry before adding the face.
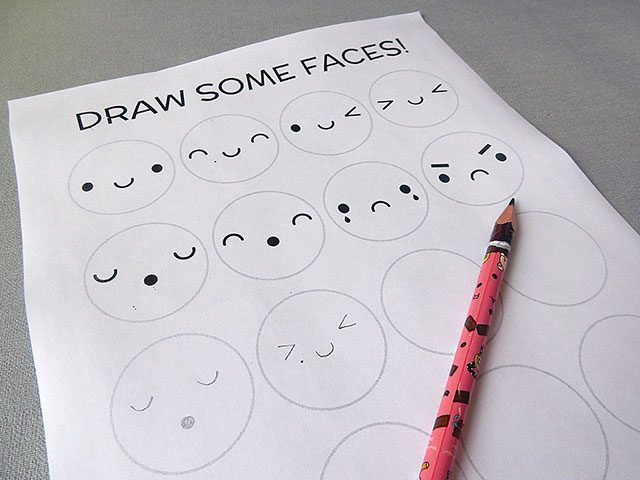
I’ve made a Draw Kawaii Faces printable with eight cute faces to choose from. There’s space below to practice or you could even get your printer to scale it up and then use tracing paper to copy a face over to your pancake.
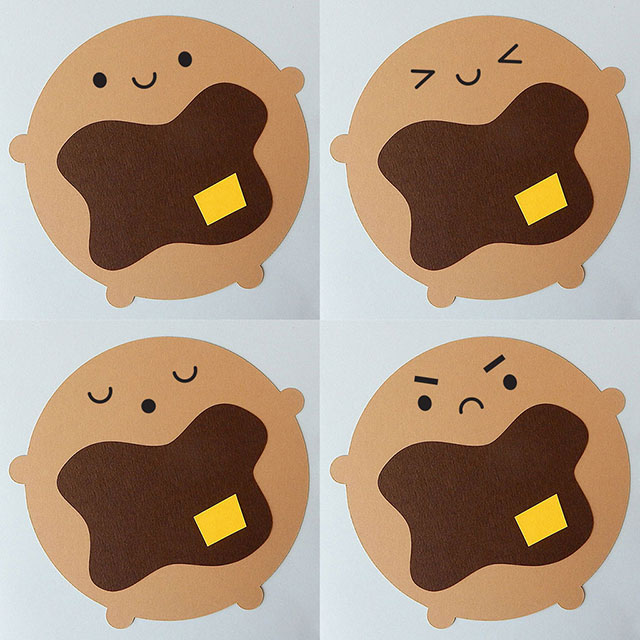
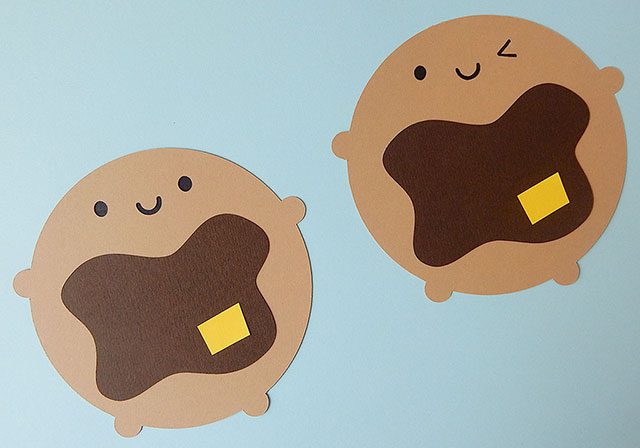
Here’s what some of the faces look like on the pancake if you can’t decide. You could use the angry face if someone uses up all the milk on Pancake Day before you’ve had a chance to make any!
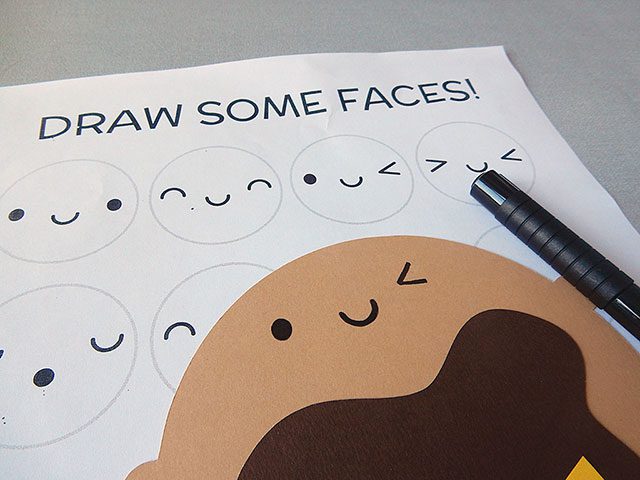
Once you’ve practiced your preferred face, pencil it lightly on to the pancake and then ink in with a pen. I used a brush pen from this Faber-Castell set, which is great value.
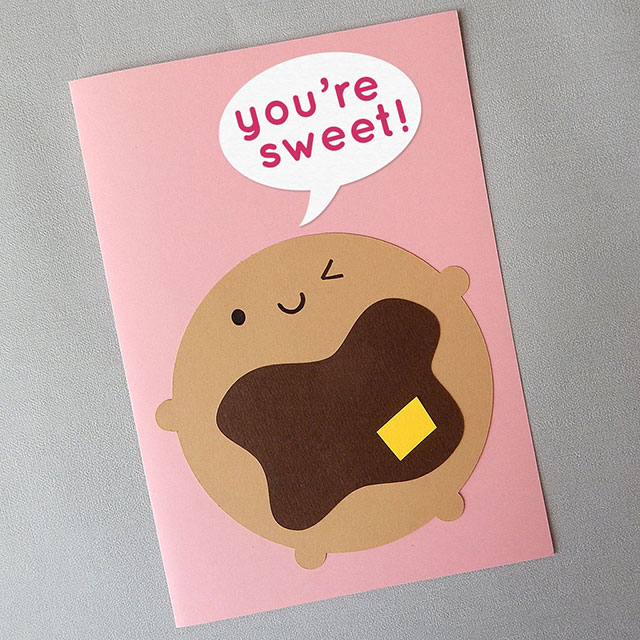
Once you’ve finished your Pancake, there’s lots of things you can do with him. Making a card is easy – just attach it to an A4 piece of card folded in half. You can add text by hand or print your message separately and cut it into a speech bubble or other shape.
You could also tape a loop of string on the back for hanging or make a few and string them together in a garland. If you use a bigger or smaller circle to begin with, then there are even more options.
If you make a Pancake, I would love to see it! You can tag me on Instagram (@marcelinesmith) or Twitter (@marceline).
This tutorial is for personal use only! Please do not sell items you make or use this tutorial for profit. As with all content on this blog, the images and instructions are copyrighted © Marceline Smith 2017 and may not be reposted without credit and permission. Thank you for respecting the rights of artists and makers.