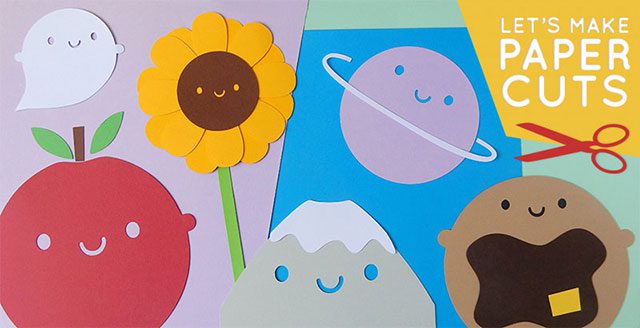
Time for a new paper craft tutorial to help you make cards and decorations featuring my cute characters! Want to make sure you don’t miss one? Join my mailing list!
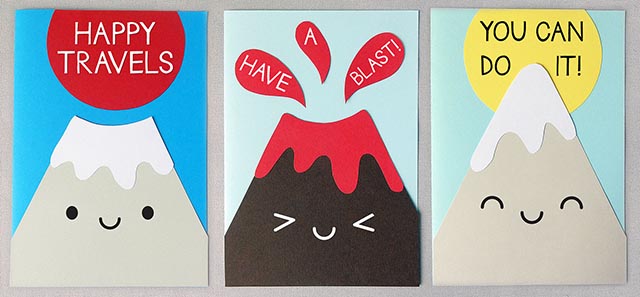
I had Mt Fuji down for July in my rough list but while thinking about it I realised I could make volcano and mountain versions too! So this month you get three characters for the price of one.
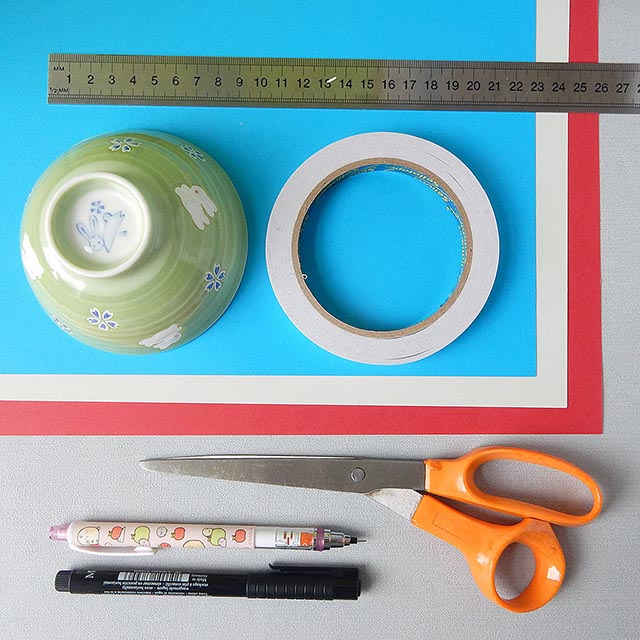
What you’ll need:
- Thin card in grey, blue, red and white (for Fuji – volcano and mountain listed later)
- Something round to draw around (see size below) or pair of compasses
- Pencil and eraser
- Black marker pen
- Scissors
- Long ruler
- Double-sided tape or glue dots or glue stick
- My Draw Kawaii Faces free printable (optional)
Instructions:
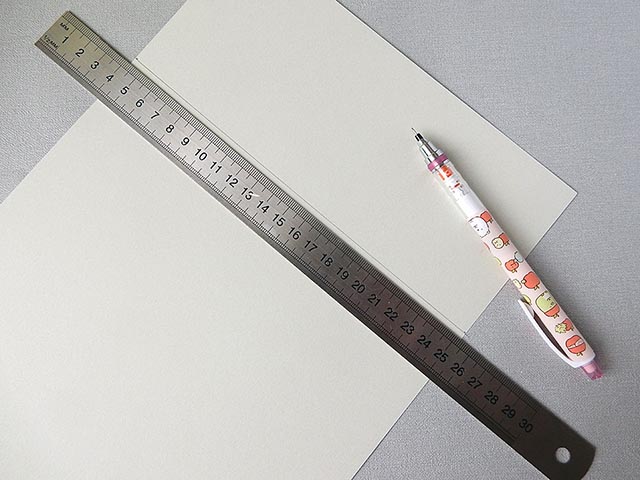
I’m making an A5 card here so I’m using an A4 sheet of card. You can size up or down, keeping the same ratio. Measure the shortest side of your grey card and then mark the same width along the long sides and join them together to make a square. Cut off the extra bit.
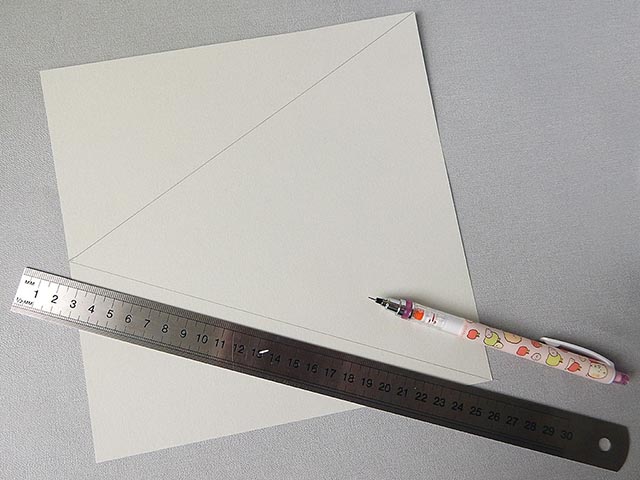
Mark half way along one side and then draw lines to the two opposite corners to make a triangle.
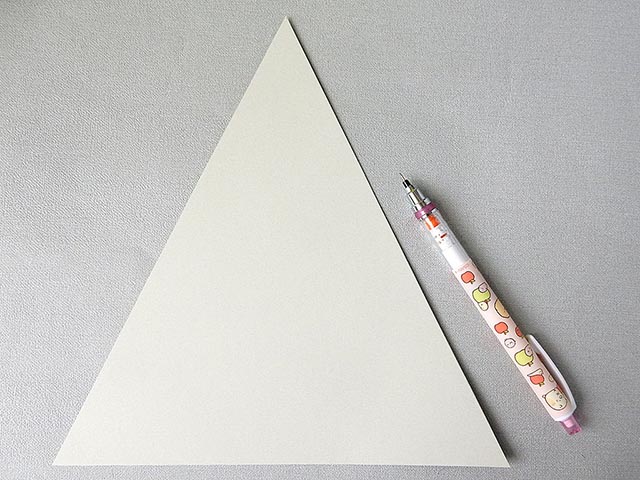
Cut that out and you’ve almost got a mountain already!
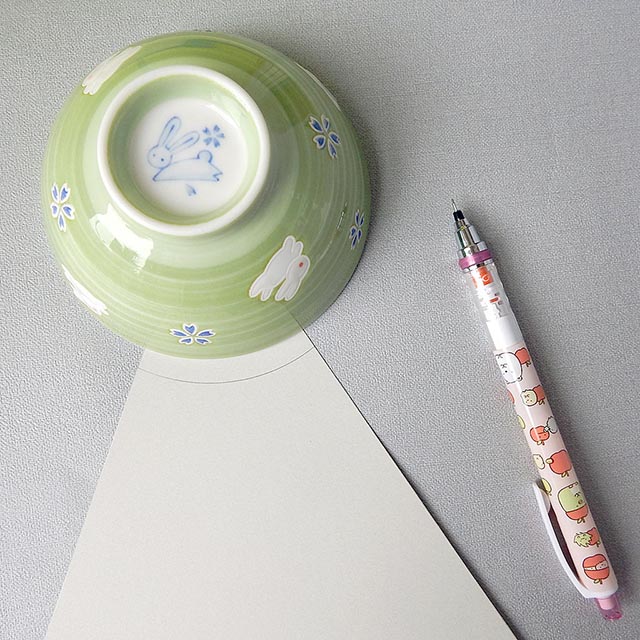
Use a round object – a small bowl or mug is good – and draw a curve near the top of your triangle.
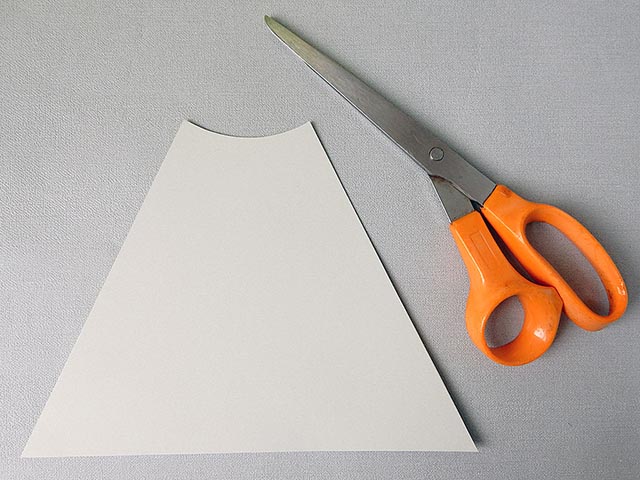
Cut along the line and you’ve got a classic Mt Fuji /volcano shape.
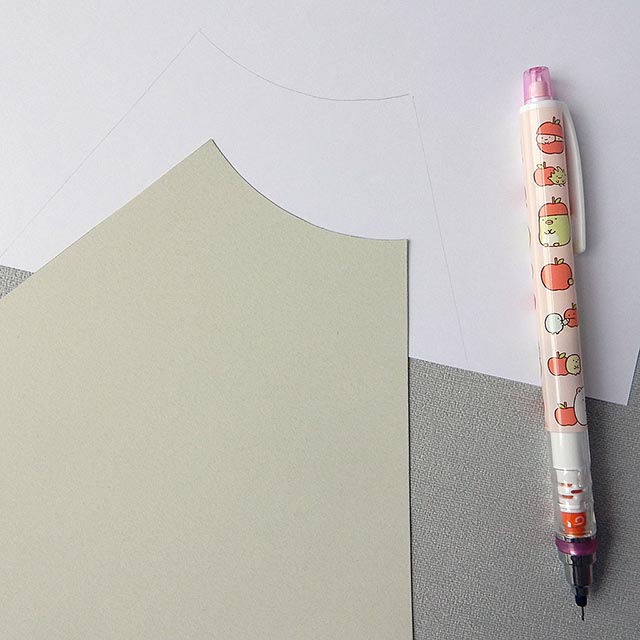
On your white card, draw lightly around the top of your Mt Fuji.
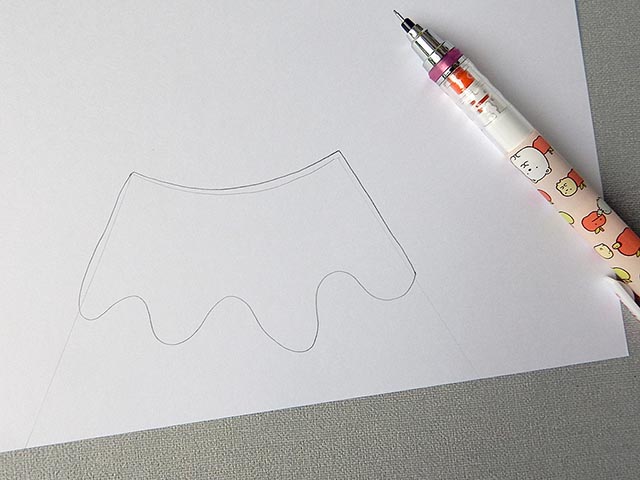
Using this as a guide, draw some curvy snow lines that will fit over the outline,
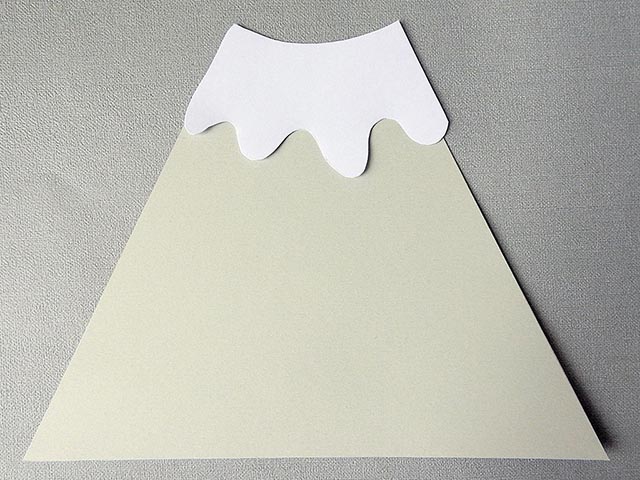
Cut it out and use your glue or double sided tape to attach it to the top of your Mt Fuji.
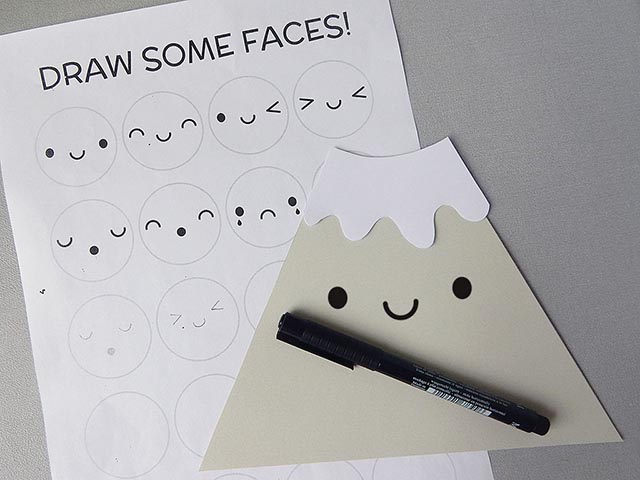
Time to add a face! As always, you can practice with my free Draw Kawaii Faces printable which has eight cute faces to choose from. If you’re still not confident, get your printer to scale it up and then use tracing paper to copy a face over. Pencil in first and then go over with a black marker pen. If you’re just making a decoration, you can stop now, otherwise continue to make it into a card.
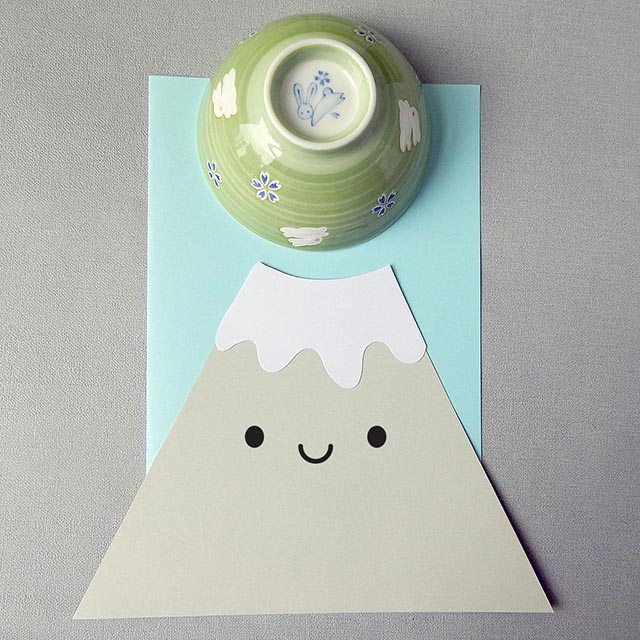
Place your Mt Fuji on a folded piece of card and then place a round object to find a good position for the red sun. You can have a smaller sun above Mt Fuji or use something bigger to make a large sun behind Mt Fuji.
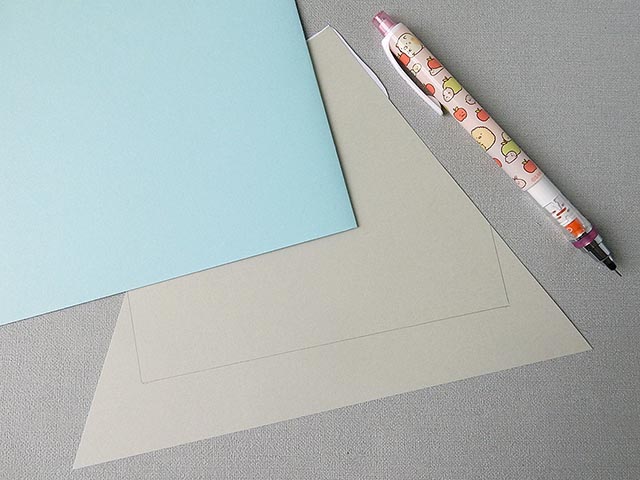
When you’re happy with your choices, put the round object aside and turn over the card, holding both pieces in place. Draw around the edges of the card on to your Mt Fuji and cut out.
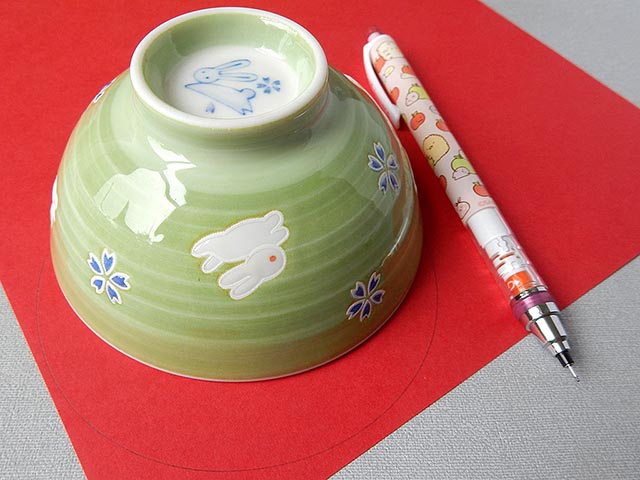
Draw around your round object on the red card and cut out. Repeat the step above to cut off any extra bits of the sun so that it fits on your card.
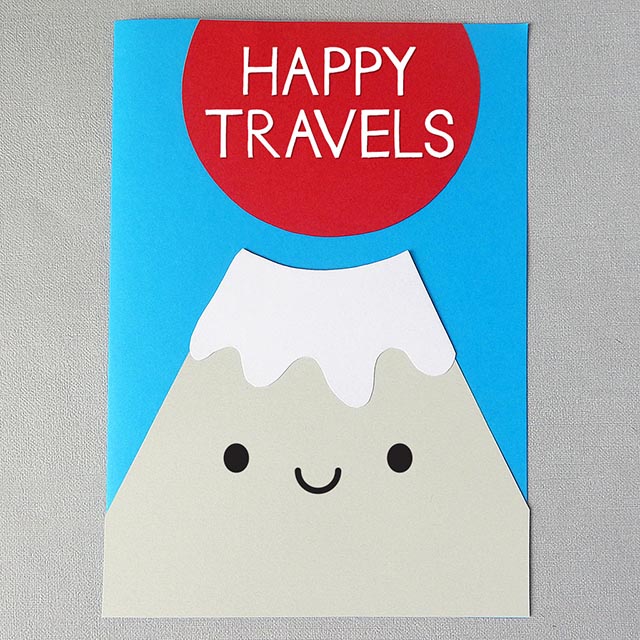
Glue everything down and you’ve got a finished card! You can add text by hand or print your message on to the red card before you cut out the sun. It’s great for a bon voyage card for anyone heading to Japan or for a birthday card for a Japanophile.
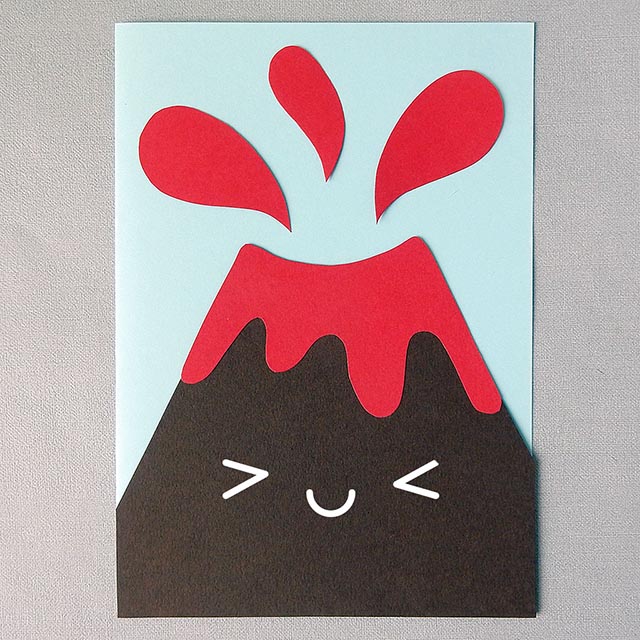
To make a volcano, follow the Mt Fuji steps with brown/dark grey/black card (for the volcano) and red card (for the lava) but cut your crater circle a bit lower down. Cut some lava blobs to erupt out of the top and you’re done.
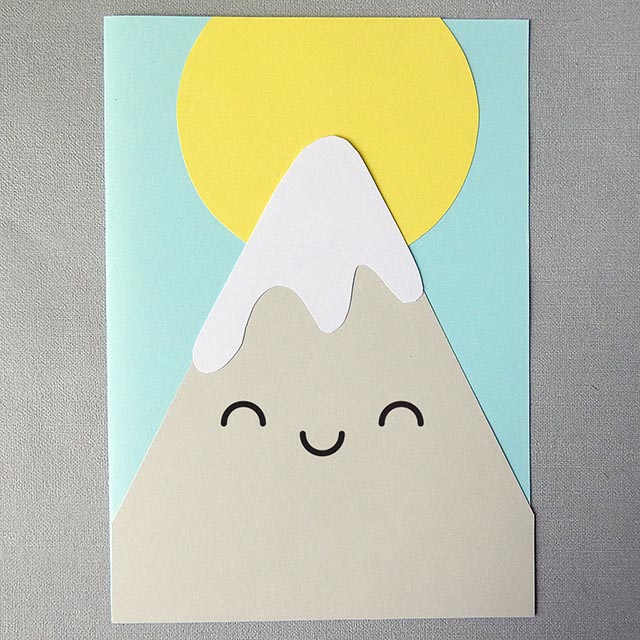
To make a mountain, follow the Mt Fuji steps but don’t cut a crater, instead just cutting a curved top or some jagged steps to the top. You can cut a yellow sun or some clouds to go behind or even add a small climber near the top. This is a great card for general encouraging messages or for outdoorsy friends and family.

If you make a Mt Fuji, Volcano or Mountain, I would love to see it! You can tag me on Instagram (@marcelinesmith) or Twitter (@marceline).
This tutorial is for personal use only! Please do not sell items you make or use this tutorial for profit. As with all content on this blog, the images and instructions are copyrighted © Marceline Smith 2017 and may not be reposted without credit and permission. Thank you for respecting the rights of artists and makers.

