Time for a new paper craft tutorial to help you make cards and decorations featuring my cute characters! Want to make sure you don’t miss one? Join my mailing list!
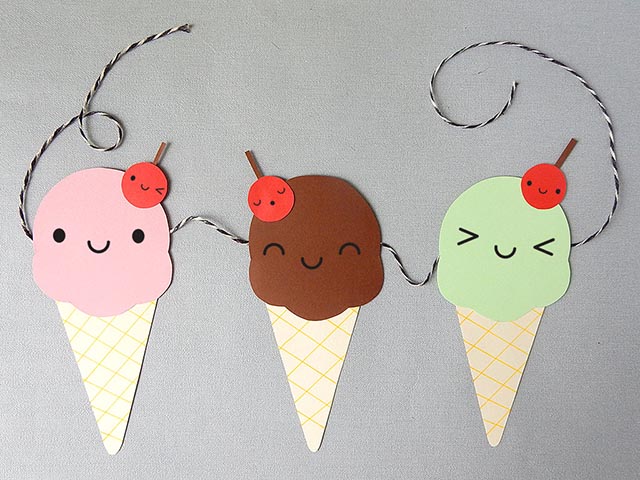
Despite the rain outside as I write this, it’s is the middle of summer so this month I’m showing you how to make a sweet ice cream garland. I already have a printable version but this one can be personalised with your own colours and expressions. There’s also a two scoop birthday card option at the end.
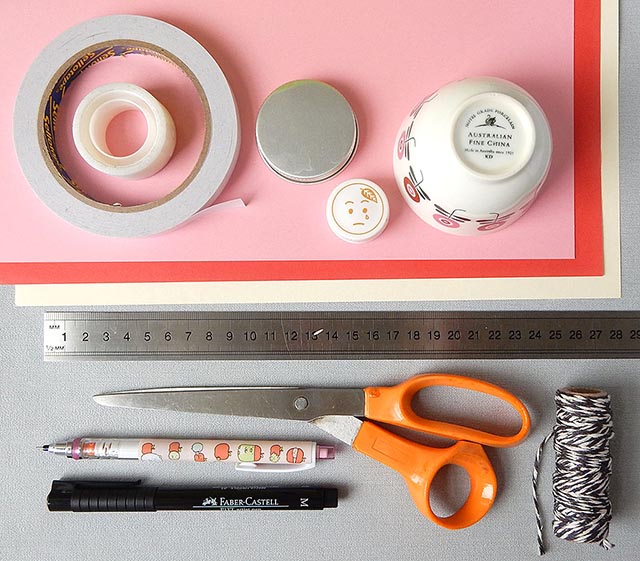
What you’ll need:
- Thin card in wafer, ice cream and cherry colours (I’ve got cream, pink and red here but use whatever you like)
- Round things to draw around (see sizes below) or pair of compasses
- Pencil and eraser
- Black marker pen
- Scissors
- Long ruler
- Double-sided tape or glue dots or glue stick and sticky tape
- String (for the garland)
- My Draw Kawaii Faces free printable (optional)
Instructions:
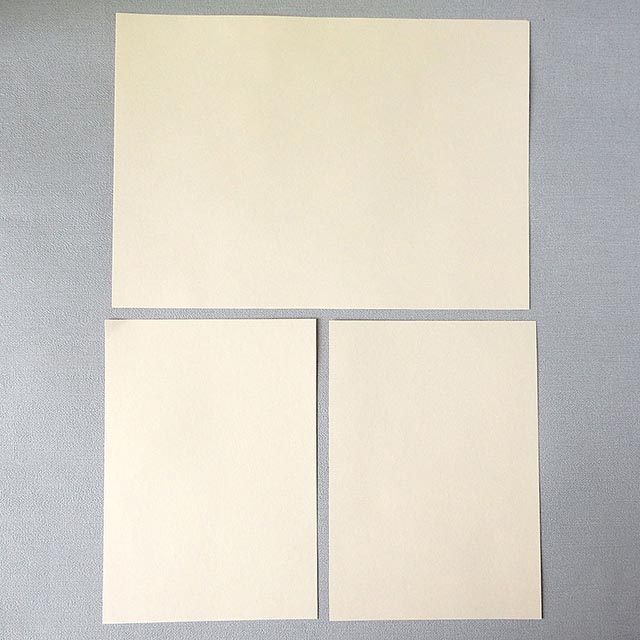
I’m using an A4 sheet of card but you can make your ice creams bigger or smaller – just keep the same ratios. Cut your wafer coloured card in half and then in half again.
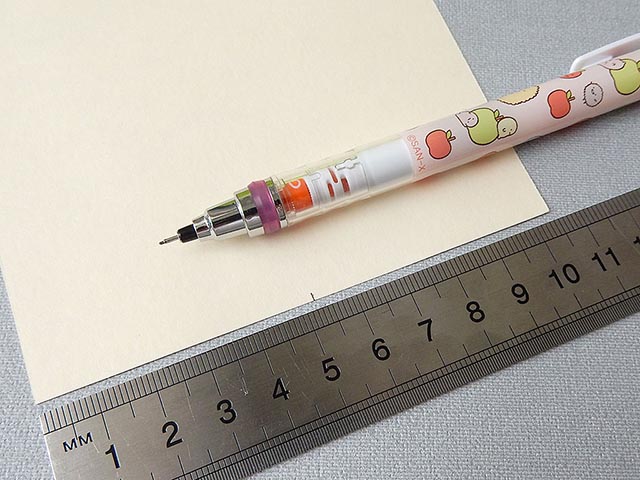
Measure half way along one of the shorter sides and mark it.
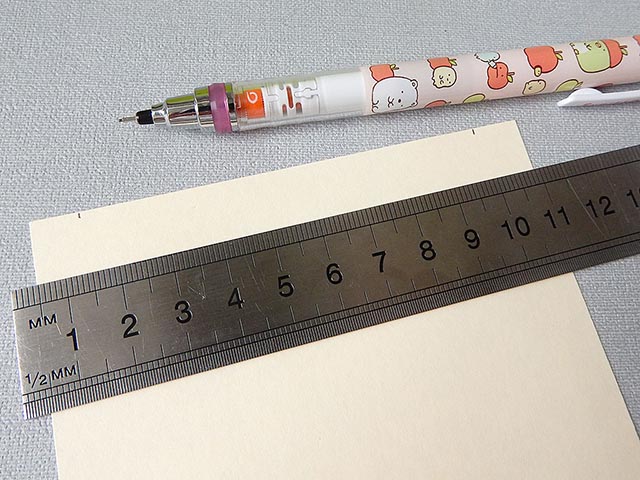
Measure 1cm in from each side on the other short end and mark.
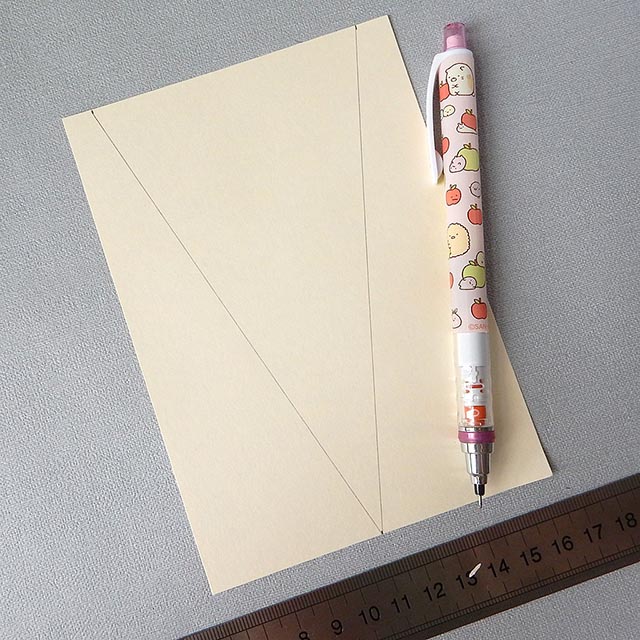
Join the marks together using a ruler and pencil to make a triangle.
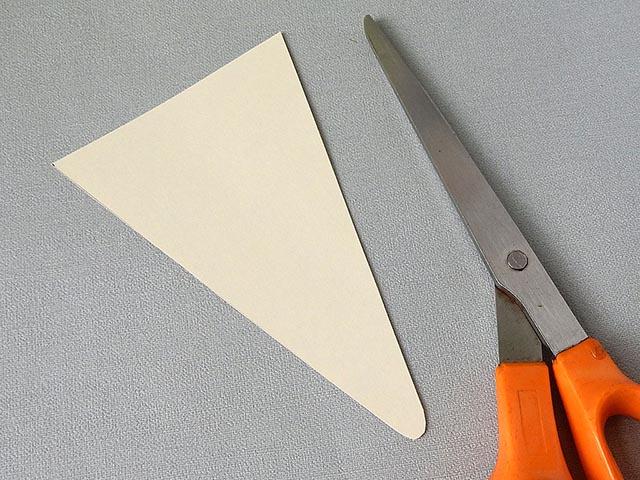
Cut out your triangle and round off the end. Now you have a cone! You can use it as it is but I’m making it a wafer cone.
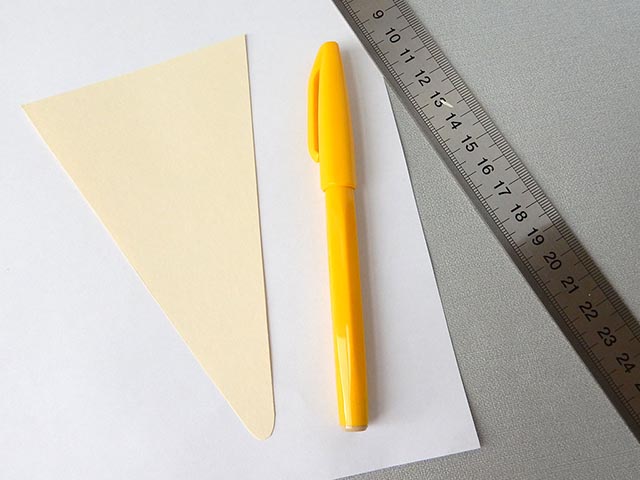
For wafer lines you’ll need a felt tip pen of a darker colour than your card. I’m using yellow but brown would be good too. You’ll want to put a bit of scrap paper down to protect your workspace.
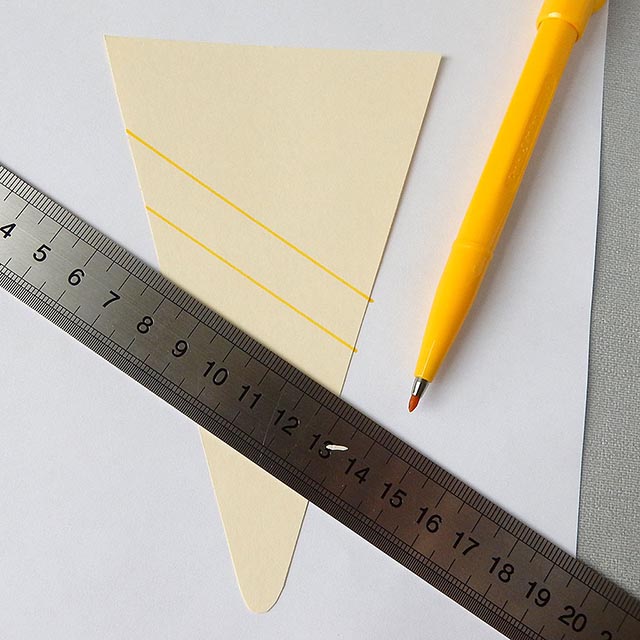
Starting somewhere in the middle of your cone, draw a diagonal line with your ruler and pen. The angle doesn’t matter at all. Move your ruler down to draw further lines and try to keep them to the same angle and spacing.
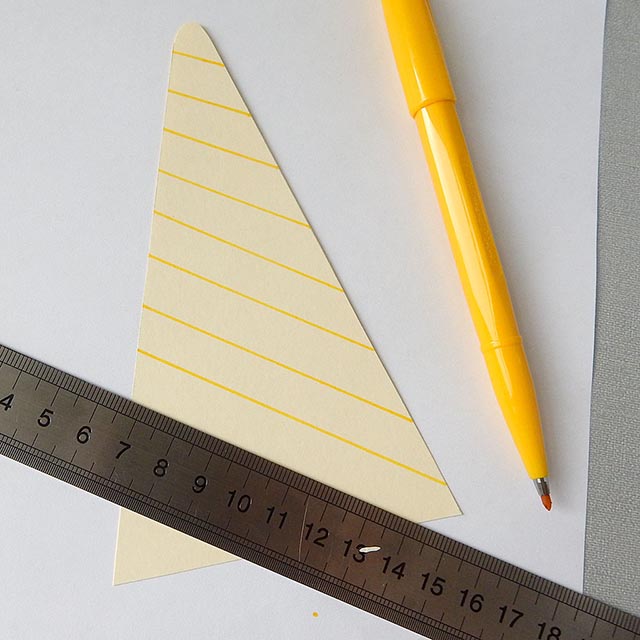
When you get to the bottom, turn the card around and add more lines to the top.
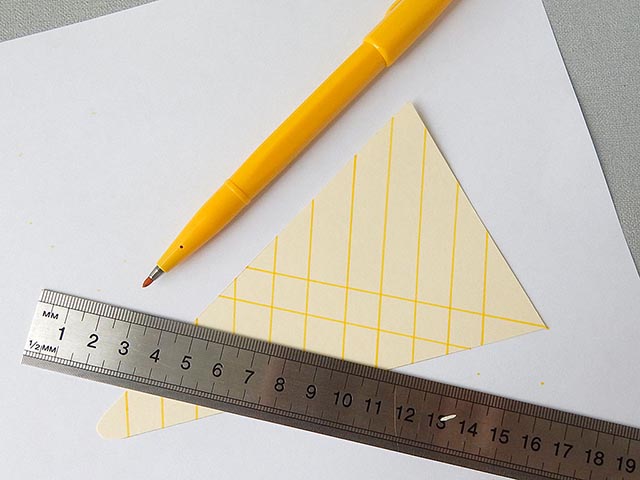
Turn your cone around and add the next set of lines at a different angle. Again, any angle is fine.
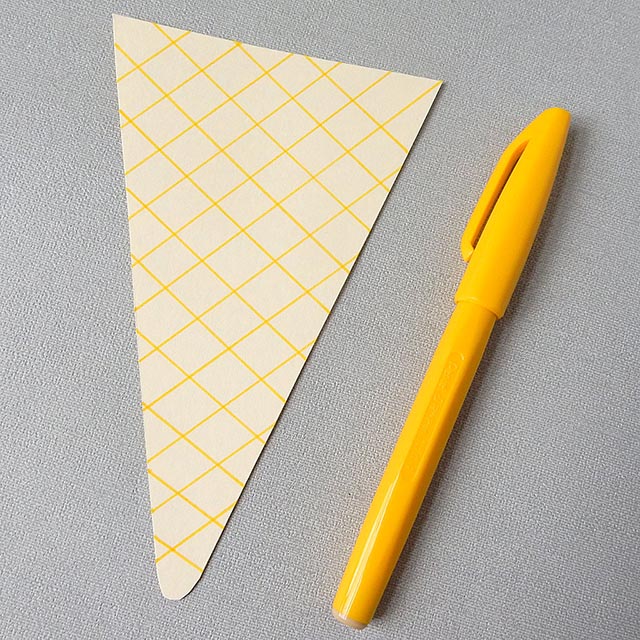
Finished! Put your cone to the side for later.
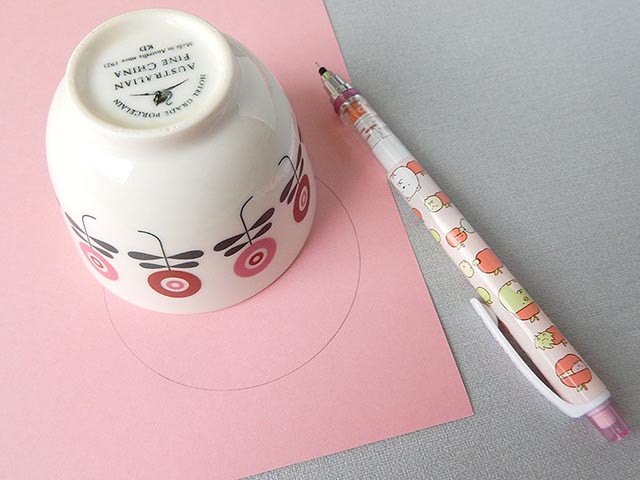
It’s time to make ice cream! Draw around your larger object (or use the compasses) on the pink card (or whatever colour you chose). I’m using a small teacup here which is about 7.5cm in diameter.
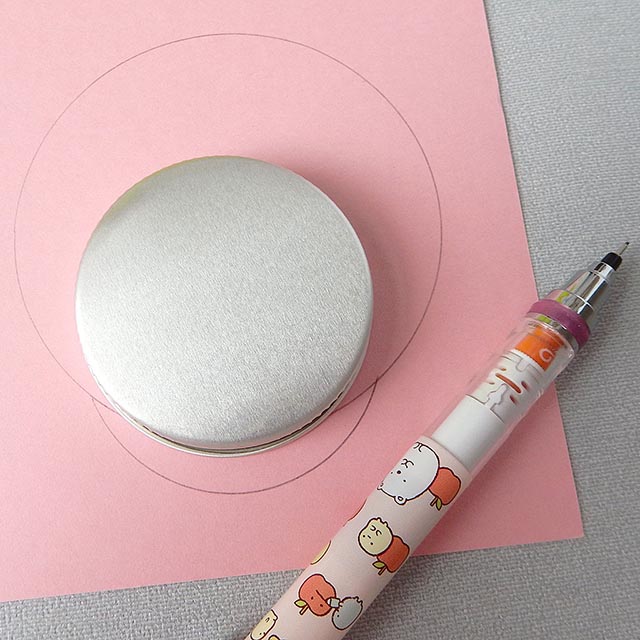
To make it look more like a scoop, use a smaller object (mine is a spice jar lid, about 5cm) to draw a bulge on the bottom.
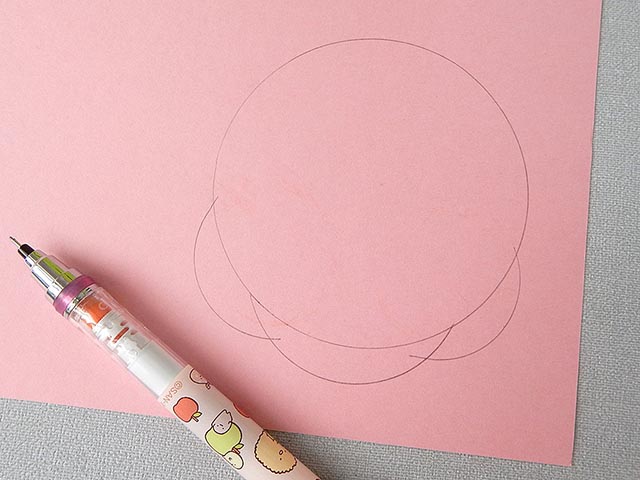
Add a couple more to the sides and cut it out. You could freehand this part if you want it to look more like it’s melting.
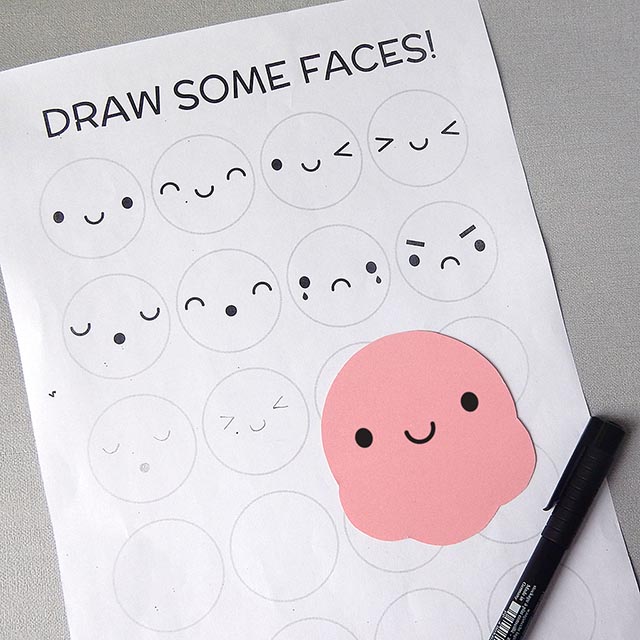
Time to add a face! As always, you can practice with my free Draw Kawaii Faces printable which has eight cute faces to choose from. If you’re still not confident, get your printer to scale it up and then use tracing paper to copy a face over. Pencil in first and then go over with a black marker pen.
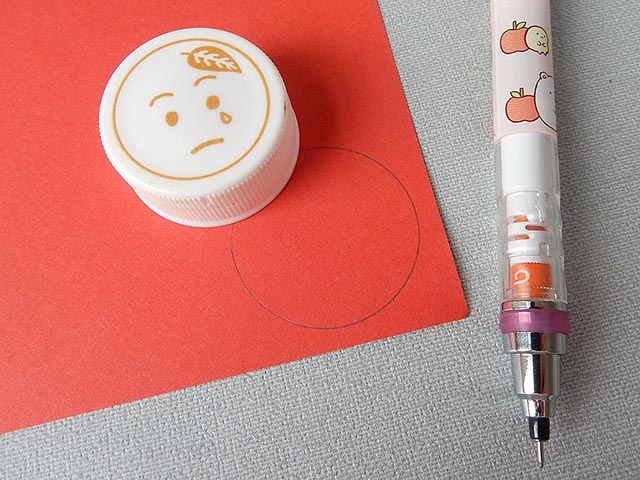
Do you want a cherry on top? Of course you do! Draw around a small item like a bottle top (I brought this one back from Japan) on your red/purple card and cut out.
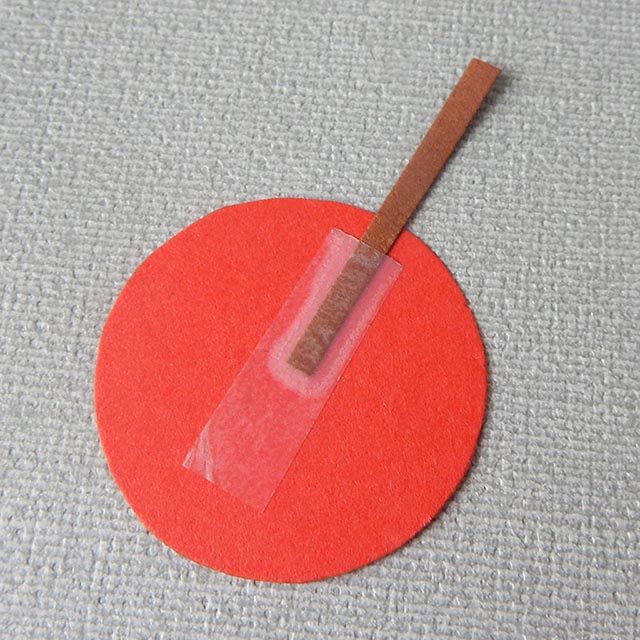
If you want a stalk, just cut a thin piece of brown or green card and attach with sticky tape. You could also just colour in a piece of card with a pen to get the colour you want. Draw a face on the front, if you like.
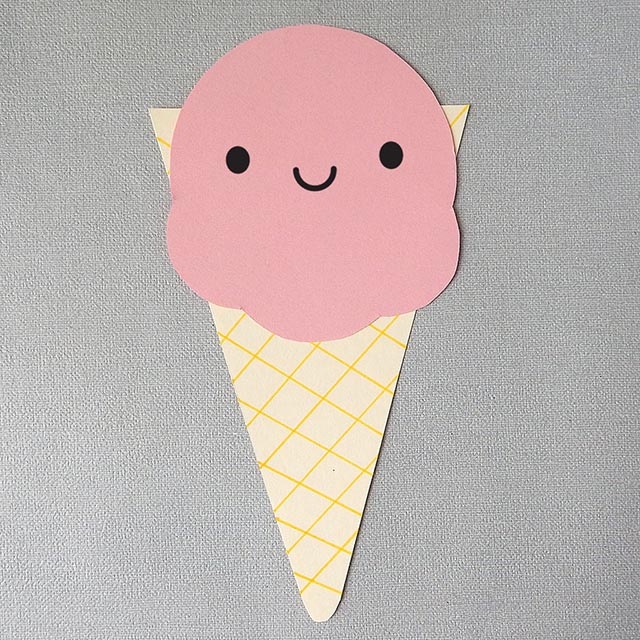
Now to assemble. Get your cone back and place the ice cream on top until you like how it looks. There will probably be some cone sticking out of the top. Use your pencil to mark those bits.
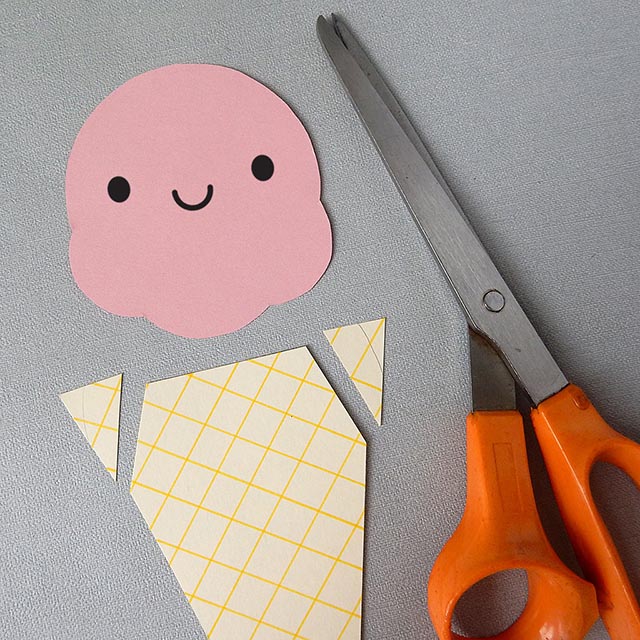
Using the pencil marks as a guide, cut off the extra bits. You’re best to cut off quite a bit more to make it easier to stick everything together.
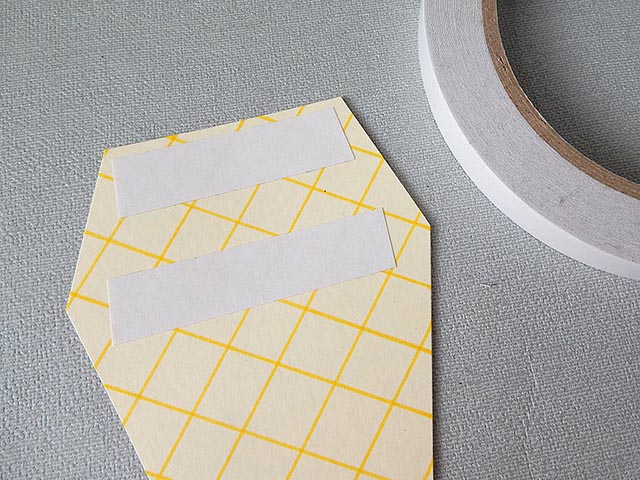
Use your double sided tape or glue to stick the ice cream to the cone.
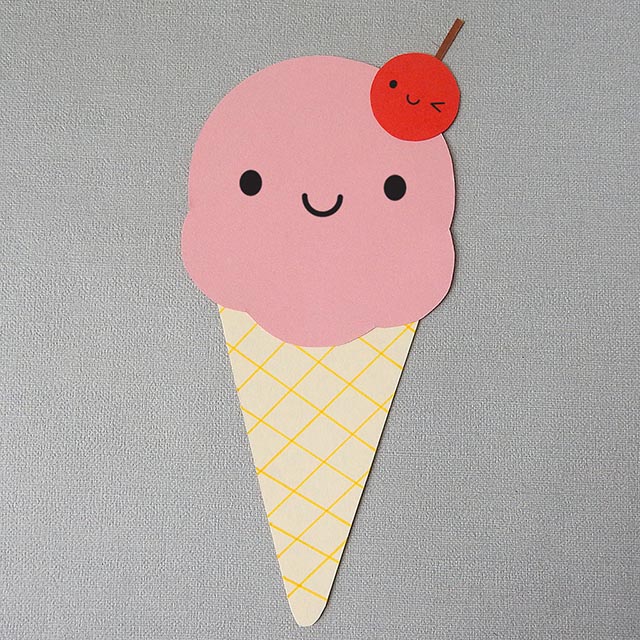
Glue a cherry on top and you’re done!
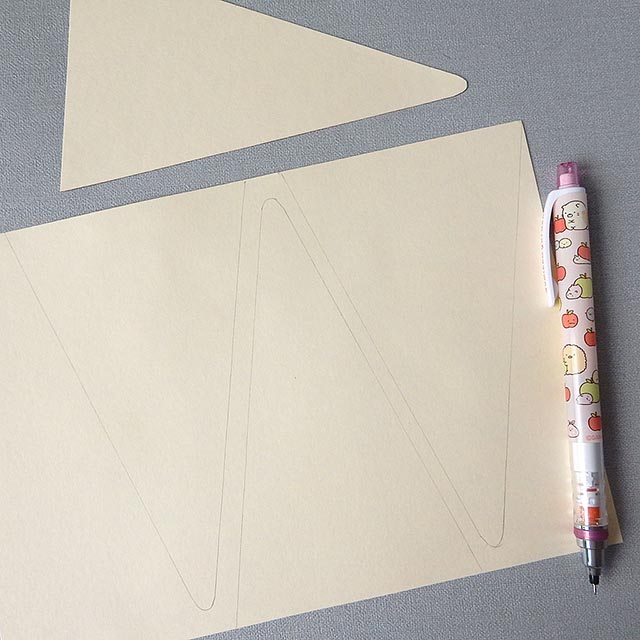
To make a garland, you’ll need some more ice creams. You can trace around the cone and ice cream shapes you already made to save you measuring again.
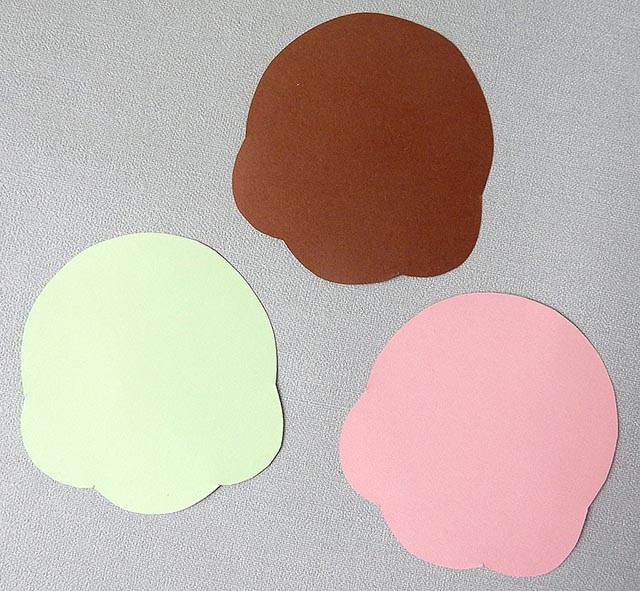
I’ve made the ice cream in three different flavours: mint, chocolate and strawberry. You can make as many as you like. Try different colours or add sauce or sprinkles on top instead of a cherry.
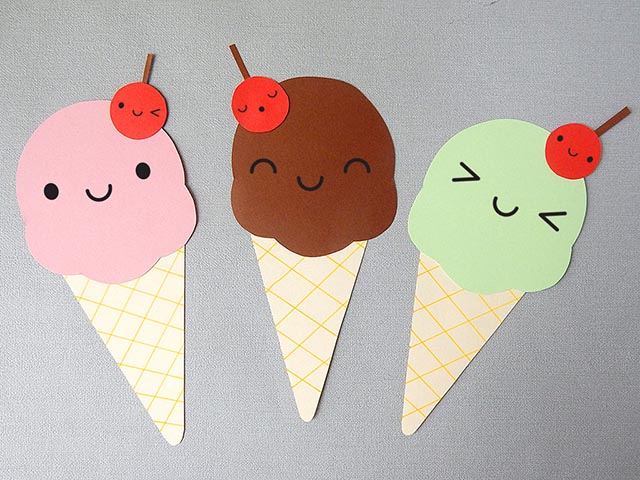
Assemble everything as before and give them all different faces for a fun look.
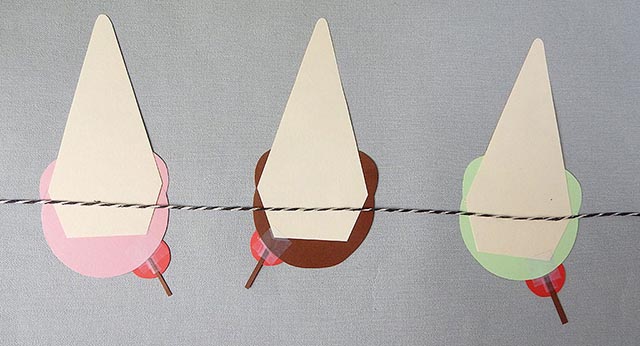
When you’re ready to make your garland, lay out all your ice creams in the order you want and turn them over. If you’re making them to fit a specific space, hang your string up with a nice curve and cut to size, then use that as a guide. Otherwise, just cut your string with a bit extra on the ends.
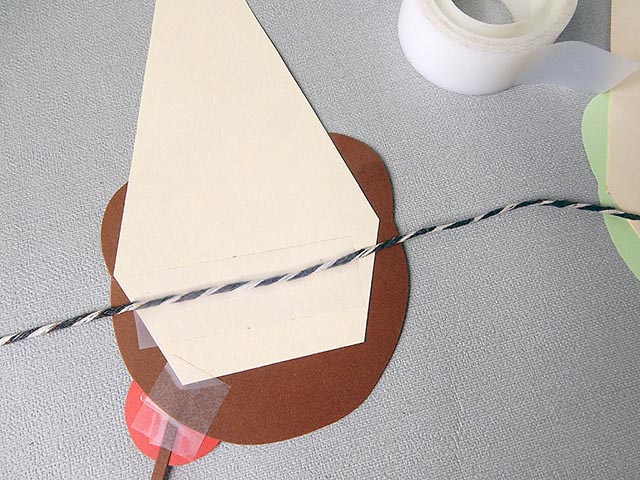
Keep the string quite high up on the ice cream so they’ll stay upright and use sticky tape to attach the string.
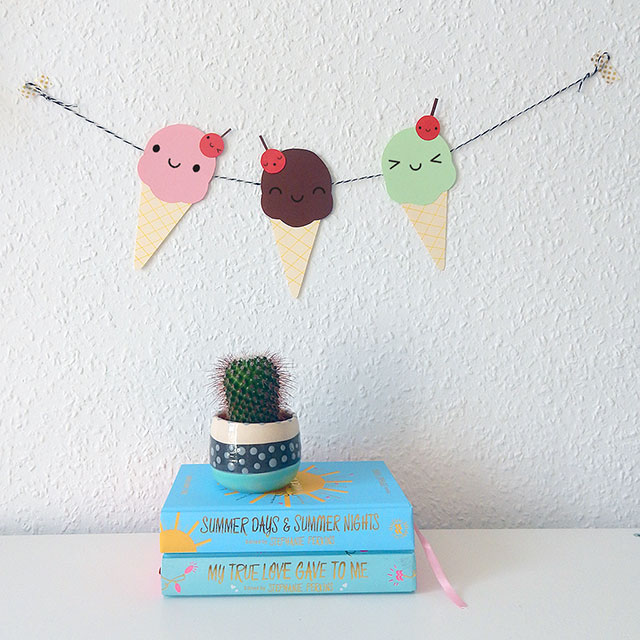
You can tie loops at the ends to hang on pins or hooks or else just use tape. Magic tape or washi tape are best as they can usually be removed without damage. Hang it up wherever you like!
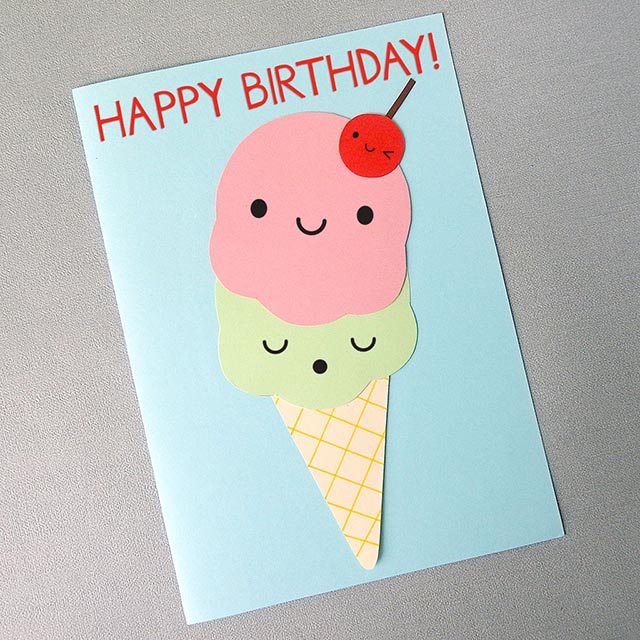
To make a card, just glue your ice cream to folded card. You can add text by hand or print your message and cut into a speech bubble or other shape. I’ve added an extra scoop of ice cream – just make it in the same way but don’t add your faces until you’ve assembled everything. You could add even more scoops if you like and fold the card lengthways instead to make it really tall.
If you make an Ice Cream garland or card, I would love to see it! You can tag me on Instagram (@marcelinesmith) or Twitter (@marceline).
This tutorial is for personal use only! Please do not sell items you make or use this tutorial for profit. As with all content on this blog, the images and instructions are copyrighted © Marceline Smith 2017 and may not be reposted without credit and permission. Thank you for respecting the rights of artists and makers.
