Time for a new paper craft tutorial to help you make cards and decorations featuring my cute characters! Want to make sure you don’t miss one? Join my mailing list!
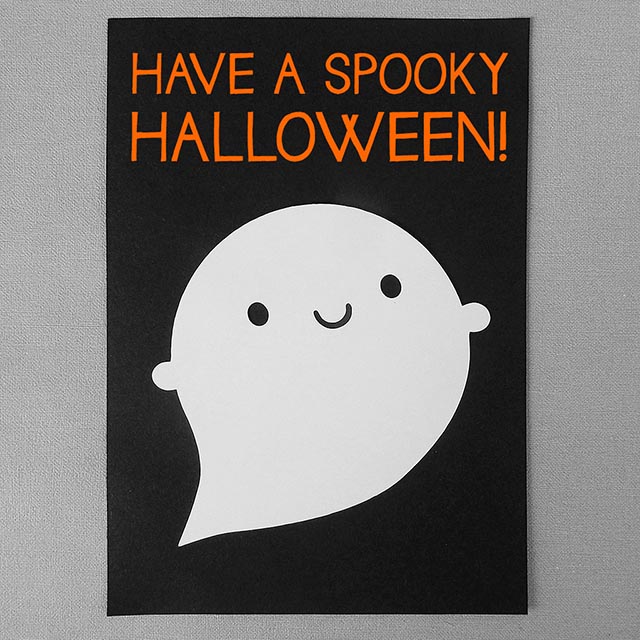
This month I’m going to show you how to make spooky wooky Ghosts for Halloween cards and decorations, plus some mini stick decorations for extra fun. This is a really quick DIY using things you probably already have in the house.
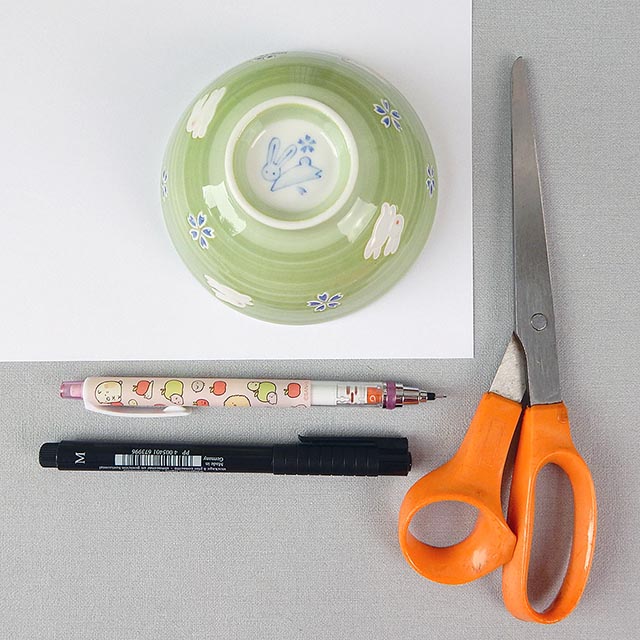
What you’ll need:
- Thin white card
- Something round to draw around (see sizes below) or pair of compasses
- Pencil and eraser
- Black marker pen
- Scissors
- My Draw Kawaii Faces free printable (optional)
Instructions:
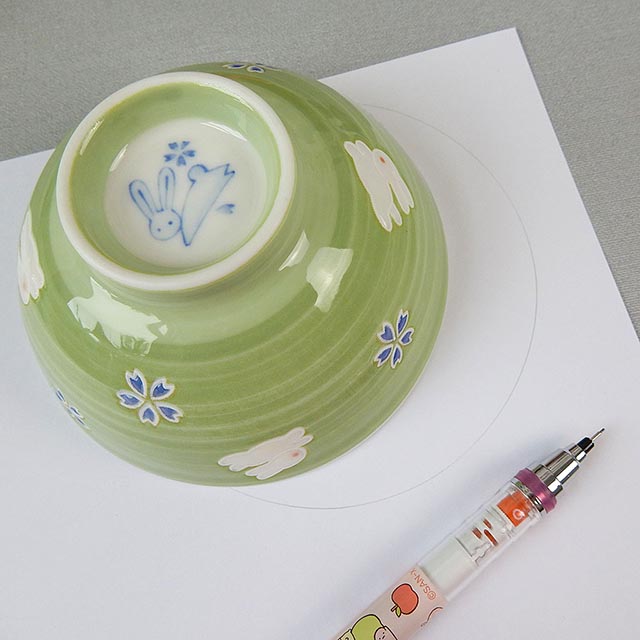
Find a suitable sized round object to draw around or set your compasses. For an A5 card, you want something around 9cm in diameter – I’m using a small rice bowl here. Place it on the card and draw around with a pencil. If you want to add arms to your ghost, make sure to leave enough space around the edges! (Guess who had to take this photo twice)
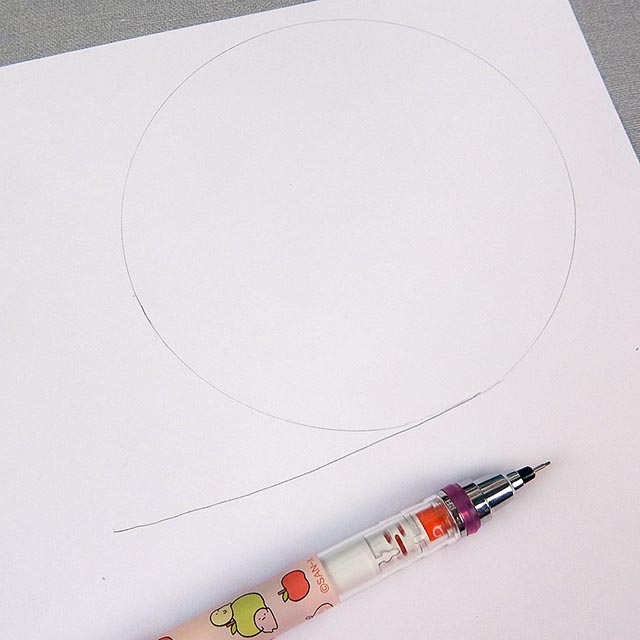
Draw a slightly curved line extending from the bottom edge of your circle. Make it longer than you might think.
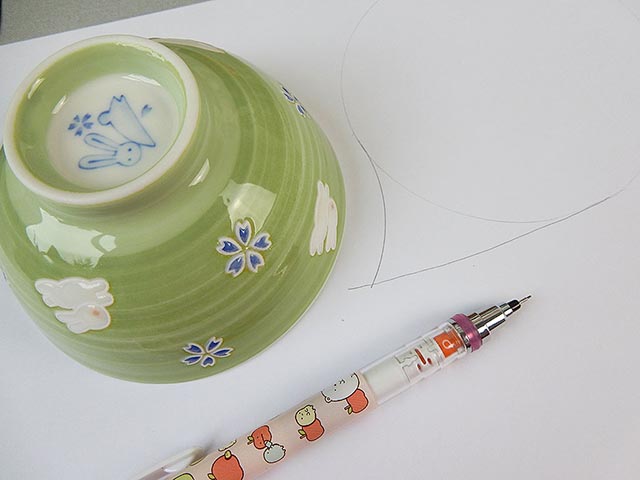
Use the curve of your bowl to join up the left edge of the circle to your line.
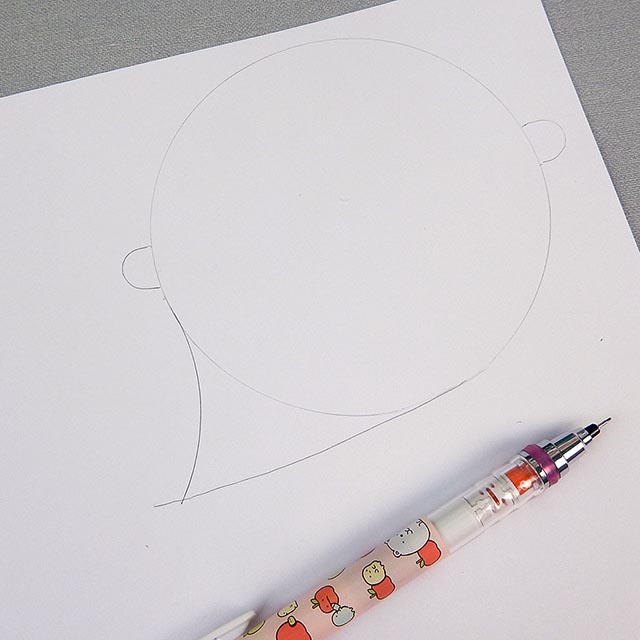
Add some arms if you like and cut out your ghost.
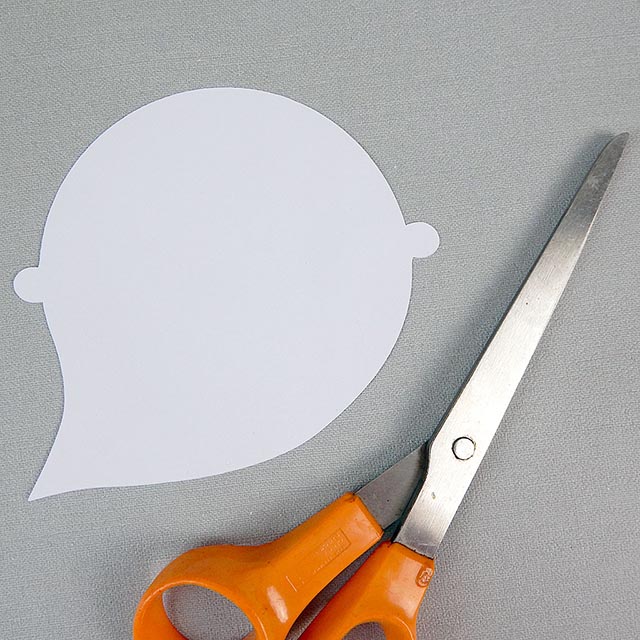
Erase any visible pencil lines and you should have something like this.
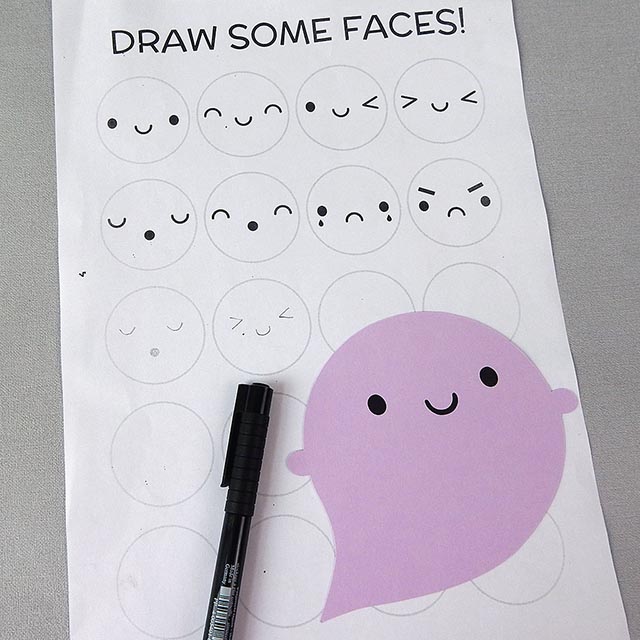
Time to add a face! Once again, you can practice with my free Draw Kawaii Faces printable which has eight cute faces to choose from. If you’re still not confident, get your printer to scale it up and then use tracing paper to copy a face over. Pencil it in then go over with a black marker pen. I used a purple ghost here so you could see it against the white paper. Full disclosure: I cut the ghosts and faces with my paper cutting machine as I’m still getting over the cold and it was quicker.
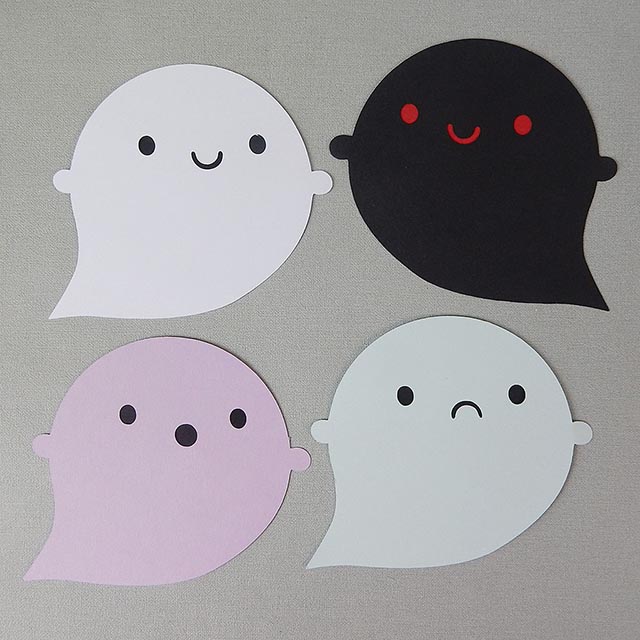
This is a really quick make as there’s only one piece and no assembly required! Why not make a whole Ghost Gang with different colours and expressions. Watch out for evil ghosts though.
Once you’ve finished your Ghosts, there’s lots of things you can do with them.
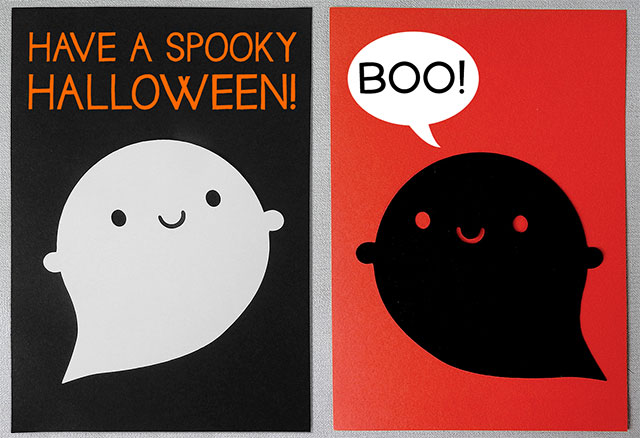
Making a card is easy. Just glue it down and add text by hand or print your message separately and cut it into a speech bubble or other shape. You could also just stick them up as decorations, string them together in a garland or use them as place cards for a party.
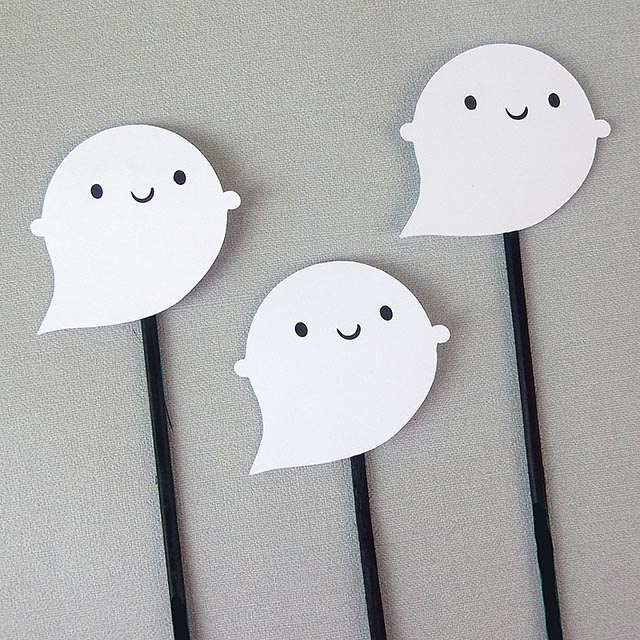
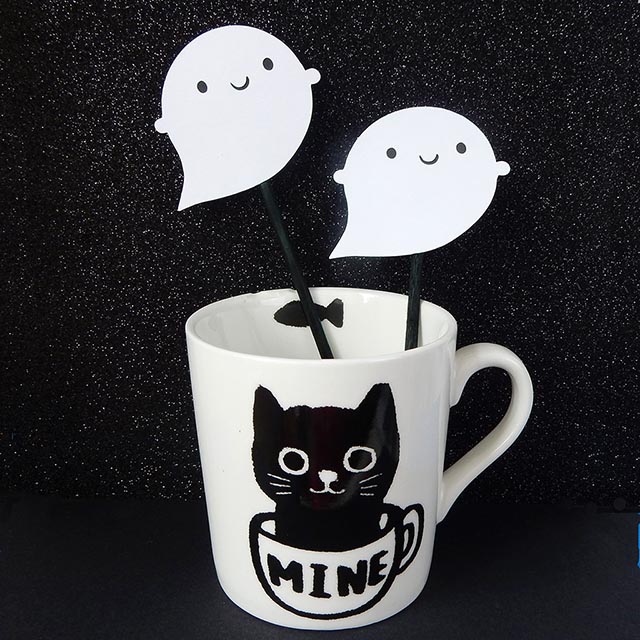
Or you could make mini Ghosts on sticks for decorations! You can buy wooden sticks in any garden centre as plant supports or barbecue skewers would work too – mine were green but I coloured them with a marker pen. Just make Ghosts in the same way as above but use something smaller like a lip balm or small jar lid and then attach to the stick with tape or glue. They’d be a fun addition to a party table or goodie bag. You could even use them as cake toppers but make sure the sticks are food safe – straws or cocktail sticks would be good.
If you make a Ghost, I would love to see it! You can tag me on Instagram (@marcelinesmith) or Twitter (@marceline).
This tutorial is for personal use only! Please do not sell items you make or use this tutorial for profit. As with all content on this blog, the images and instructions are copyrighted © Marceline Smith 2017 and may not be reposted without credit and permission. Thank you for respecting the rights of artists and makers.
