March Meet The Maker is a lot of fun this year with the new multiple-images-swipey-thing on Instagram. For the ‘How It’s Made‘ prompt, I did a slideshow of my Little Ghost brooches and I thought I’d share it here too with a little more detail.

The first thing I do for acrylic brooches is set up an Illustrator file. It tells the laser cutter where to make cuts – this one is just cutting lines but sometimes you have other lines for engraving as well. It’s a nice puzzle trying to fit in as many Ghosts as I can to avoid wasting materials. Once I’m happy, I email it to the laser cutters . If you’re in the UK and starting out, I recommend YEAH Laser as they’re really friendly and helpful.

Around a week later, I get the cut piece back. It’s usually sent flat, like this.

Once you start peeling off the plastic covering, everything usually falls out and then Ghosts and eyes and mouths go everywhere. That Ghost did that by itself. I did not stage this photo! I love my Ghosts best as they are always doing silly things.

This is the point where I usually play with them. Come on, I have to amuse myself somehow.

Usually, the pieces will be put in a bag and stored in my Box For Making Brooches as it takes up less space. When I’m running low on finished brooches, I peel off the plastic from the back of each Ghost. Sometimes they have really fun patterns , thanks to the branding and instructions printed on the plastic. I have always thought about making a limited edition version inspired by this so maybe that will happen some day.

I glue on brooch pins and leave them to dry overnight.

Once they’re dry, I peel off the front plastic and poke out any eyes or mouths that didn’t fall out yet . Look how happy they are! A whole haunting of Ghosts!

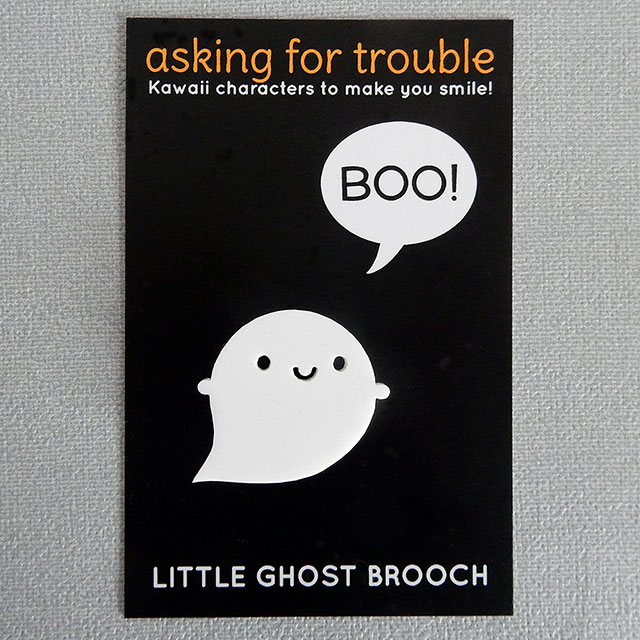
After that, each Ghost gets placed on a backing card, sealed inside a cello bag and stored ready to go to new homes. You can buy Little Ghost brooches in my shop in lots of fun varieties.
I hope you enjoyed following their journey – would you like more posts like this for other products?

