This was originally written for my Patreon and I’m reposting it here. In 2018, my personal Christmas card for friends and family was shaped like a cute Christmas Stocking. Here’s how I created the character and turned it into a card.
How I come up with a new character varies – sometimes I need to sketch a few different ideas and other times I figure it all out in my head before I start. This was one of the latter types and done very quickly to get my cards in the post.
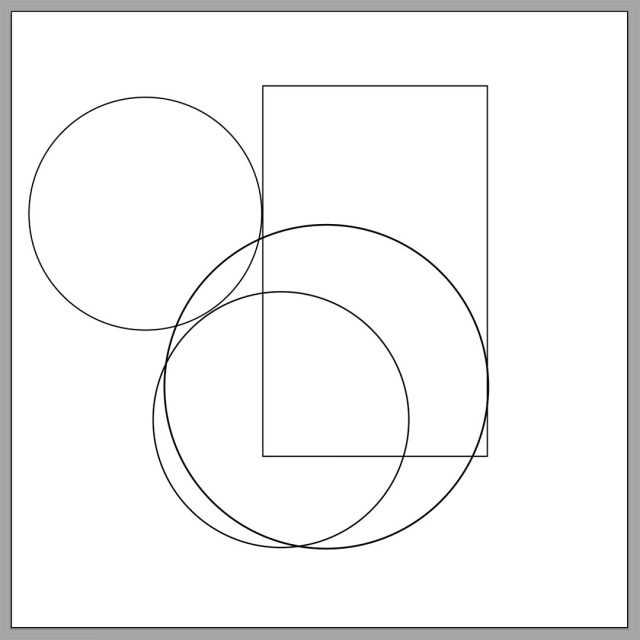
My whole thing is that my characters are generally created almost entirely from geometric shapes. If you look carefully, I’ve made a stocking shape here with a few different circles and a rectangle. This is in Adobe Illustrator.
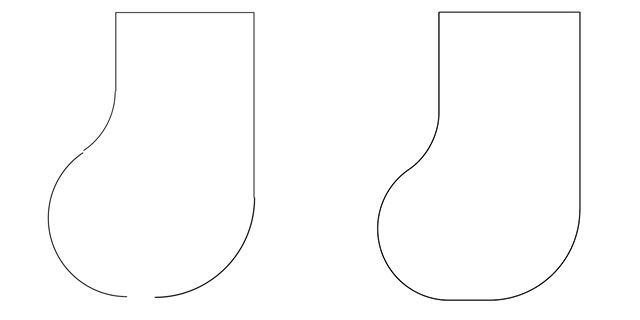
I then delete the bits I don’t need and join the rest together, making adjustments until I’m happy with the shape.
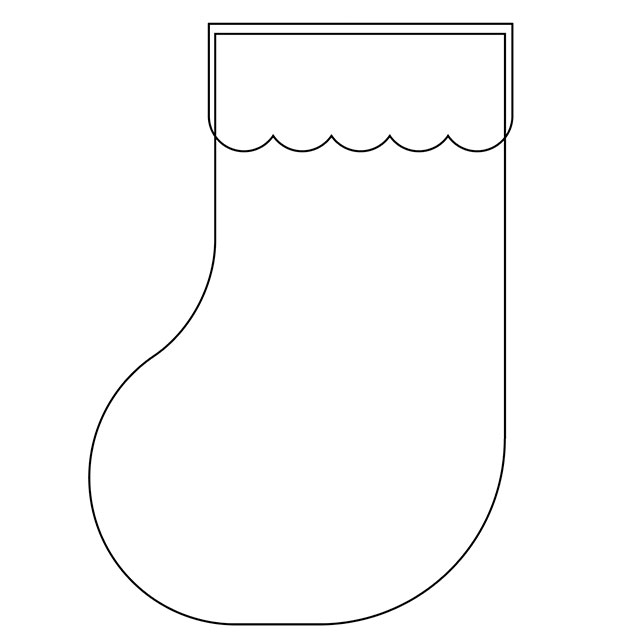
The stocking top was made in the same way with a line of circles and a rectangle – later changed to a rounded rectangle.
I prefer not to have outlines for my characters so I added some colours (pretty randomly at this point) so that I can see all the shapes.
Time to choose a face! I went with the standard happy face and also added tiny hands. Despite how simple my style is, it is recognisably mine because of these two features.
At this point, I was planning to cut the whole thing with my Silhouette Portrait (a paper cutting machine) so I added cut out stencil text – and also a tab for hanging/clipping.
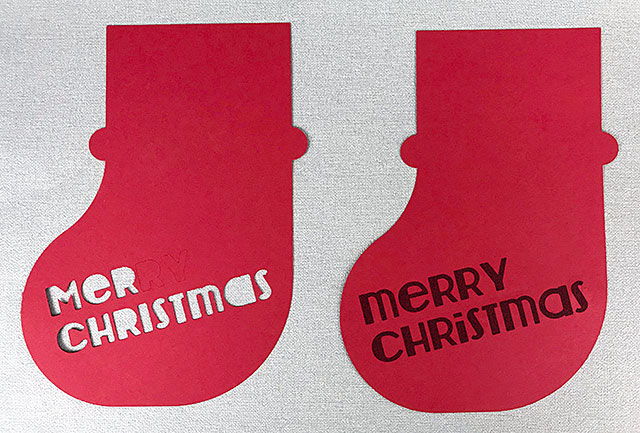
However my machine was only cutting some bits, plus I realised it was going to take too long. Instead I printed the text and outline on to red card and cut them out by hand.
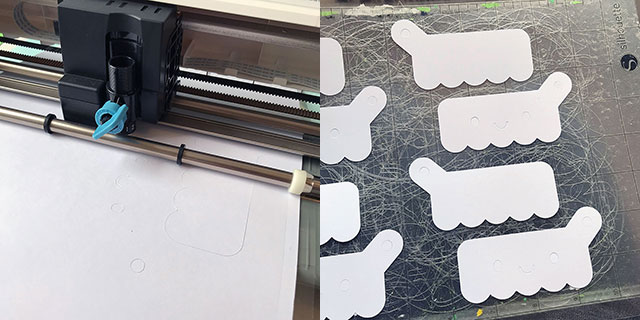
I did cut the tops with my Silhouette once I figured out the issue (my blade had come unscrewed a bit). Here’s a look at the cutting process and the finished pieces. I love my Silhouette – and have since upgraded to a Cameo!
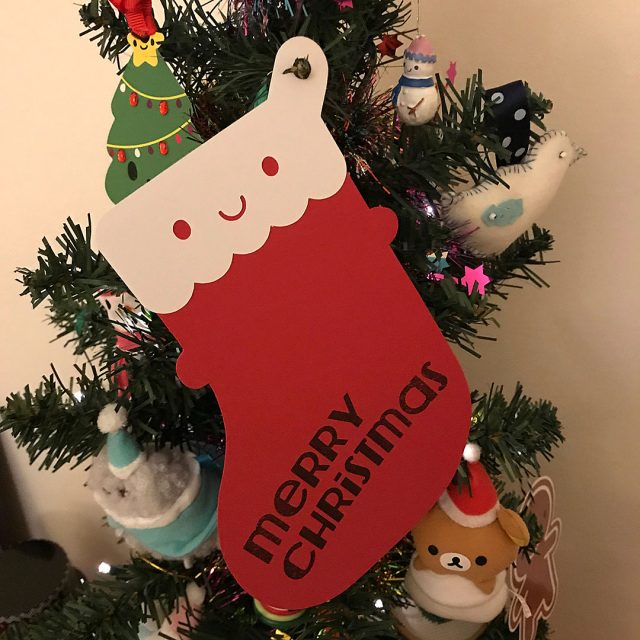
To finish things off, I attached the top to the stocking with a few pieces of double-sided tape. I wrote my greetings on the back and sent them out.
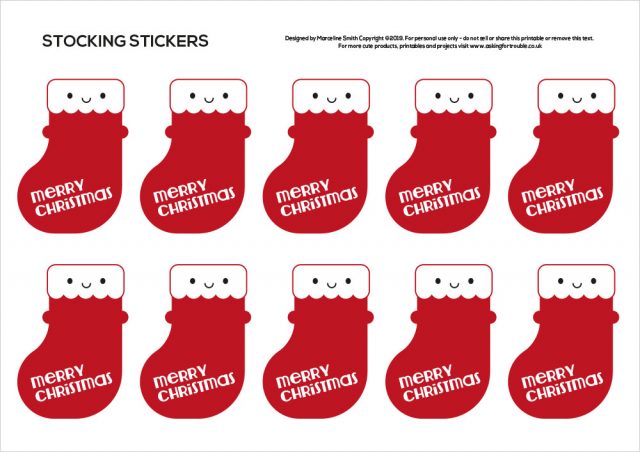
I made these printable stickers/tags for my patrons too. I’ve not managed to bring this character back yet but I would still like to try adding a pattern or motifs to the stocking, putting presents in the top and/or turning into a repeat pattern. Maybe next year. I have finished this year’s Christmas card though, so will share the process behind that in January.