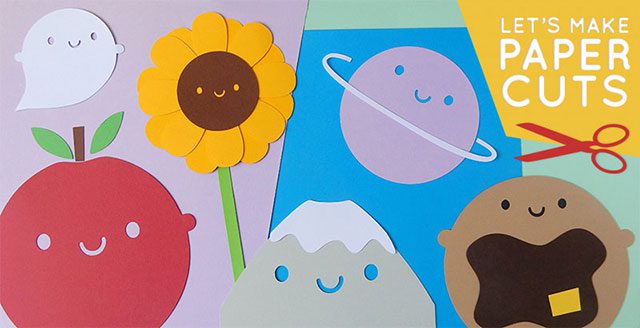
Time for a new paper craft tutorial to help you make cards and decorations featuring my cute characters! Want to make sure you don’t miss one? Join my mailing list!

St Patrick’s Day is on March 17th and even if you don’t celebrate it – like me – you can still make this four leaf clover for good luck cards and springtime decorations. If you made my Pancake last month, you’ll already have a good idea how this works.
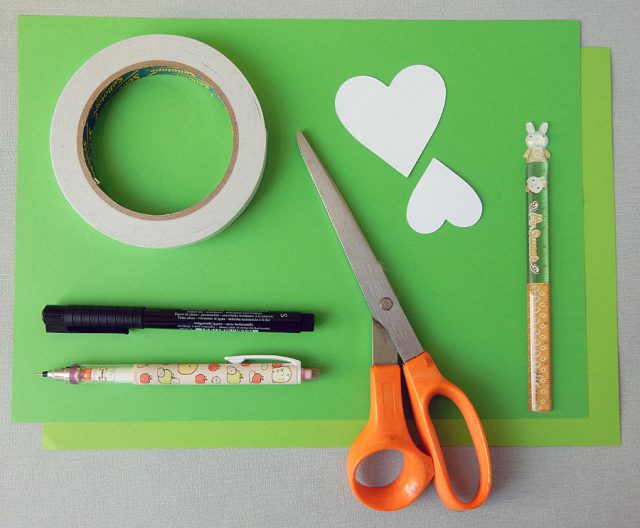
What you’ll need:
- Thin card in two shades of green
- Pencil and eraser
- Black marker pen
- Ruler (ideally a clear one)
- Scissors or sharp craft knife and cutting mat
- Double-sided tape or glue dots or glue stick
- Template sheet (PDF)
- My Draw Kawaii Faces free printable (optional)
Instructions:
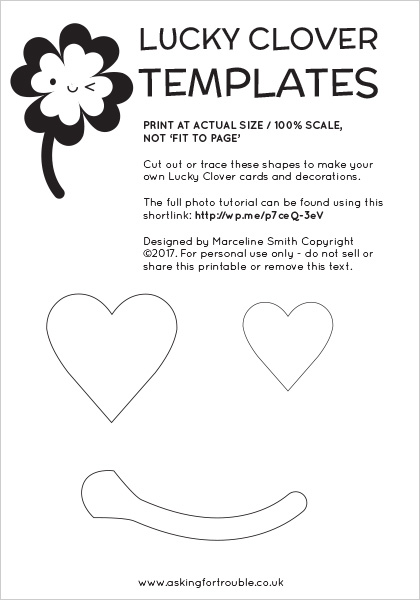
Download my templates sheet and print it out at full size on to any colour of card or thick paper, then either cut out or trace the heart shapes.
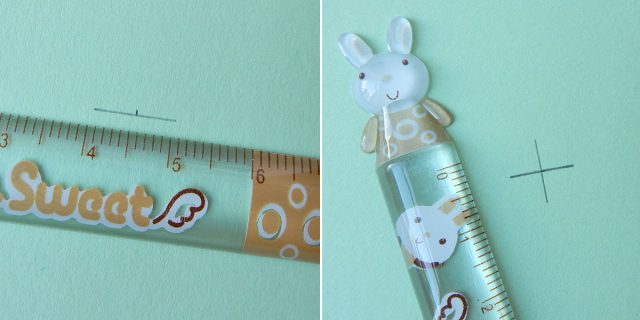
I’m using a light green card for these photos so you can see the lines, but you should start with your darker green card. Using your pencil and ruler, draw a 1cm line near the middle of the sheet and mark the centre. Turn it round and draw another line to make a cross. A clear ruler will help you keep the angles straight but it doesn’t matter too much.

Place the larger heart template (or your tracing paper, reversed) over the cross so that the point of the heart meets three points of the cross (see above) and draw around it.
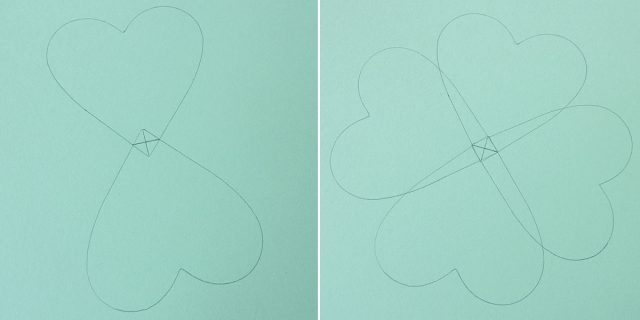
Repeat for all for all four sides and cut out the clover shape with your scissors or craft knife. Do it all again on the lighter green card with the smaller heart.
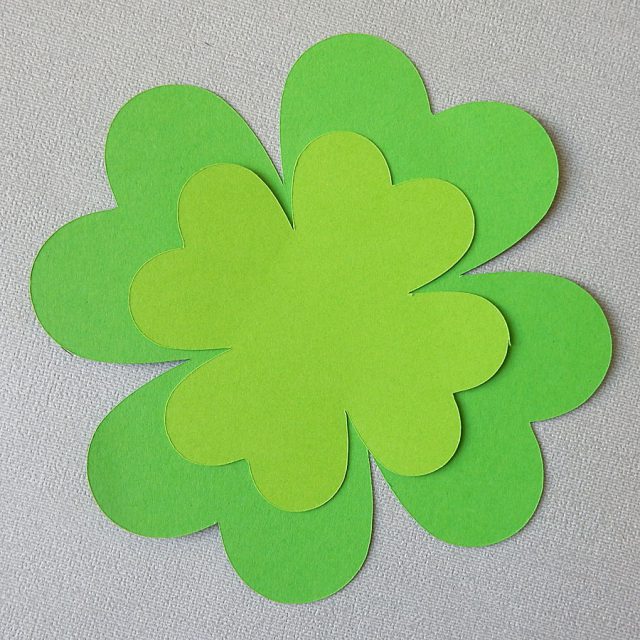
You should now have something like this! You could also just use 3 hearts and make a normal three leaf clover – just curve the bottom edge to join the hearts.

Time to add a face! Once again, you can practice with my free Draw Kawaii Faces printable which has eight cute faces to choose from. If you’re still not confident, get your printer to scale it up and then use tracing paper to copy a face over.
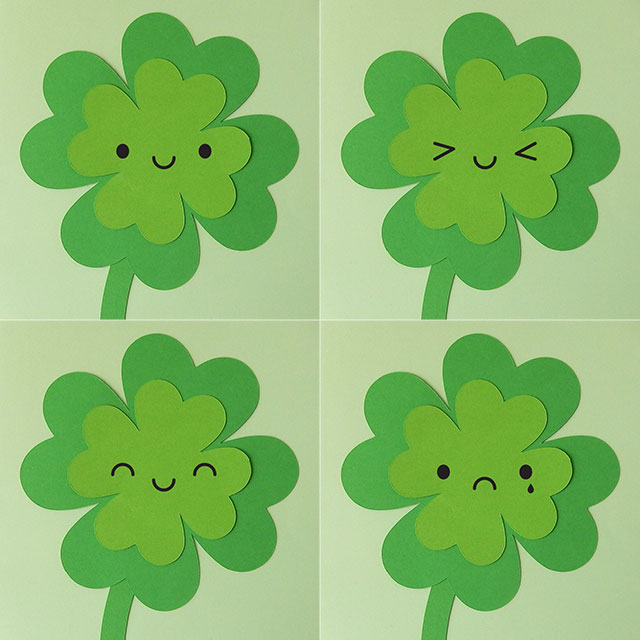
Here’s what some of the faces look like on the clover if you can’t decide. I think the last one must be an unlucky lucky clover.
Once you’ve practiced your preferred face, pencil it lightly across the smaller clover shape and then ink in with a pen. I used a brush pen from this Faber-Castell set.
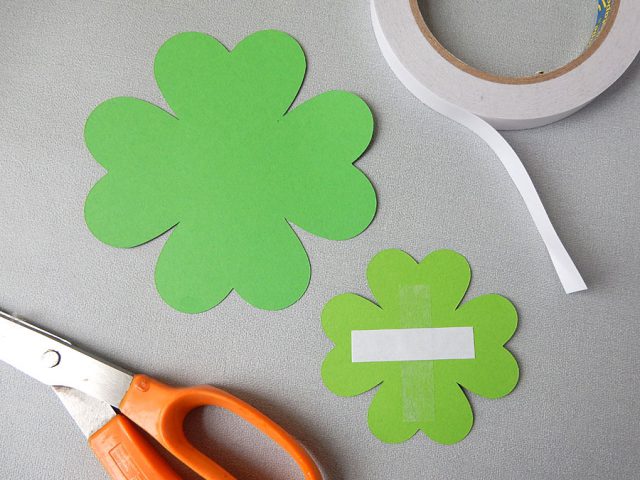
Add two strips of double sided tape (or some glue or glue dots) to the back and attach it to the large shape. Take your time to centre it before you press down so that there’s equal amounts of dark green showing between the leaves.
You can stop there if you want or else it’s time to add a stalk. Fold an A4 sheet of card or paper in half for a guide and place your clover shape on top. If you’re making a card, you could just draw the stalk on to the card but I’ve also included a template. Draw round it on the darker green card and cut out, adding it to your layout until it all looks nice.
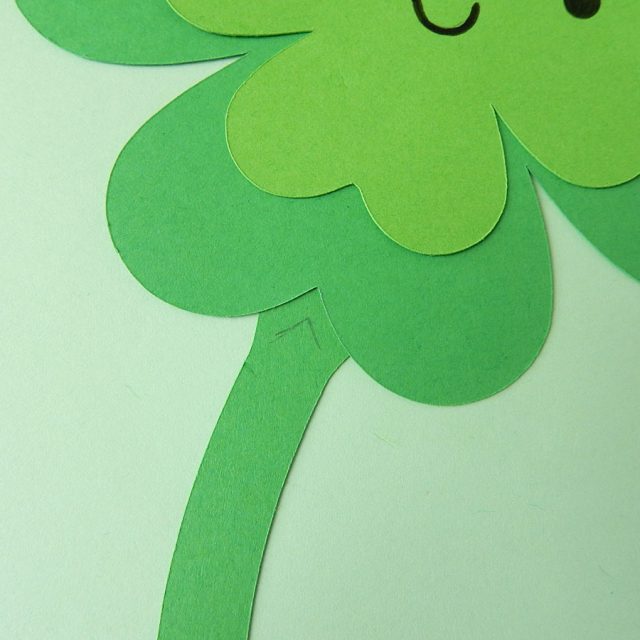
Move the clover leaf up a little and pencil in a mark on the stalk just above where you want to attach it.
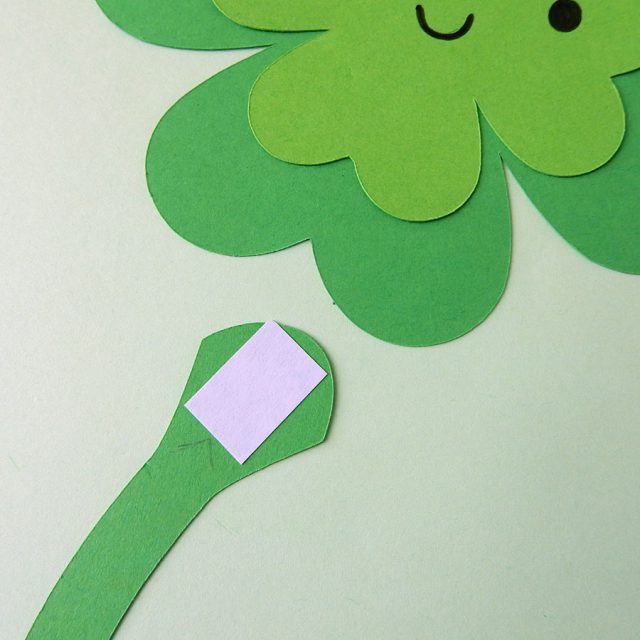
Add your tape or glue and then use your guide to stick it in the right place. Make sure to cover the line or else you’ll have to erase it after.
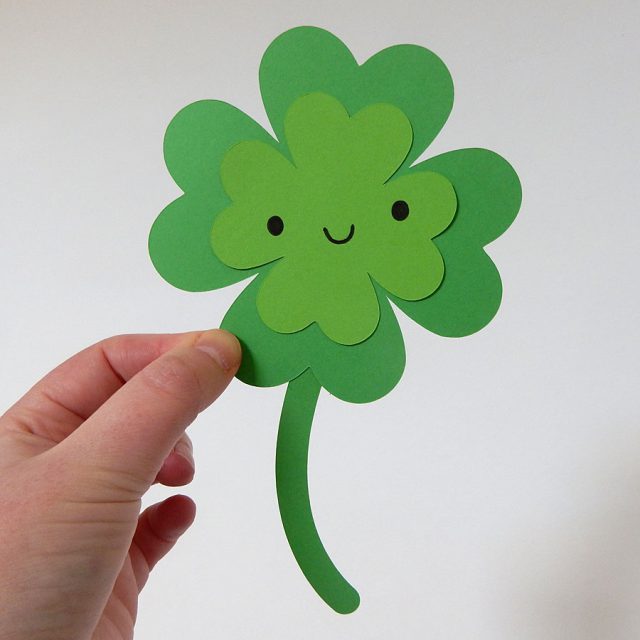
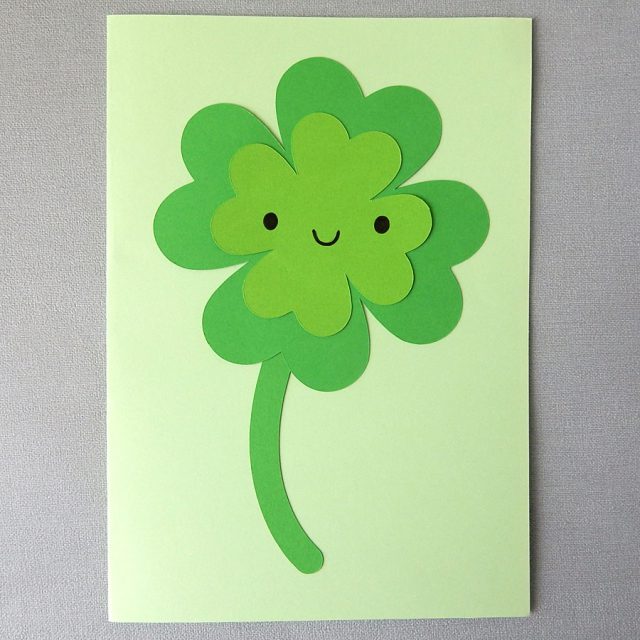
Yay! Once you’ve finished your Clover, there’s lots of things you can do with him. Making the card at the top of this tutorial is easy. Just glue it down and add text by hand or print your message separately and cut it into a speech bubble or other shape.
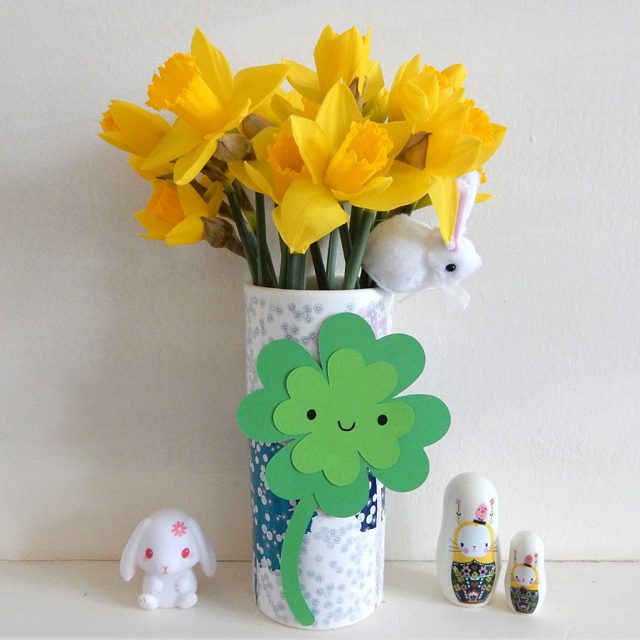
It also makes a cute decoration. I just added some blu-tac on the back to decorate this vase of daffodils.

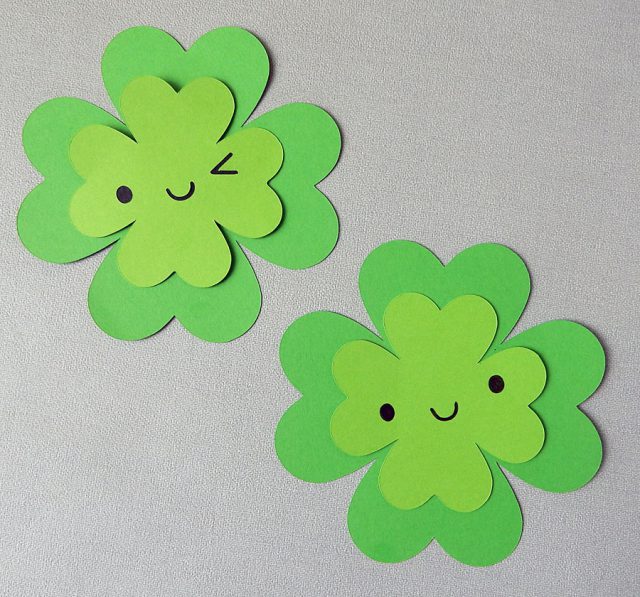
You could also string them together in a garland or just stick up two like I have. No, the snowmen lights are not very seasonal but I am never taking them down, even just for a photo. Enlarge the templates and you could make really big decorations.
If you make a Lucky Clover, I would love to see it! You can tag me on Instagram (@marcelinesmith) or Twitter (@marceline).
This tutorial is for personal use only! Please do not sell items you make or use this tutorial for profit. As with all content on this blog, the images and instructions are copyrighted © Marceline Smith 2017 and may not be reposted without credit and permission. Thank you for respecting the rights of artists and makers.