Sorry for the break there – here finally is the third post in my series about on-demand selling with a look at my process.
When I started selling on-demand, I just uploaded whatever designs I felt like on to whatever products I liked the look of. Unsurprisingly, that ended up as a big old mess of random products that I am still trying to untangle. Don’t be me – work out your plan before you start and stick to it!
Choose your general product range
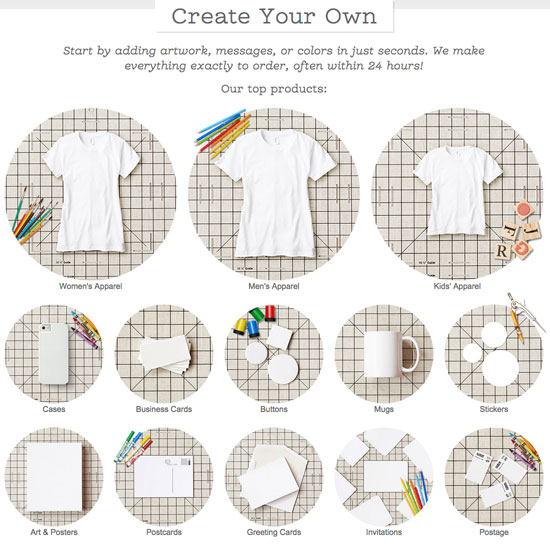
For each site you sell on, check out their full range of products and make a list of all those that would like to sell your designs on. Which products you choose should be influenced by your art style and your prospective customers. I mostly design for lifestyle products, but your style might be better suited to sports/activities, business, parents or pets. Don’t try to design for everything – you’ll never have enough time and it’s better to focus on your ideal customers.
Create a base file
A base file should be the ideal version of your artwork as you would choose to hang it on your wall, at the highest resolution possible. I usually make mine square, but landscape or portrait might suit your work better. You can then use your base file to create templates for other products.
Create your templates
For each product you’ve chosen, look up the artwork requirements and make a template. Most sites will provide either details of dimensions/resolution or a downloadable template, but these are not always accurate as to margins and safe areas so you’ll probably have to upload some artwork first and then make edits accordingly. Use your base file and your template files to create all the other image sizes you need. You might have to crop in closer, use multiple elements or create a repeat pattern to fill the space nicely.
Before you upload
Not all your artwork will be suitable for every product on your list so give it some thought before you blindly upload to everything. Is your edgy artwork really suitable for a babygro? Should you put a happy bunny on a chopping board? Are clock hands or camera holes going to cover up important parts of your design?
Keep track of everything
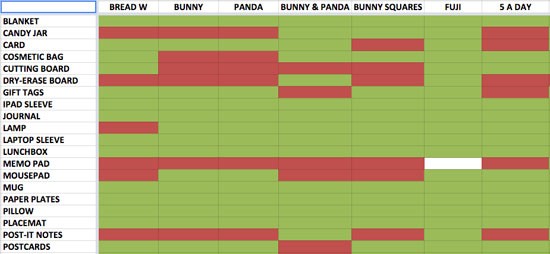
I use a spreadsheet now to keep track of which designs are on which products and sites. It’s basically just a list of all the products I design for on Zazzle down one side and I add a new column for each character/design. I then fill the cell with green for a completed product or red for any that don’t work with that design. Blank spaces means there’s work to be done. For my other on-demand sites, they just get an extra row each as you upload all products at the same time. It makes it really clear what I need to work on, plus I can easily add a new row when a new product is released.
I also have a sheet with links to each product creation page on Zazzle to make this slightly quicker, plus I save the artwork title, description and tags in a text file so that I don’t need to retype them every time I create a new product.
Check and Promote
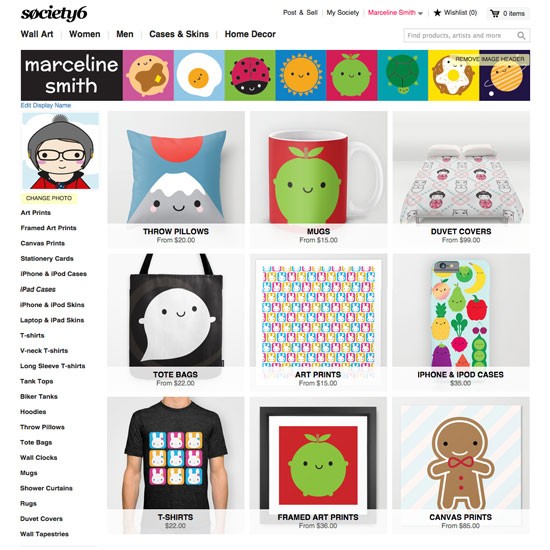
Remember to check how your products look on the site in case of duplicates or other issues. Get the word out on social media so your fans can check out the new products – and make sure to sign up to Society6 & Zazzle’s referral/affiliate programmes so you get a bit of extra cash too. It’s also well worth signing up for each site’s newsletters and following them on social media as there are regular offers that you can share, and also use to buy some of your own designs to see what they’re like.
Got any questions about selling on-demand? Leave a comment or email me and I’ll answer them in another post.
This is part of a series of posts about selling on-demand:
