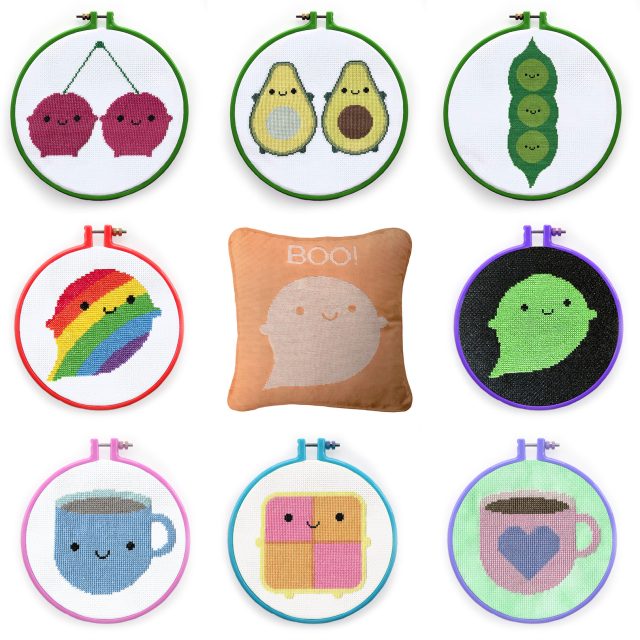
This post was originally shared on Patreon but now I’m making it public. In 2020, I collaborated with Claire Brown XStitch for a series of cross stitch patterns with my characters. Here’s a look at the process from illustration to finished product.

1. Choosing characters
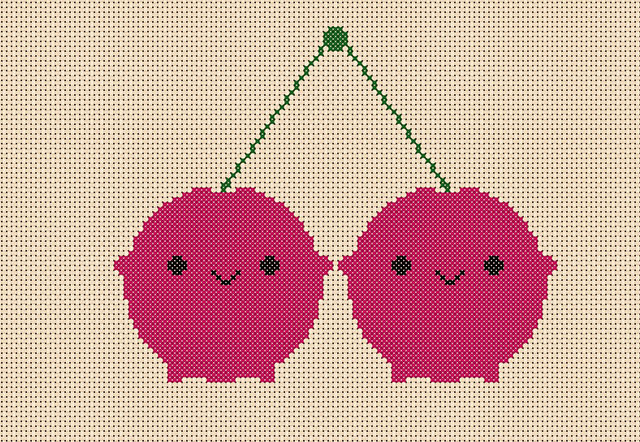
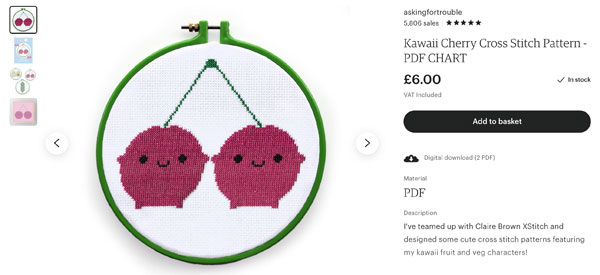
I picked out a batch of characters that I thought would work in cross stitch and made big hi res images for Claire to try. I’m using the Cherry as an example for this post, seen here as a mini print at Society6.
2. First mockup
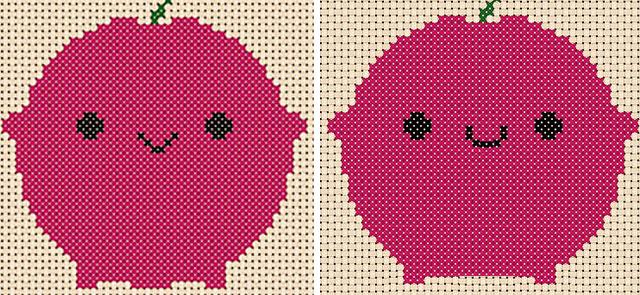
Claire ran them through her special program and sent me a mockup image that shows how the final stitched piece would look. The Cherry was pretty close to perfect but I almost always have to fix the faces a little bit.
3. Edits
I use Photoshop to copy and paste some stitches until it looks right and send that back to Claire with all the details so she can edit the file. For this one, I only needed to change the smile and the bottom.
4. Edited mockup & chart
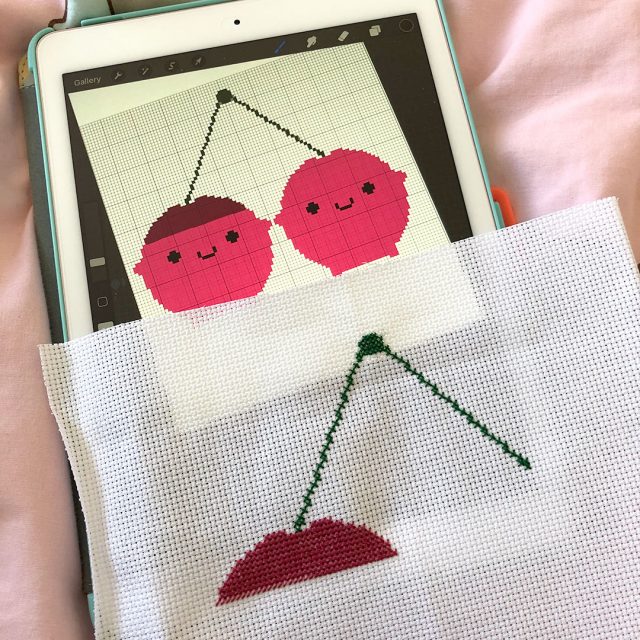
Once I’m happy with the new mockup, Claire creates a colour chart, which shows all the stitches as a grid. Each square is a single cross stitch and you basically count each row and make that many stitches. Copying the chart into Procreate and drawing on top was such a game-changer this time. It’s so much easier to zoom in to count stitches and to mark off what you’ve done.

5. Pattern testing
Some pattern designers skip this step but it’s an important one. We almost always made little changes after stitching plus you get a finished piece to photograph. I’m always wary of patterns that only show a mockup as you’re essentially doing free testing for the pattern designer. With the cherries, I just moved one of the feet over to make it more symmetrical (easier to count if the next row is e.g. 2 stitches less on both sides) and made the join between the stalks more solid.
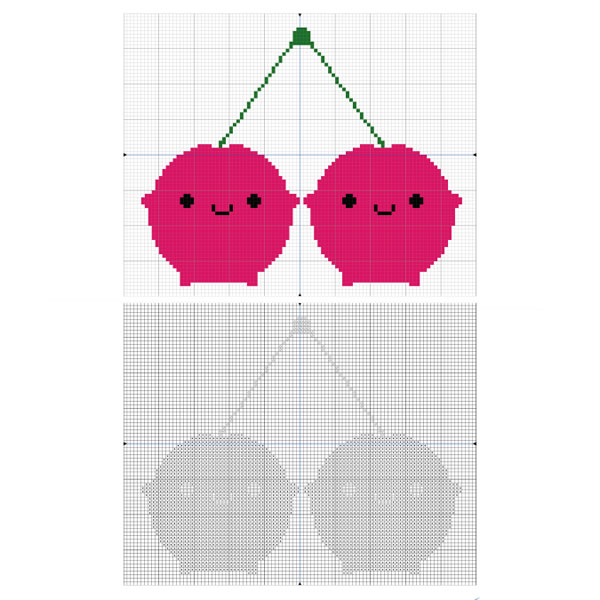
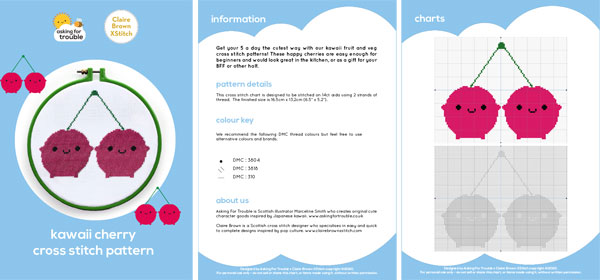
6. Final charts & information
Once everything is finalised, Claire’s program creates 2 charts – the colour one and a black and white version with symbols. It’s totally up to the user which version to use, depending on how you prefer to work – they’ll both turn out the same. The arrows show the centre of the pattern so you can make sure it’s centred on your fabric and you don’t run out of space.
It also outputs some useful information like the finished size, suggested thread colours for the big name brands and even how much thread you’ll need and how many stitches it takes to complete. The cherry pattern is 2699 stitches!

7. Creating product images
Claire usually shows her designs in frames so I decided to use colourful hoops to make our collaboration stand out as something different. None of the finished pieces actually fit in this green hoop so I put some printer paper in it, scanned the stitched pieces and some spare aida fabric and used some Photoshop magic!
The steps above – L-R, top to bottom:
- unedited photo of the hoop on a white background.
- brightening up the green hoop and making the base paper an even colour.
- removing the background to a pure white and adding some semi-opaque layers over the circle base while keeping some texture so it looks realistic.
- adding the scan of aida fabric to cover the paper.
- adding the scan of cherry cross stitch.
- editing the scan to straighten out the design and match the background.
8. Creating the PDF
I take all the charts, images and information and create a pattern document using InDesign. I used Claire’s usual pattern format as a base for consistency but added my clouds background and other branding (fonts, colours etc.). I also add copy protection so people can’t edit the file and steal our hard work.
9. Creating the product listing
Once we’ve done a final check over everything, we’re ready to go. We both sell these patterns on Etsy so we use the same images and files but write our own descriptions. We also synchronised our Instagram posts.
And then we’re done! I just checked and step 1 was April 24th and Step 9 was September 3rd so it’s quite a long process. If you enjoyed this post, I wrote a similar one about my Little Ghost brooches.
Get 20% off!
If you fancy stitching one of these patterns, you’ll find them in my Payhip store and my Etsy shop – make sure to join my mailing list for a discount this weekend!