Well, here we are with my first proper tutorial. I hope you find it useful and slightly fun. I would say 75% of my reasoning for buying a sewing machine back in the day, was so that I could make myself a dress. I’m still a bit too scared of proper dressmaking patterns but this is very easy and a bit slapdash so it’s pretty difficult to mess up. So, don’t be scared – you too could be wearing your own creation in just a few hours!
Before you start
Because of the standard size of pillowcases, you do need to have a small torso to fit this. Those with large bosoms will also sadly find this impossible. You need to wear a size 8-12 on your top half but your bottom half can be much larger due to my clever use of side slits. I’m roughly an 8 for tops and a 12 for bottoms (UK sizes) and 5’3″. If you’re slim but tall then you will end up with a nice top not a dress. Larger girls could just cut two rectangles of the right size instead of a pillowcase. You’d then obviously need to sew up the sides as well as the armholes etc.
Skills required
For this tutorial, I’m assuming you know how to use a sewing machine and have some experience in basic sewing skills (hemming, seam ripping etc.). If you don’t have a sewing machine you could probably just use iron-on hemming stuff or just leave the edges raw. You’re making it out of a pillowcase, not expensive Japanese fabric. If it falls apart you can just make a new one, right?
Okay, let’s go. Click more below to see the full post and lots of pictures.
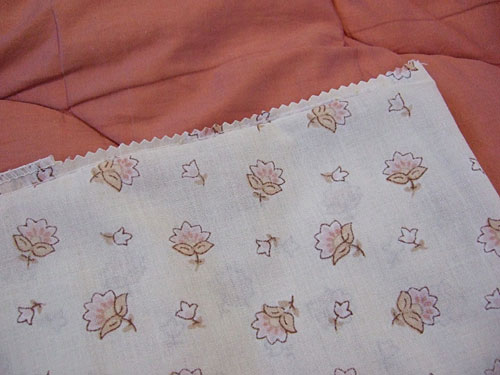
All you really need for this is one pretty standard sized pillowcase. You should wash and iron it before you start. If you’re planning on using an amazing heirloom vintage pillowcase then I’d advise you make a prototype first using a cheap charity shop pillowcase. I like my prototype almost as much as my real one.
Here we go
1. Turn your pillowcase inside out and lay it on the floor. Get a dress that already fits you well (and isn’t too stretchy) and lay it on top. This will give you an idea of how big to make the arm and neck holes and also at whether you will need to make slits in the side to incorporate your hips. On onside of the pillowcase mark lines with a pencil roughly where the neck ends and where the arm hole ends. I’ve marked the neckline a bit wider than the dress as I don’t want the straps to be too wide.
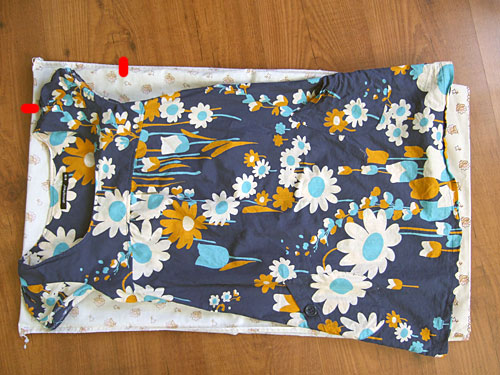
2. Take the dress off, fold your pillowcase in half lengthways and mark the opposite arm hole/neck using your marks above as a guide. This makes sure they are symmetrical.
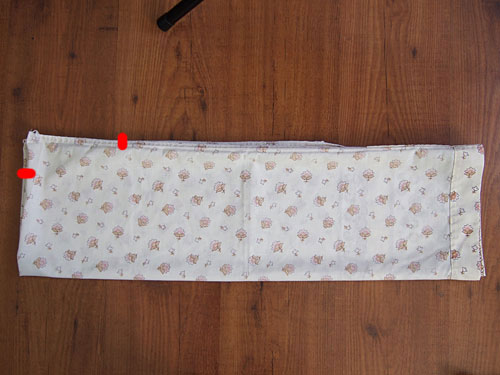
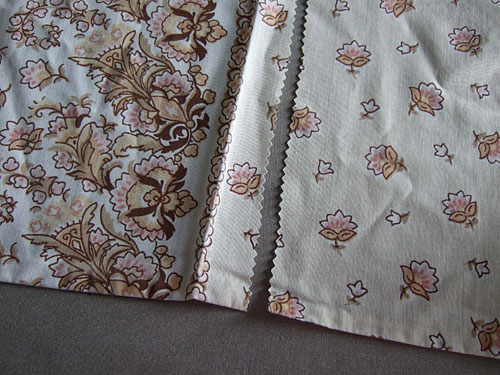
3. Get your scissors out. I recommend pinking shears for this so things don’t fray. Your pillowcase will probably have two lines of stitching – one straight stitch making the hem and another zig-zaggy one covering the raw edges. Cut between these in a straight line down to your arm mark.
4. Unpick the straight stitch with a seam ripper down to your mark. If you open it out, you now have an armhole! Repeat on the other side.
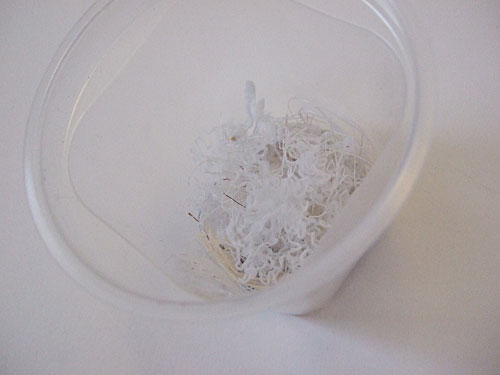
5. Take a tip from my good friend Alice and find yourself a small receptacle to dump in all those threads you’re unpicking, not to mention all that lint that got caught in the corners. Alice has done a cute tutorial for covering a tin can. I haven’t found time to do this yet so I am using an old plastic container.
6. Cut two short slits on your neckline marks, then cut along the fold between them. This is your neck hole.
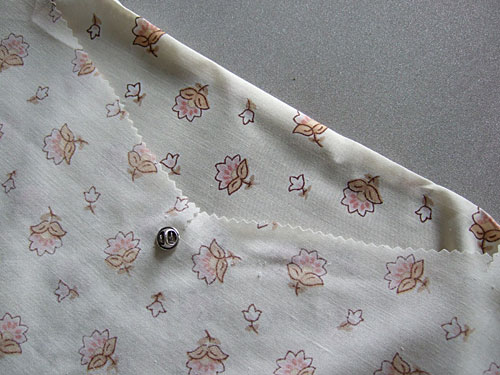
7. Turn your pillowcase right side out and try it on! Be gentle! I find it’s best to put both arms through and then slide on over your head. If your head or arms won’t fit, don’t force it. Take it off and cut the neckline wider. Unless you have very slim hips, chances are your pillowcase won’t be wide enough – find the point where it starts getting too tight and mark or pin this at one side. Safety pins are good for this as they won’t fall out. Also mark how far down the front you would like your neckline to be. I have used a Totoro brooch so you can see where I marked mine.
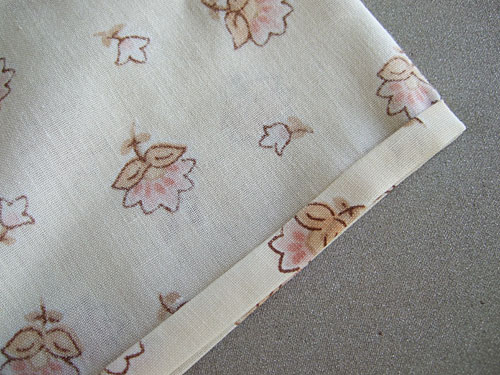
8. Take it off and turn back inside out. It may need a quick iron. You now need to press the hems on your armholes before machine sewing. If you are lazy, one fold is enough but two will be neater and stronger. Your first fold should already be there from the original hem. Press this then turn over so the raw edges are under the second fold. Press. You really want to pin this as well but I am too lazy. Repeat for the other arm. You might find the bottom part of your armhole (the armpit) won’t fold very neatly. I am a great believer in just working it out on the sewing machine.
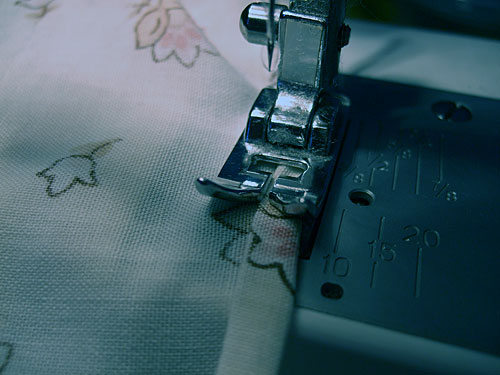
9. Now for the sewing machine! I am no sewing expert so I’m sure there are better ways to do this. I kept the folded edge in the middle of the foot and used a decorative zig zag stitch. You could use a straight stitch too. Start just after the bottom of the armhole so you’ll have hit your stride by the time the difficult armpit bit comes round.
10. Just do your best and try not to get any of the rest of your pillowcase caught in the armpit or it won’t hang nicely. Here are my finished arm holes.
11. Leave the neckline for now. We’re going to work on the side slits. If you are super slim hips from earlier you can skip to #15 (and we hate you). Everyone else, remember the mark you made at #6? Fold your pillowcase in half and mark this on the other side. We’re now going to unpick the flap (used to tuck in the pillow in its original use) and then unpick the sides up to this mark. A seam ripper really is your friend here. When it’s unpicked it should look something like this.
12. Try it on again and see how it’s all working out. It should now hang nicely like a real dress. If your side slits are not high enough then mark this and rip some more stitches.
13. Cut off the flap from the front of your dress leaving a bit to fold a hem. If your pillowcase isn’t as fancy as mine you might want to do some binding round these edges or add a nice trim to the bottom.
14. I have forgotten to photograph this bit but it’s the same as #8 – fold your hem on all the raw edges and press (and pin!) them. Then sew all the way round. I only did one fold for the slits because it was getting really tedious.
15. Now for the neckline. It’s up to you what you do with the neckline. I’ve kept the back straight. For the front I’ve just cut a v shape down to my Totoro brooch. This will just be a very rounded neckline. You might want something deeper or fancier – it’s entirely up to you and your skills. Again, some binding or rickrack might be nice here. Whatever you decide, make sure your raw edges are hemmed in the same way as the arm holes.
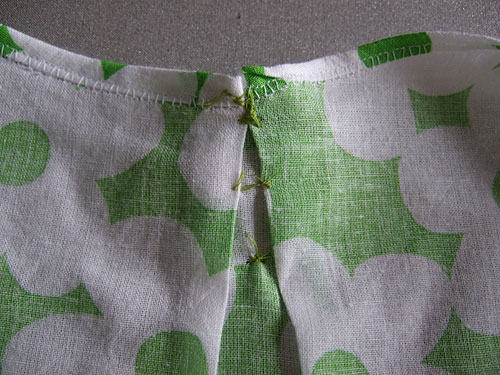
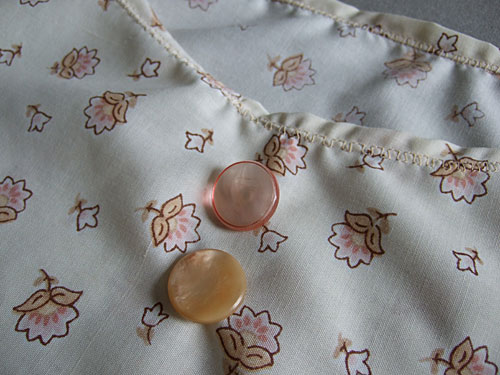
16. Try it on and be impressed with yourself. If you find your neckline is a bit wide (this happened with the prototype I made) then you can fold a pleat at the front. I hand sewed a few stitches at the back to hold the pleats in place and then sewed vintage buttons on top to hide the stitching. This worked really well.
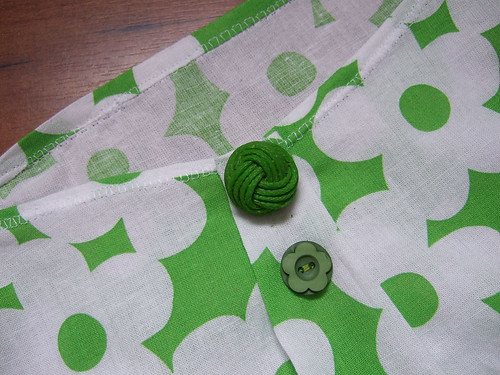
17. If your neckline is fine but lacks interest you can jazz it up a bit with a couple of pretty buttons. I just sewed these on by hand in the centre.
18. And you’re done! Pat yourself on the back and then go around telling everyone you made your dress out of a pillowcase.


