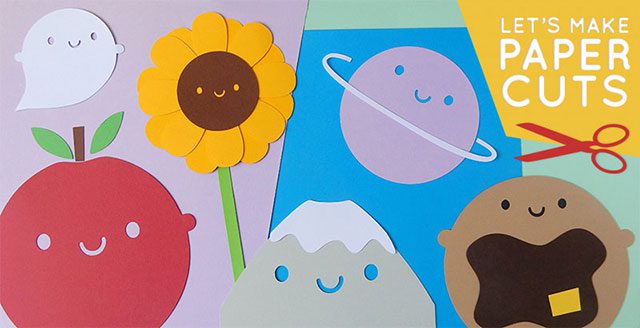
Time for a new paper craft tutorial to help you make cards and decorations featuring my cute characters! Want to make sure you don’t miss one? Join my mailing list!
Spring has finally arrived so I’m going to show you how to make some happy bumble bees for cards and decorations, plus some mini stick decorations for bouquets and plants (and even cakes!). This is the easiest tutorial yet and suitable for kids too (if you cut the pieces out first).
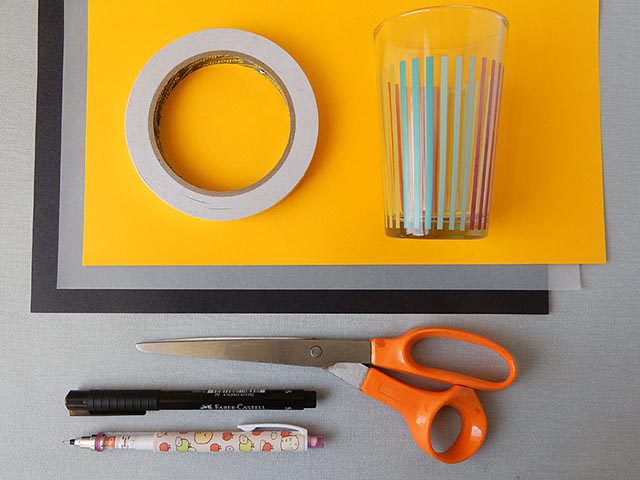
What you’ll need:
- Thin card in yellow and black
- A sheet of tracing paper (or thin printer paper)
- Something round to draw around (see sizes below) or pair of compassses
- Pencil and eraser
- Black marker pen
- Scissors
- Double-sided tape or glue dots or glue stick
- My Draw Kawaii Faces free printable (optional)
Instructions:
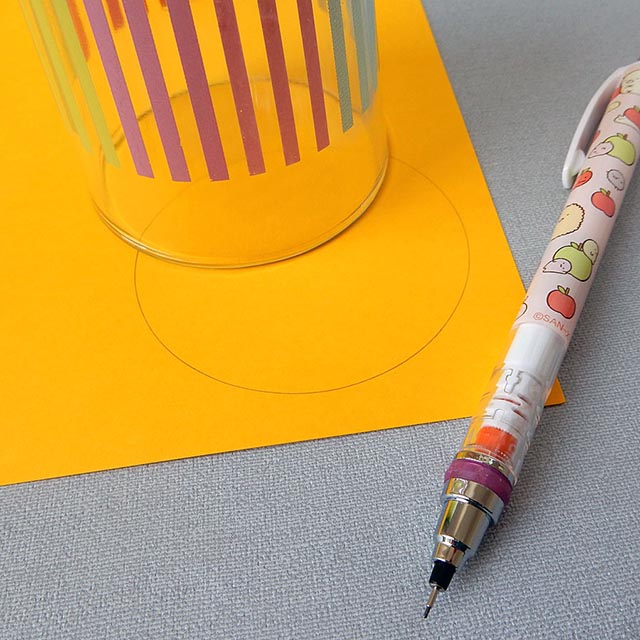
Find a suitable sized round object to draw around or set your compasses. For an A5 card, you want something around 60-70cm in diameter – I had a small glass that was perfect. For the mini bees, something like a large bottle top or lip balm lid would be good. Draw around with a pencil and cut out the circle.
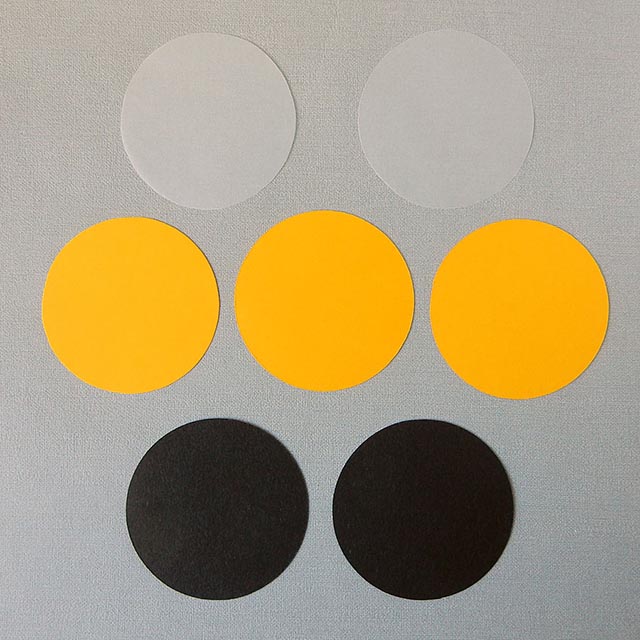
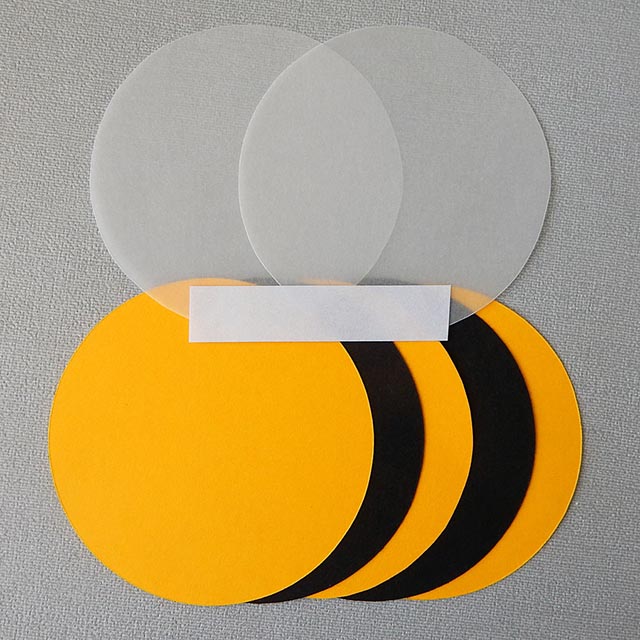
You’ll need 3 yellow circles, 2 black circles and 2 in tracing paper (if you can’t get tracing paper, find the thinnest cheapest printer paper you have. With the tracing paper, try to cut inside the pencil lines, otherwise you’ll need to erase the lines after, since they’ll show through. A putty rubber is best for this as it won’t crease the delicate paper.
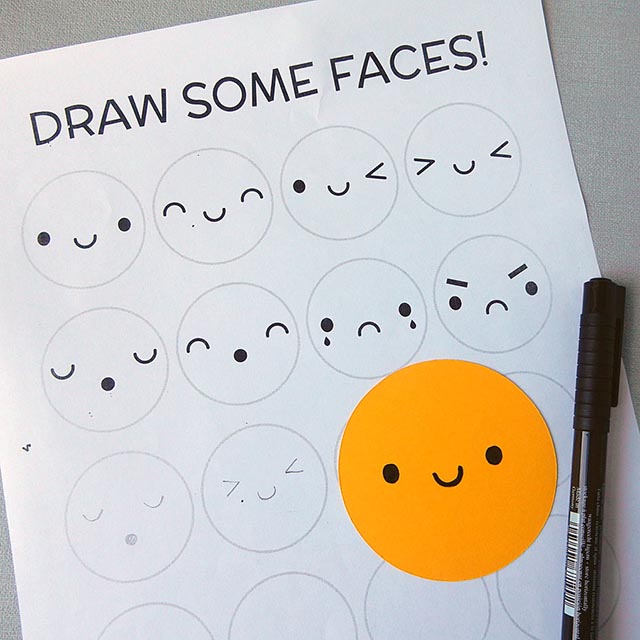
Time to add a face! Once again, you can practice with my free Draw Kawaii Faces printable which has eight cute faces to choose from. If you’re still not confident, get your printer to scale it up and then use tracing paper to copy a face over. Pencil it in then go over with a black marker pen.
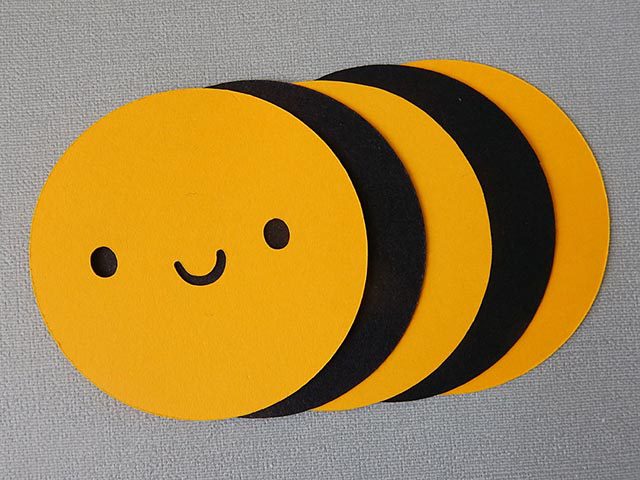
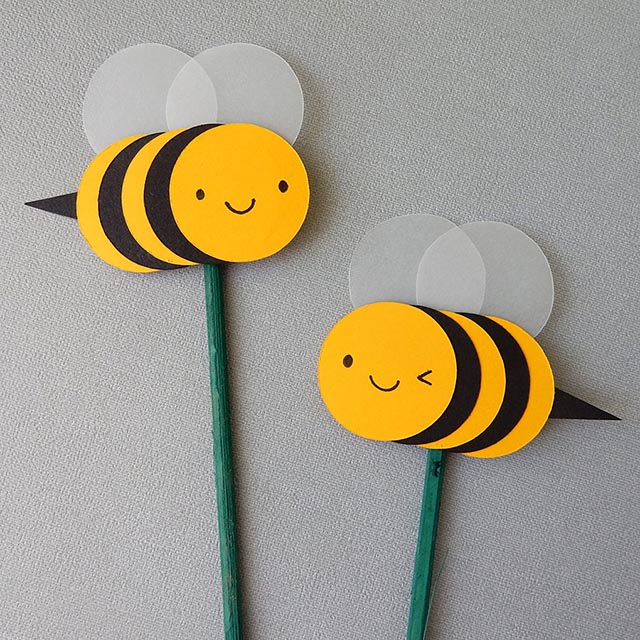
Once you’re happy, assemble the black and yellow circles into a bee as above. If you’re making a card, check how wide the stripes can be to still fit (remembering we’ll be adding a sting to its tail later). You can make light pencil marks just under the overlap if you need a reminder.
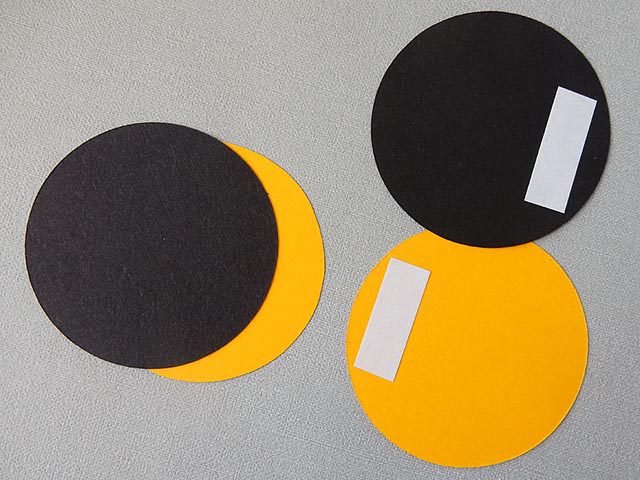
Once you’re happy, you can stick it all together. Start at the back and work up to the face trying to keep the stripes to the same width. I like to use two strips of double sided tape to keep both sides in place. If you’re using a glue stick, try to only glue the parts that overlap or things will get a bit sticky!
Once you’re done, overlap the two tracing paper wings and attach to the back at the top. If you’re using tape, make sure it isn’t visible on the front. I added an extra strip of tape on top to keep it secure.
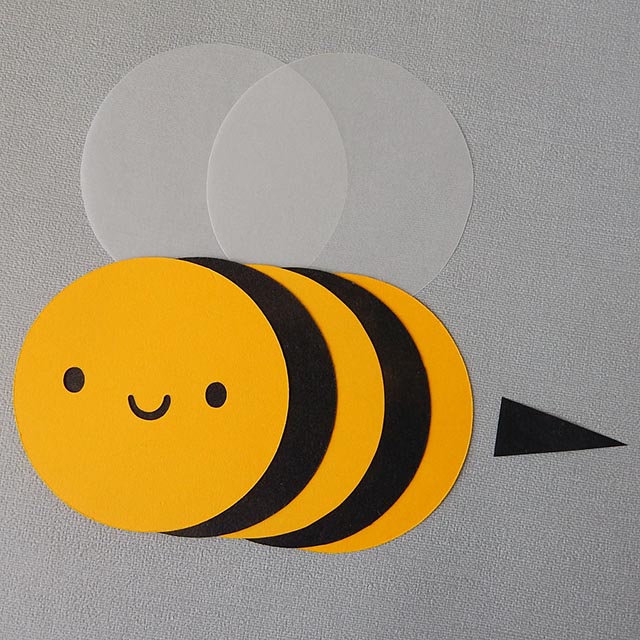
One last thing – the sting! It can be a big sting or a small one. Just cut a long triangle and glue or tape to the back.
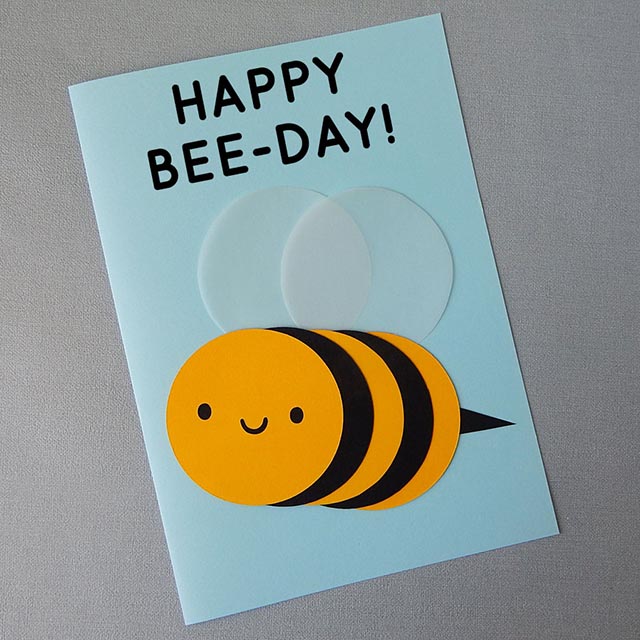
Yay! Once you’ve finished your Bumble Bee, there’s lots of things you can do with him. Making a card is easy. Just glue it down, leaving the wings free, and add text by hand or print your message separately and cut it into a speech bubble or other shape.
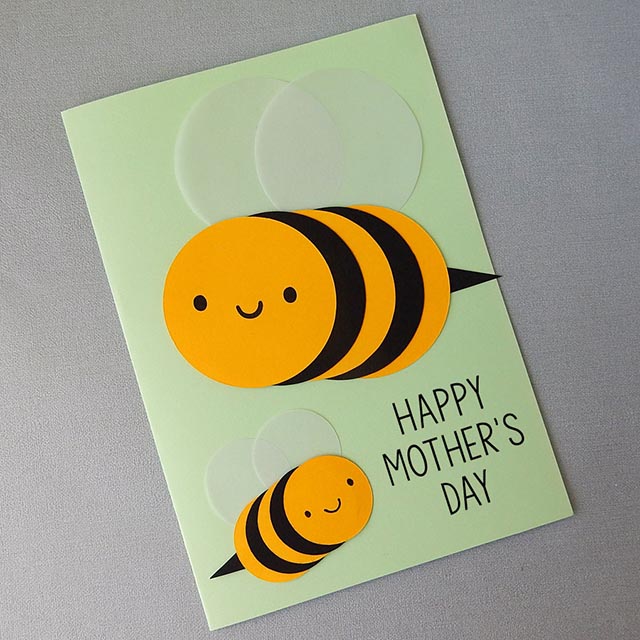
You can also draw round a smaller item to make mini bees, which would look super cute on a Mother’s Day card.
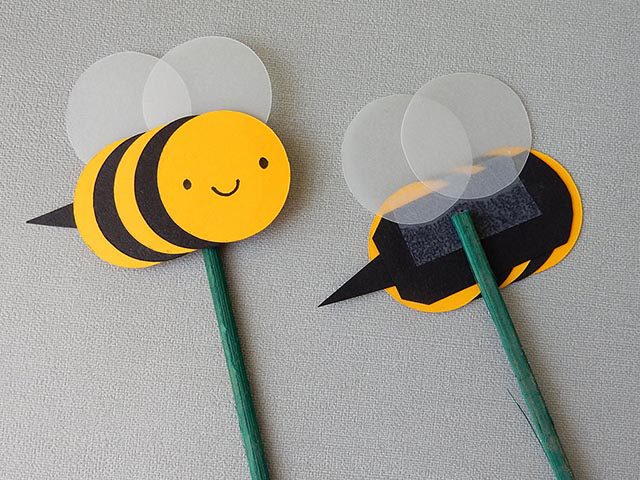
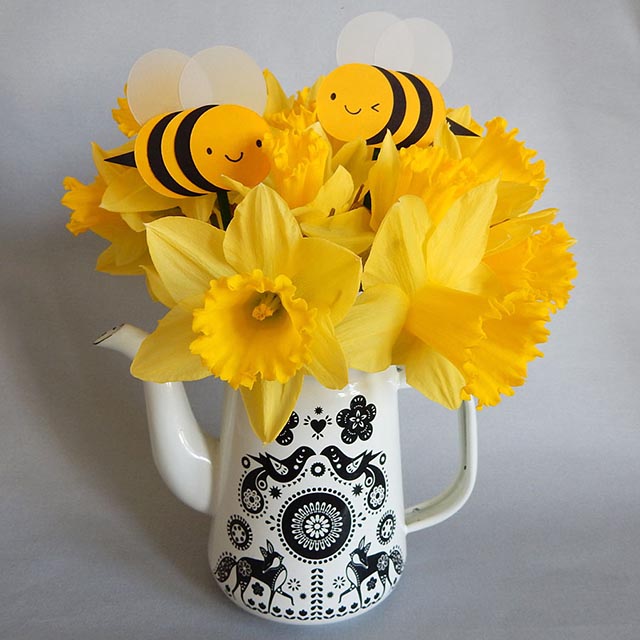
For the mini bees, I recommend cutting a strip of black card and gluing down each circle to that as it’s much easier and sturdier with all the small pieces. You’ll probably have to attach your wings a little further down too to keep them secure. As you saw at the top of this tutorial, I had the bright idea of attaching them to sticks for decorations.
You can buy these in any garden centre as plant supports or barbecue skewers would work too – just attach the bees with tape or glue. They’d be a sweet addition to personalise a bouquet or plant for a special friend! You could even use them as cake toppers but make sure the sticks are food safe – straws or cocktail sticks would be good.
If you make a Bumble Bee, I would love to see it! You can tag me on Instagram (@marcelinesmith) or Twitter (@marceline).
This tutorial is for personal use only! Please do not sell items you make or use this tutorial for profit. As with all content on this blog, the images and instructions are copyrighted © Marceline Smith 2017 and may not be reposted without credit and permission. Thank you for respecting the rights of artists and makers.