Time for a new paper craft tutorial to help you make cards and decorations featuring my cute characters! Want to make sure you don’t miss one? Join my mailing list!
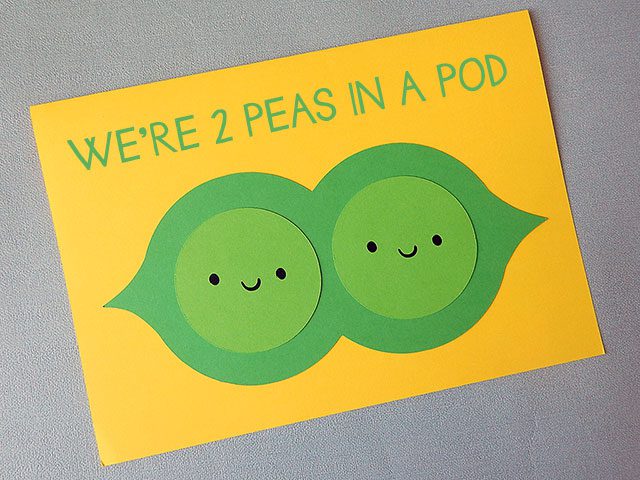
My fruit and vegetable characters are always popular and now you can make a Peapod for cards and decorations. This version with two peas is perfect for new baby twins, Valentine’s Day or your best friend. I’ll also explain how to make one with 3 peas that would be great for vegetarians/vegans and gardeners.
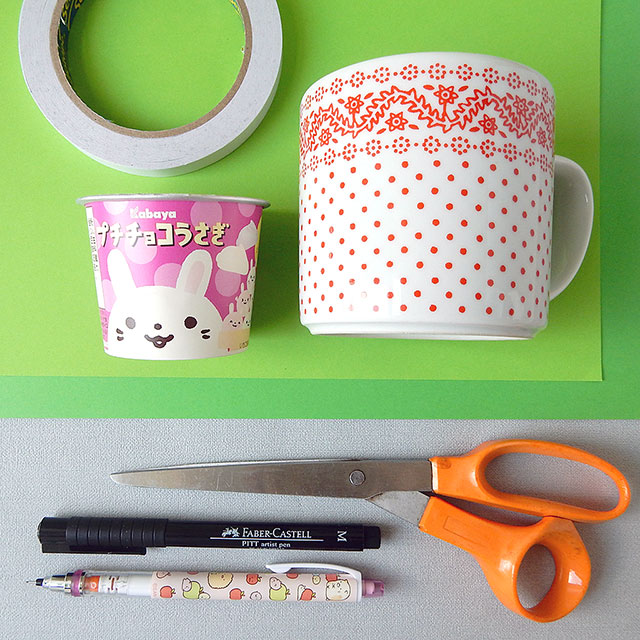
What you’ll need:
- Thin card in two shades of green
- Round things to draw around (see sizes below) or pair of compasses
- Pencil and eraser
- Black marker pen
- Scissors
- Double-sided tape or glue dots or glue stick
- My Draw Kawaii Faces free printable (optional)
Instructions:
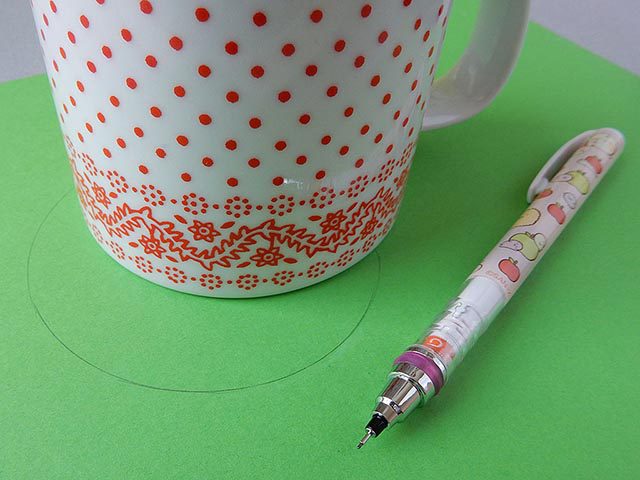
Find a suitable sized round object to draw around or set your compasses. For an A5 card, you want something around 9cm in diameter – I’m using a mug here. Draw around it on the darker green card with a pencil.
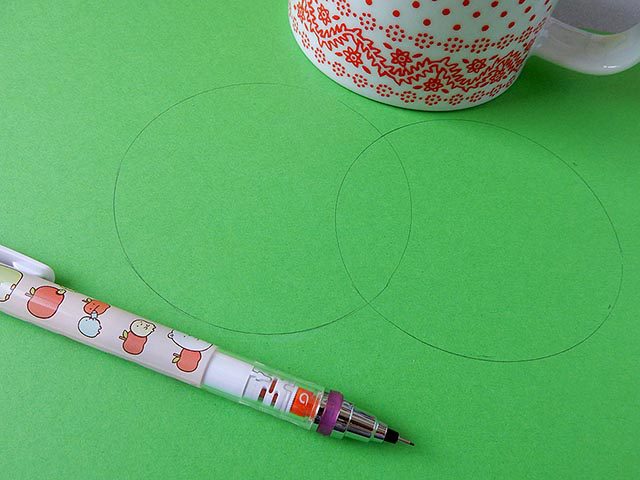
Move the mug/compasses over and draw another circle overlapping the first by the amount shown above. If you can’t see what you’re doing, you could use some tracing paper or cut a circle out of paper and draw around that instead.
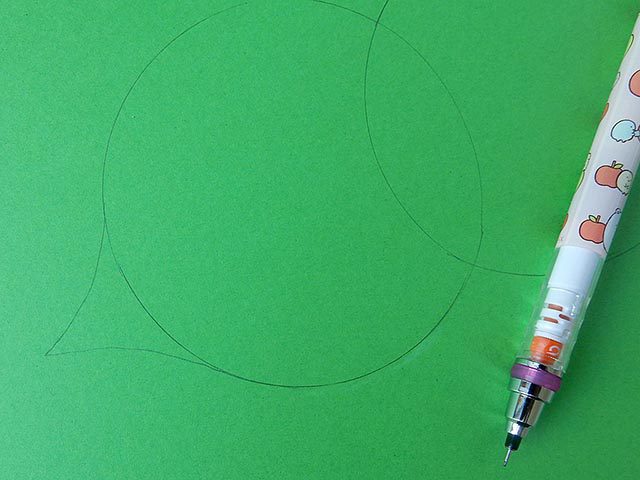
Draw a little curved triangle shape at each end. It can be any size and doesn’t need to be exact as peapods are not symmetrical.
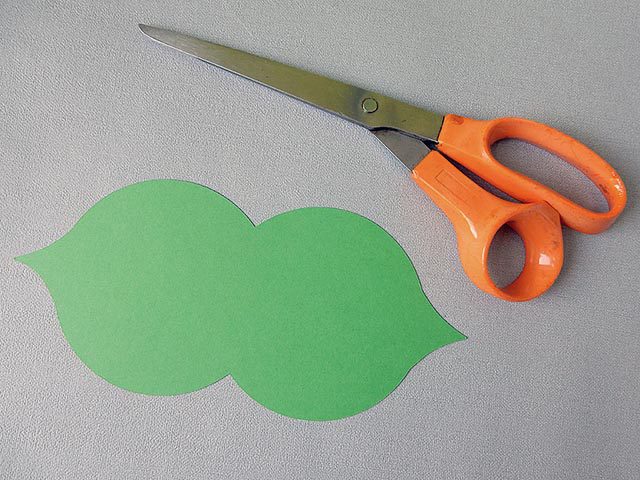
Cut it out and turn it over and you should have something like this. Now to fill your pod with peas.
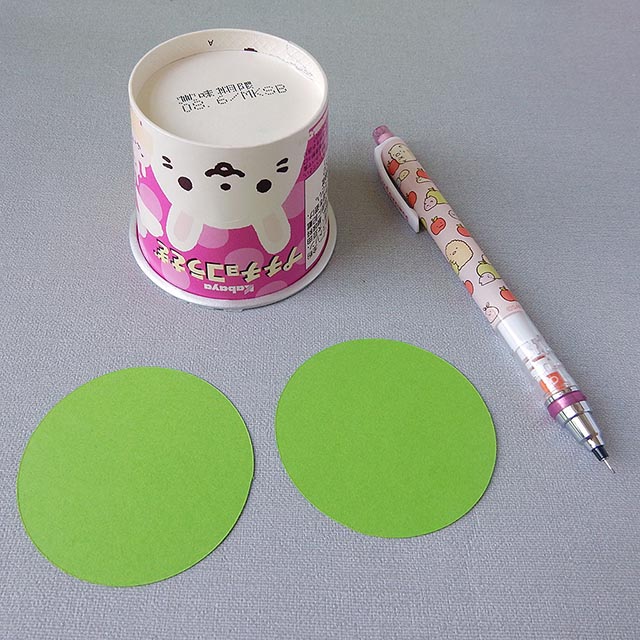
For the peas, you need something around 6cm in diameter – a small yogurt pot should be ideal if you don’t have any kawaii bunny sweets tubs! Draw around it twice on the lighter green card and cut out the two circles.
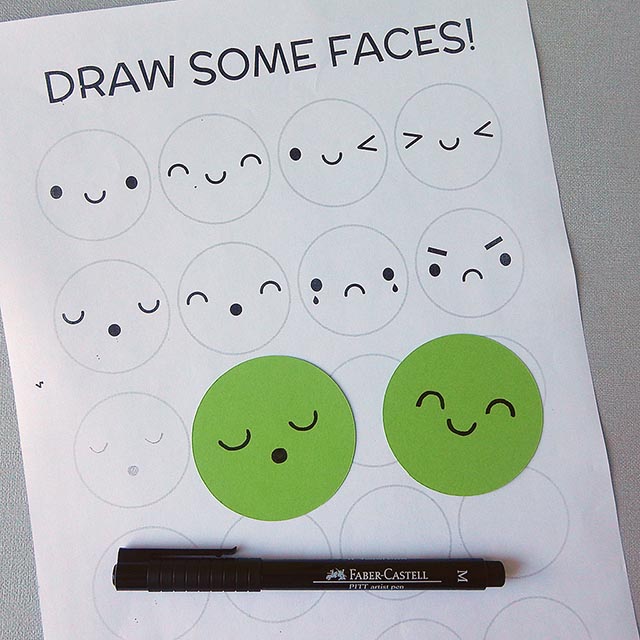
Time to add faces! As always, you can practice with my free Draw Kawaii Faces printable which has eight cute faces to choose from. If you’re still not confident, get your printer to scale it up and then use tracing paper to copy a face over. Pencil it in then go over with a black marker pen. Mine are a bit wonky here but never mind.
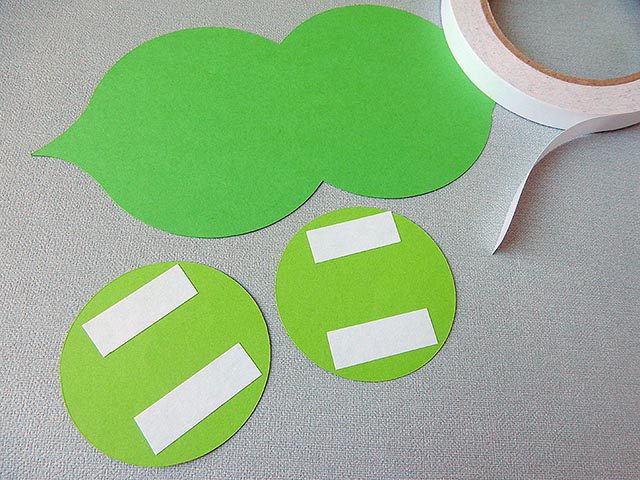
Once you’re happy with the faces, you can stick it all together with double sided tape or glue. Try to keep the peas centred in their section of the pod – you might want to pencil in some guides to get them in the right place.
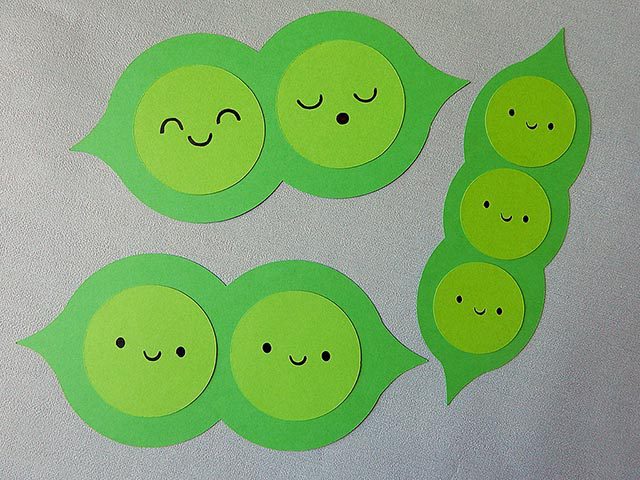
Now you’ve got a finished peapod! The bottom one I made with my paper cutting machine and I also made a peapod with 3 peas. To do that, just add an extra circle at the second step and cut an extra pea.
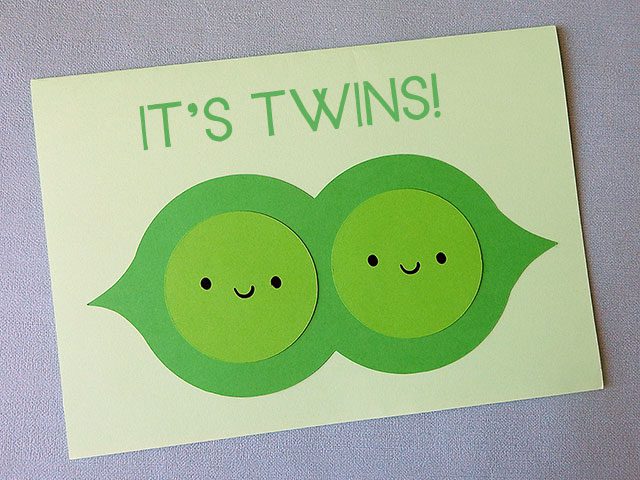
Once you’ve finished your peapod, you can make it into a card. Just glue it down and add text by hand or print your message separately and cut it into a speech bubble or other shape. There are loads of pea-related puns so you can use this design for all kinds of occasions.
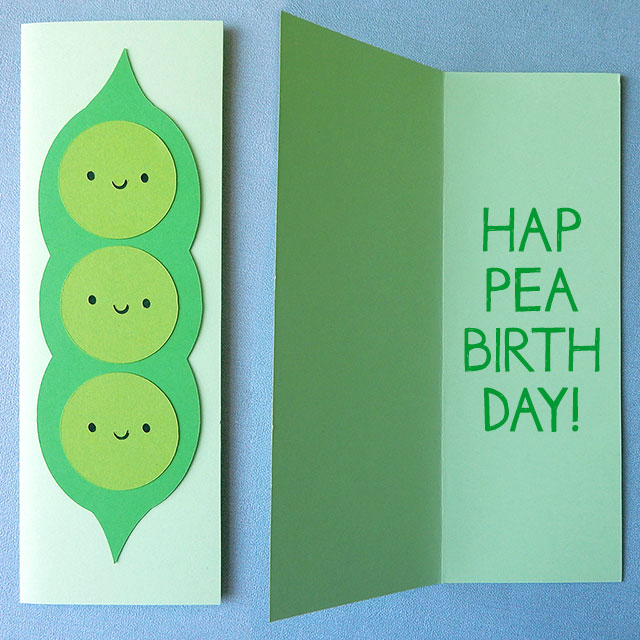
If you want to make a card like this, use smaller items to draw around (6cm & 4.5cm) and then fold a piece of A5 card in half lengthways.
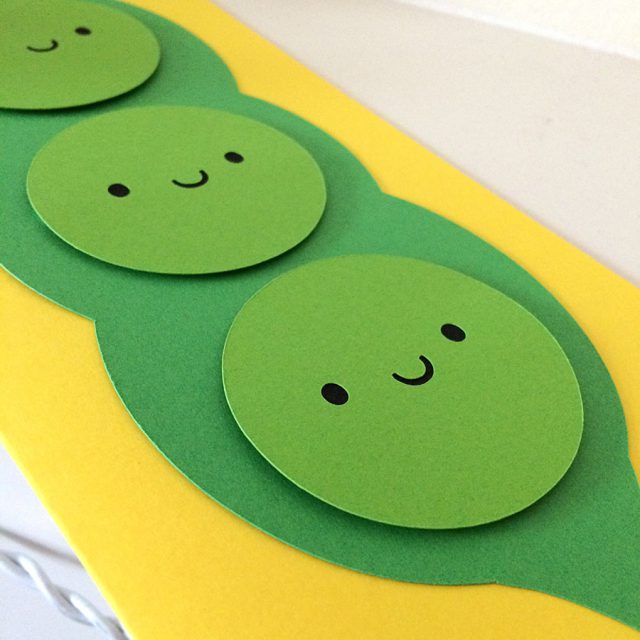
You can also give your peapod an extra dimension by using foam dots instead of glue. These have a bit of height and make it look like the pieces are floating. I wouldn’t send those through the post though.
If you make a Peapod, I would love to see it! You can tag me on Instagram (@marcelinesmith) or Twitter (@marceline).
This tutorial is for personal use only! Please do not sell items you make or use this tutorial for profit. As with all content on this blog, the images and instructions are copyrighted © Marceline Smith 2017 and may not be reposted without credit and permission. Thank you for respecting the rights of artists and makers.
