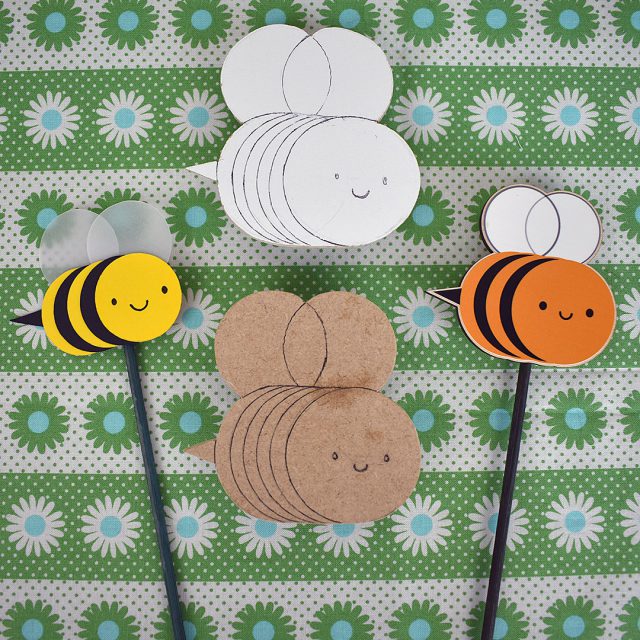
I thought you might like to see behind the scenes of how my paper bumblebees (on the left) turned into wooden garden decorations (on the right) via some prototypes!
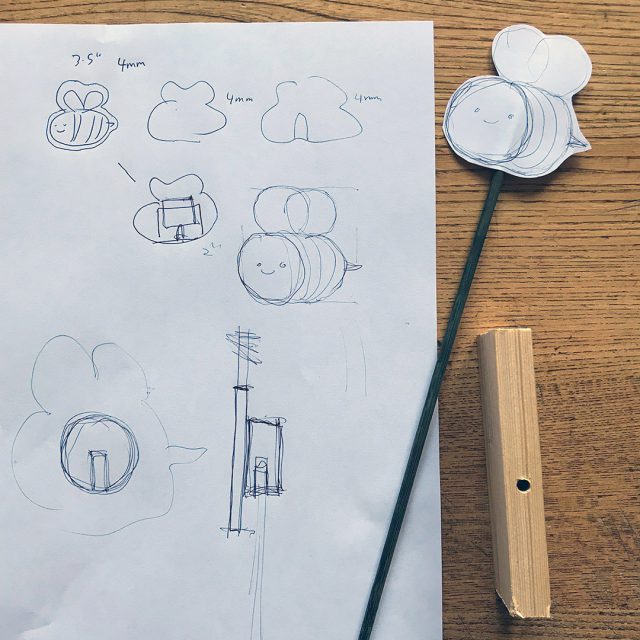
I already had a couple of ideas of how it would work but here’s the brainstorming drawings we made and the first paper prototype to check the size.The top option was to have 3 layers of wood with a gap cut in the middle and the second option was a shaped piece with a hole drilled in it. I’m terrible at imagining things in 3 dimensions, so it’s lucky my dad spent a lot of his life drawing plans of buildings.
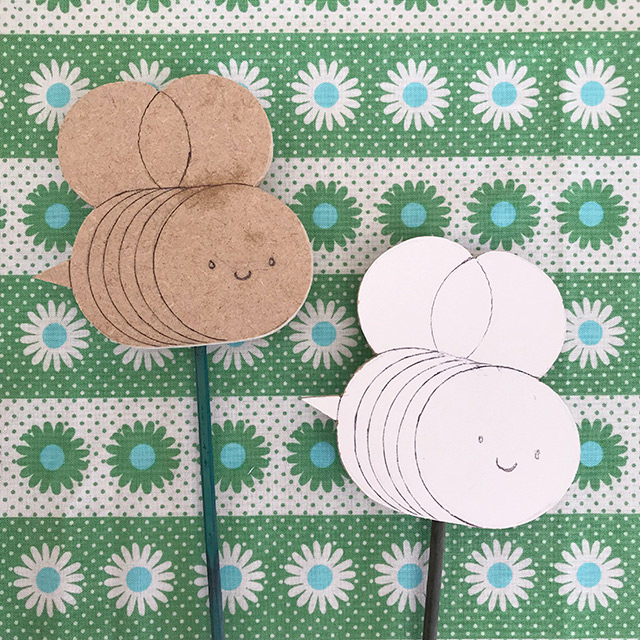
I left him to make some prototypes and look how cute they are! He was only supposed to make something in the same kind of size and shape but he went an extra step. I might paint these sometime for extra special bumblebees.
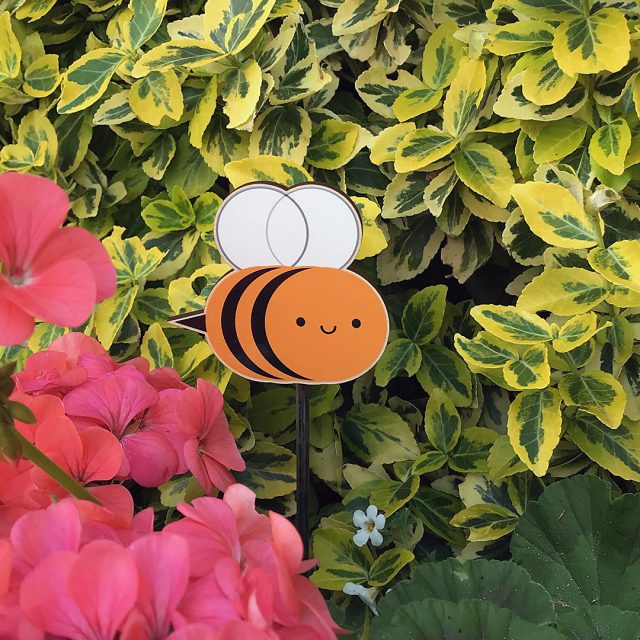
Once we had everything figured out, I ordered the real bumblebees. They’re made in the same way as my wooden brooches, just a lot bigger! The design is printed on wood with a clear varnish on top and then laser cut to shape. I had to do some guerilla photography with the planters by the local church as I don’t have a proper garden. The sticks really do blend in so well.
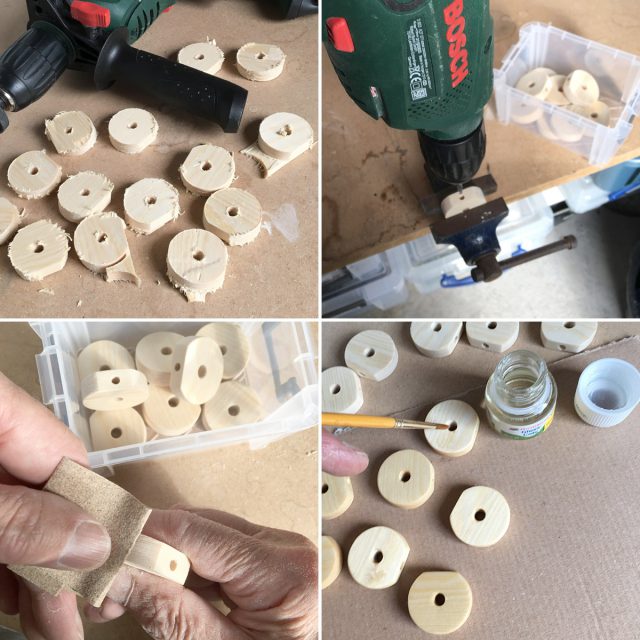
Once we knew everything was working, my dad started a production line in his shed. The backs are cut, sanded, drilled and varnished by hand so you’re getting a top quality decoration. I then glue them to the bees and they’re ready to find new homes.
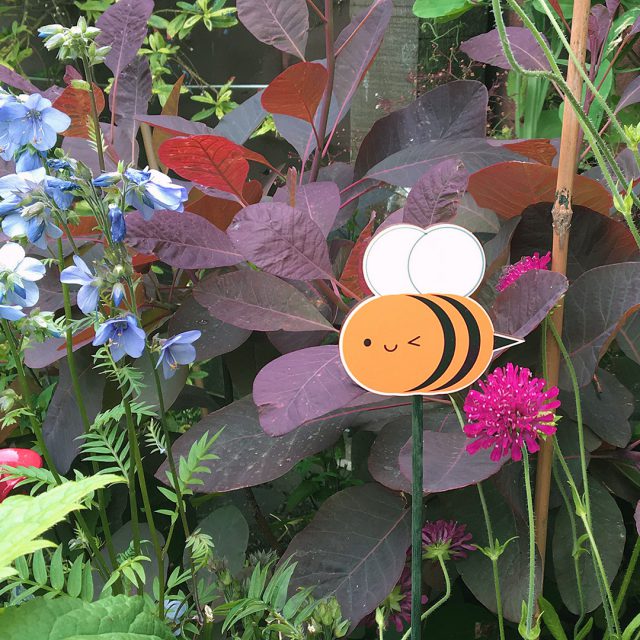
This one is happy in my dad’s garden, where it’s going to see how well it copes with the elements when the weather gets worse. I don’t really recommend leaving these in the garden all year round – they’re best indoors or in a sheltered area like a balcony or porch.
If you’d like one, they’re in my shop now – and 50p of the profits from every sale goes towards bumblebee conservation.
