This post was originally shared on Patreon but now I’m making it public. I love creating repeat patterns and here’s how I designed my Spring Flowers patterns
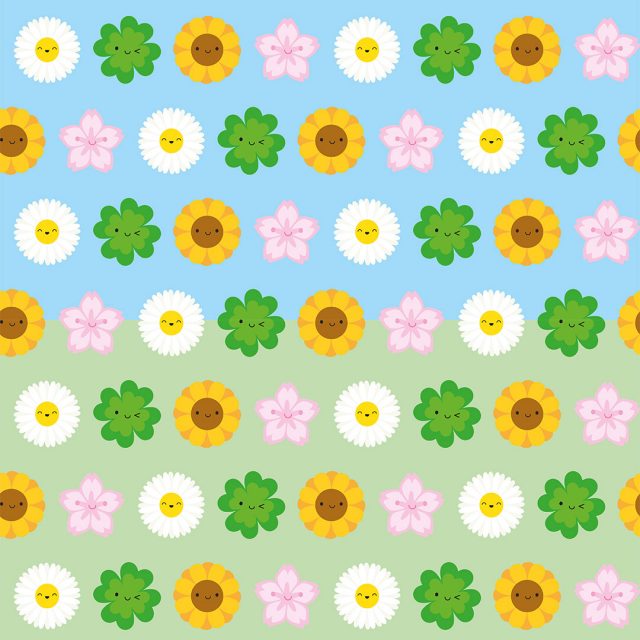
People often ask how I come up with ideas – sometimes I need to sketch or experiment with a few different things and other times I figure it all out in my head before I start. This is one where I already had the design in my head and it worked out as I planned. I don’t want to be all ‘IT CAME TO ME IN A DREAM!’ – it’s more that before I have time to work on something, I’ve had plenty spare moments to think about it and plan it all out.
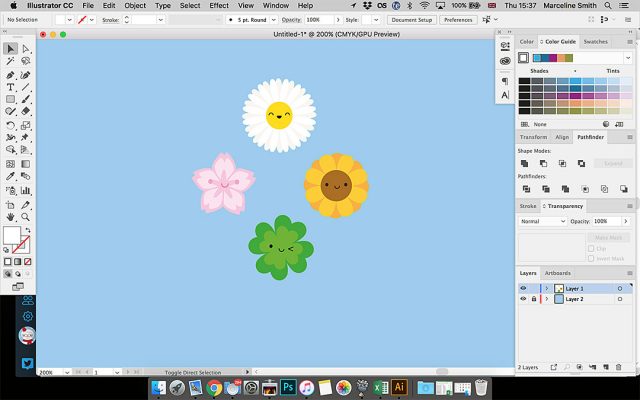
1. I pulled all the flower (and plant I guess, sorry clover!) heads I wanted to use into a new Illustrator file and chose a nice sky blue background. I included the whole screen here, as I know some people love seeing this stuff. My laptop screen is tiny so everything is squished in.
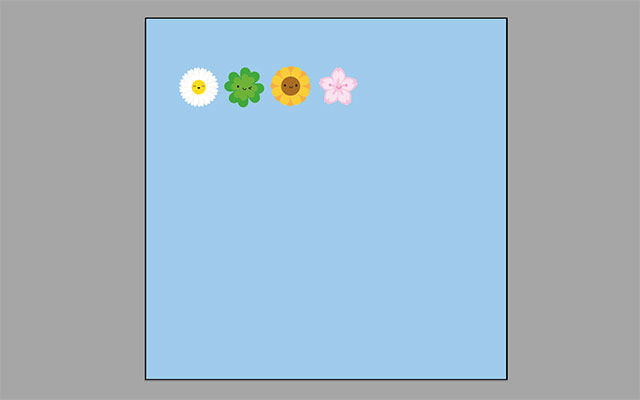
2. For the first pattern, I just wanted a straight repeat so I made all the elements the same size and spaced them out in a row.
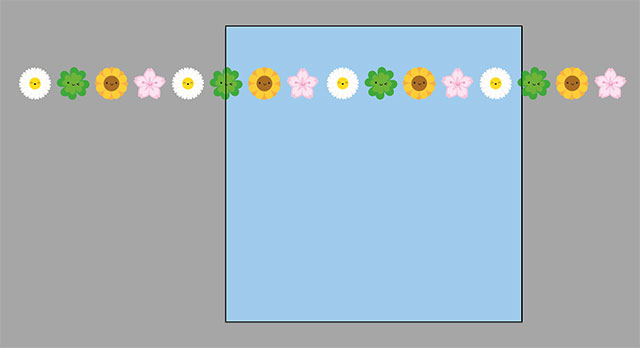
3. Repeat it a few times and then use the Align and Distribute buttons to make sure everything is lined up and spaced out exactly the same.
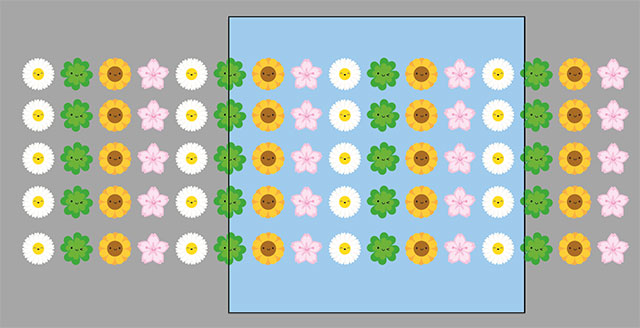
4. Group the row together and paste a few more rows…
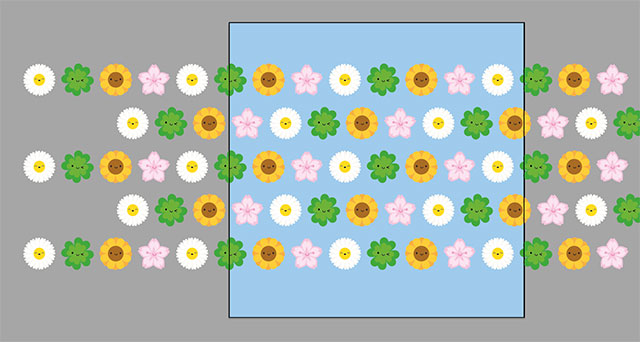
5. …then offset alternate rows. This is all done by eye really to get a nice spacing and pattern. Usually I have to go back a step or two and change the spacing until I’m happy. This pattern is essentially done but we’ll come back to it.
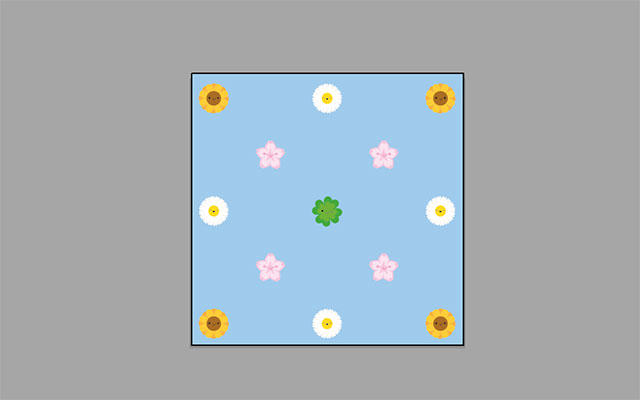
6. I also wondered what a polka dot pattern would look like and moved elements around on a new layer until I ended up with this.
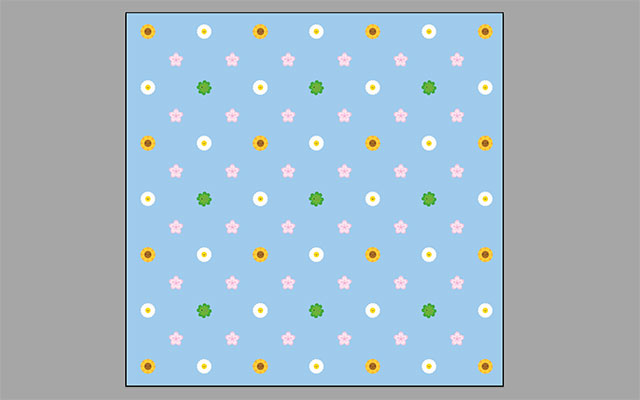
7. Quick check of the repeat (by literally pasting extra copies – the sunflowers are doubled up) and I liked it enough to go ahead. At some point here I tried a bunch of different background colours and decided on the blue and green.
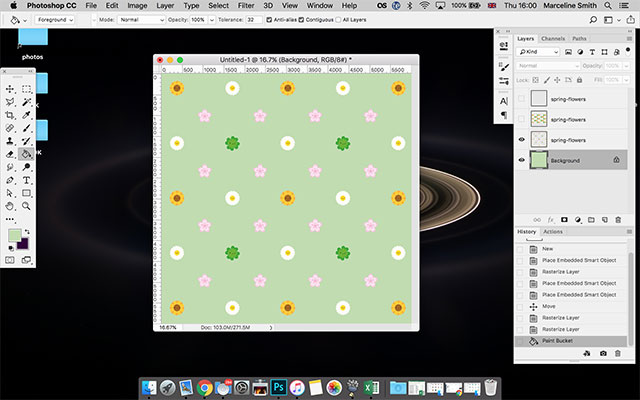
8. Over to Photoshop to create the repeat file. You can do repeats in Illustrator but I just prefer Photoshop. I create a canvas that is the size of a cushion cover for my on-demand stores as it helps me visualise the scale. I’ve pulled in both my patterns without backgrounds on to separate layers and will duplicate the file later when I work on the second one. I’ve started with the polka dots and resized it to a scale I like.
(Look how quickly I was working! I started at 3:37 and now it’s just 4pm)
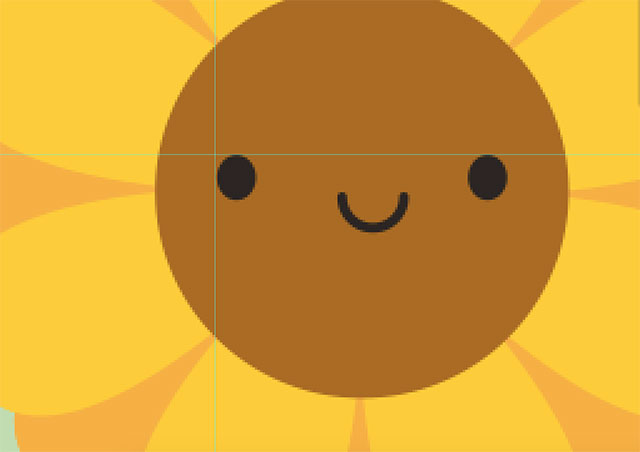
9. My patterns are often quite busy so the repeat area needs to be exact to the pixel. This one has plenty space but I do it the same way anyway. I like to use a character face as the corners as it’s easy to set guides in the right place and spot mistakes in the repeat. Plus you can create the pattern with a transparent background without confusing Photoshop (since it will ignore any transparent areas when you copy and paste).
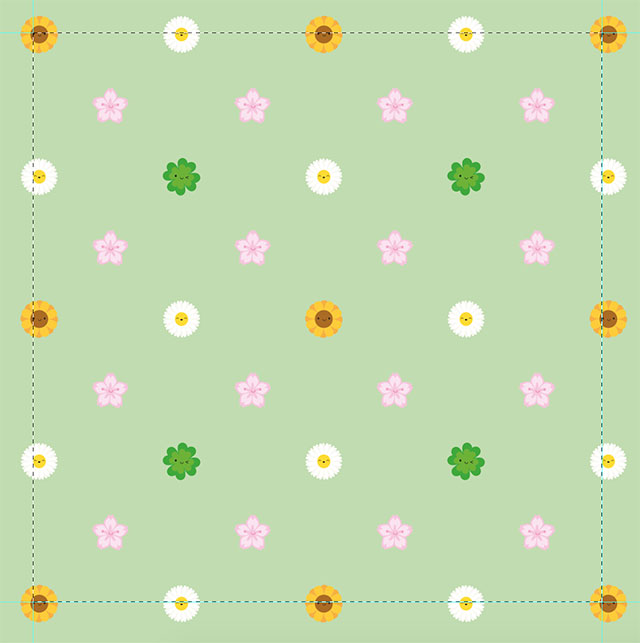
10. I do this at the same place in 4 corners of the design to create the repeat area.
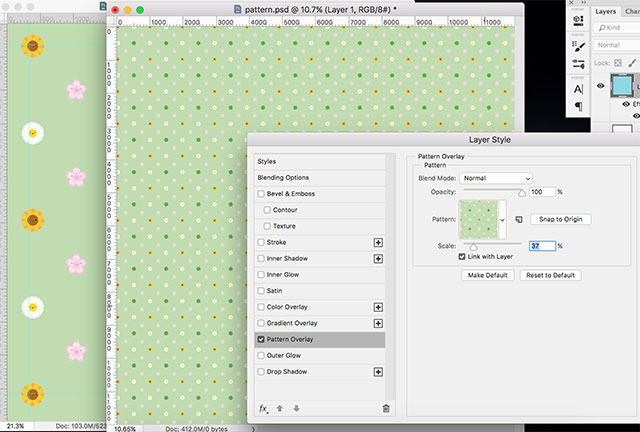
11. I test it on a much bigger file at different sizes to make sure it works. If the repeat is wrong it is very obvious! I really like how this one looks at a tiny scale and might have to do a plain polka dot co-ordinate in the same colours.
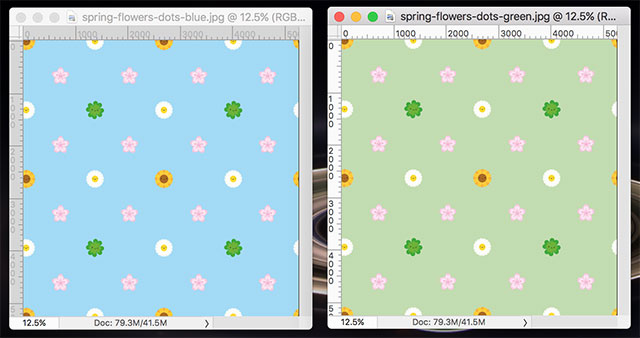
12. Then I crop it, save a copy, change the background to blue and save another copy. And also save the original in case I get a request for a different background colour etc.
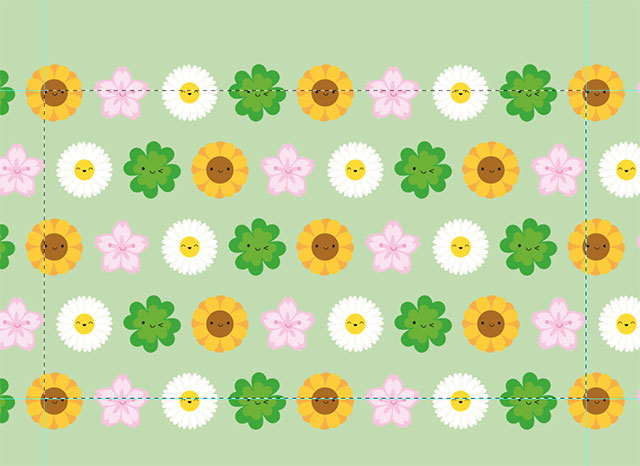
13. On to the other pattern. It’s exactly the same process.

14. After that, I upload the designs to Spoonflower and come up with the title, description and tags. I try to do this first so I can order test swatches as they sometimes take a couple of weeks to arrive.
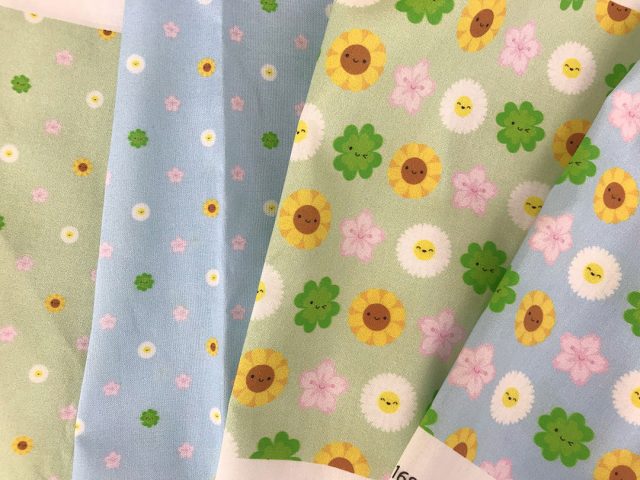
15. And here’s the printed fabric! The colours look great but I decided to scale up the polka dots a little as you couldn’t see the faces. You can now buy these from Spoonflower.
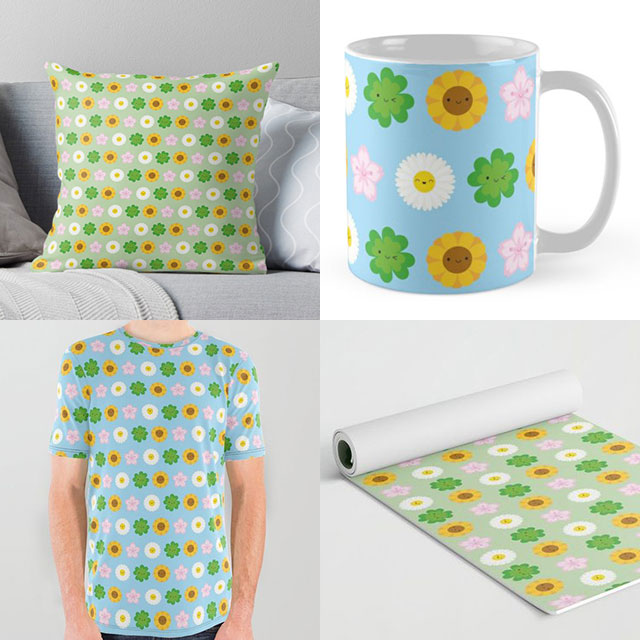
The final job is adding them to my print-on-demand sites – Redbubble, Society6, TeePublic & Zazzle. This is quite tedious but I may share the process in future. I’ve also written some previous posts about how I create different types of repeat patterns.
